Setting up with Garageband
This content is hosted by YouTube and may set cookies.
In this page we’ll be getting Dubler 2 set up in Garageband
First make sure that you have the Dubler application open, and that you’ve followed the in app steps to calibrate a mic. If you need, we have a set up guide for calibrating your mic on Mac.
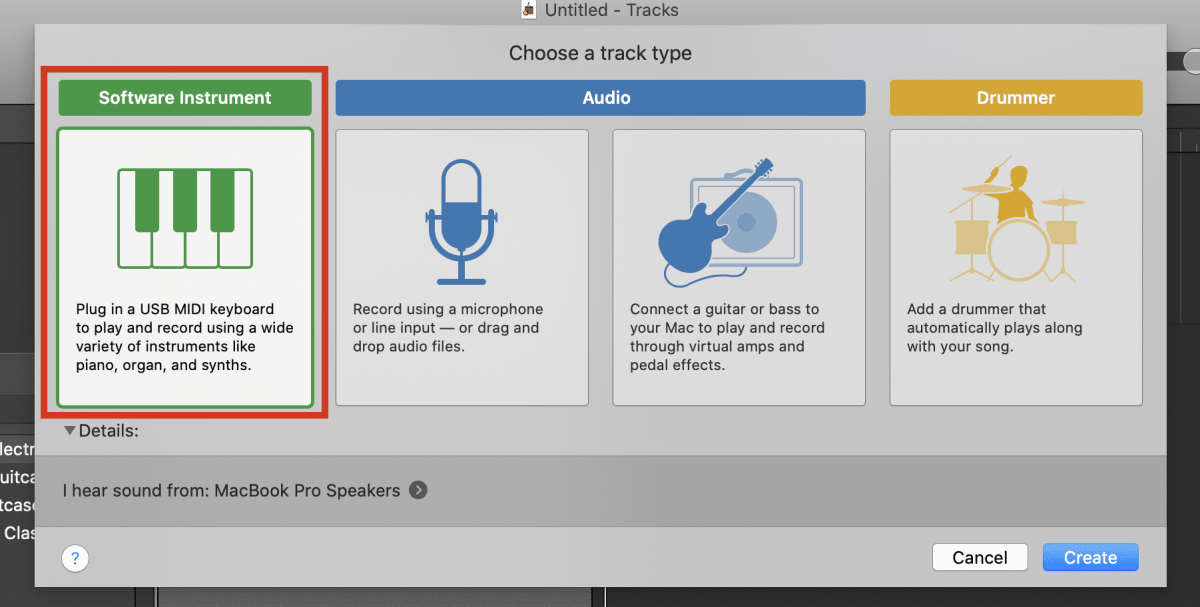
Once this is done, in Garageband you can load up a software instrument track, and choose a plugin of your choice from the library
One of the benefits of Garageband is that it doesn’t require any additional setup so you can dive straight in with using Dubler to control instruments. However there are some downsides in that Garageband does not support some more additional MIDI features
Dubler has the capacity to send MIDI data to two different MIDI channels simultaneously – allowing you to control one channel with triggers and another channel with pitched information at the same time.
Unfortunately, Garageband, as an entry level Digital Audio Workstation (DAW), doesn’t have the ability to take advantage of this feature. Instead all MIDI information in GarageBand is combined and fed directly to the active instrument.
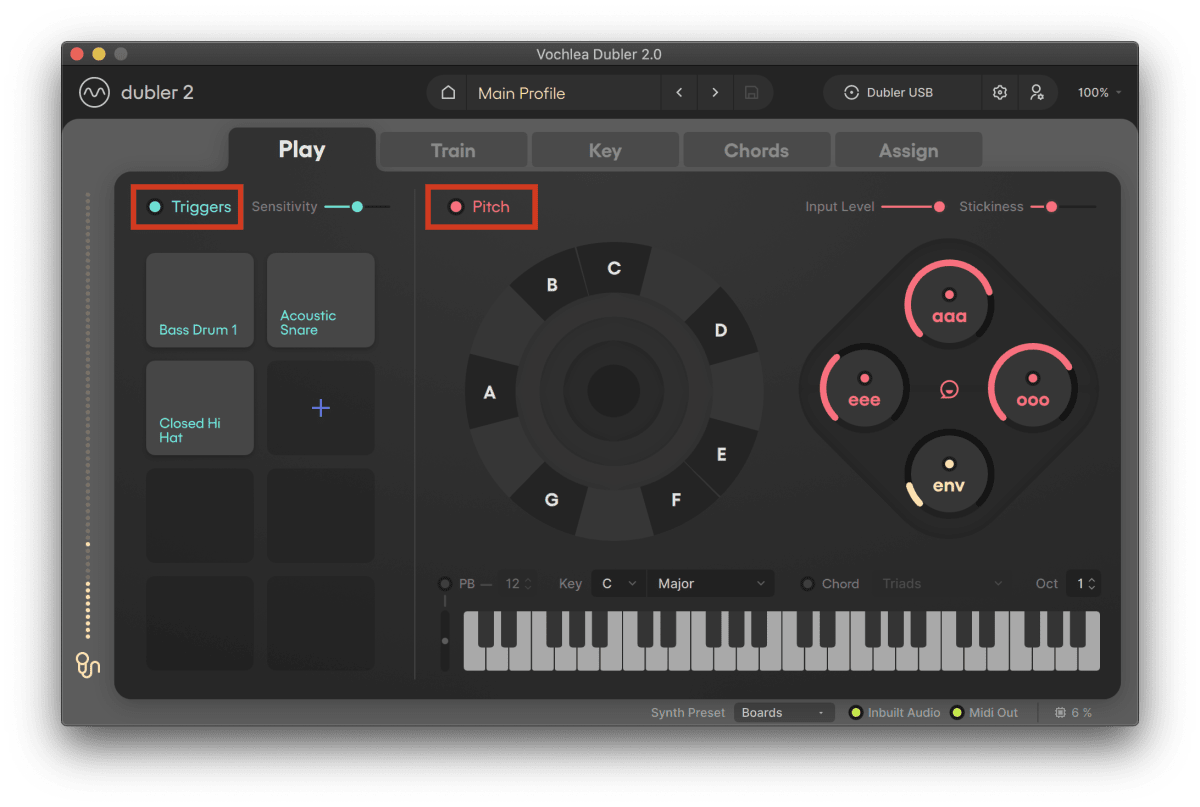
This doesn’t prevent you from making beats and melodies using GarageBand with Dubler. To get the best experience we advise to only activate the side of Dubler you are currently using. That way you will avoid accidentally playing a pitched instrument by beatboxing, or hitting a drum when singing.
You can do this in Dubler using the on/off toggle switches for each section
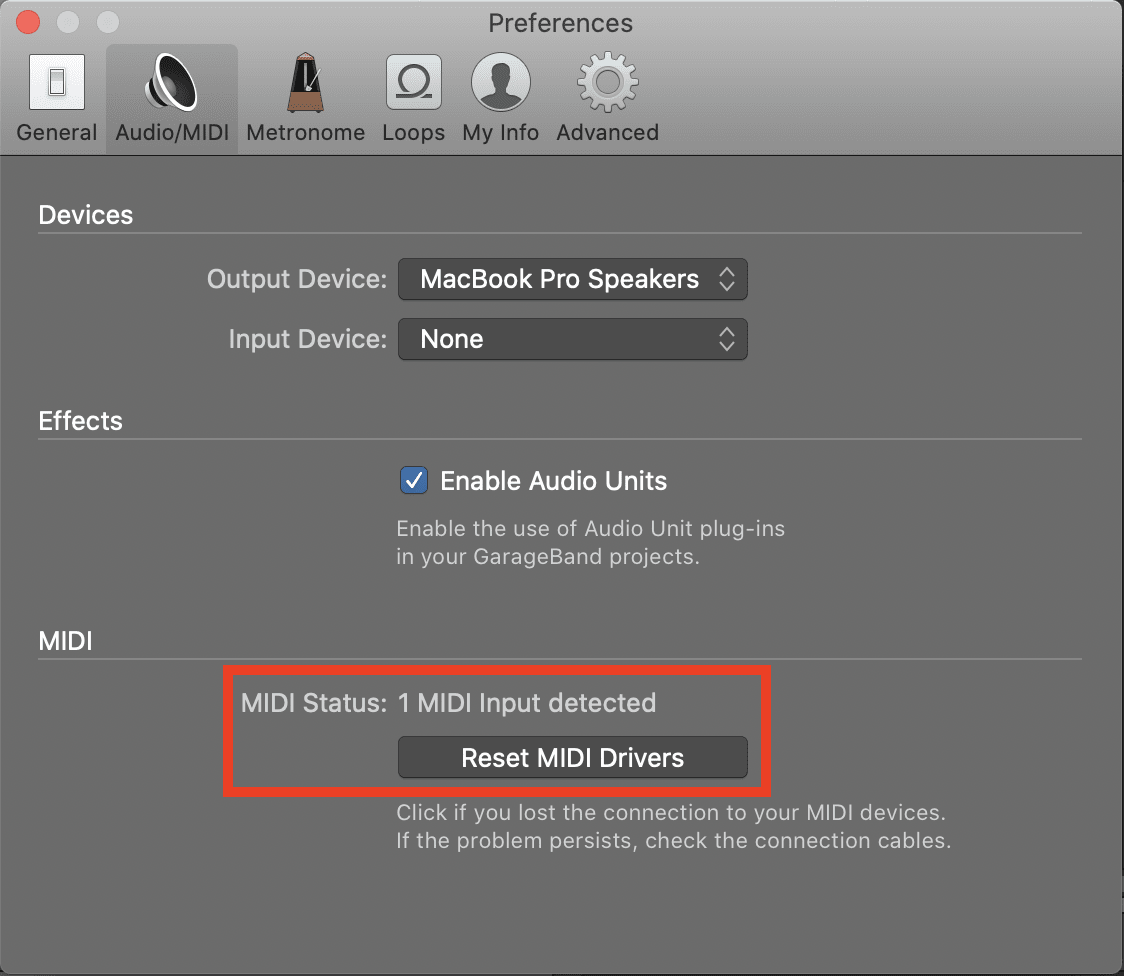
If Garageband is not detecting Dubler as an input you can go to Garageband → Preferences → Audio/MIDI look at the MIDI status entry. It should display at least one MIDI input. If it doesn’t, simply click the Reset MIDI Drivers button.

Beyond GarageBand
GarageBand has great ease of use and is a very powerful tool. However, some features of Dubler cannot be fully utilised in GarageBand.
GarageBand does not facilitate MIDI CC mapping (which is required to unlock use of the AAA EEE OOO control dials).
It also has a fixed buffer size and therefore the audio latency in GarageBand, which is longer than in some DAWs, cannot be changed.
If you want to start taking your music making further, and take advantage of simultaneous MIDI channel control and CC MIDI mapping, we recommend testing out some of the free trials of other DAWs (such as Ableton, Logic, Reason, FruityLoops, Cubase and more).
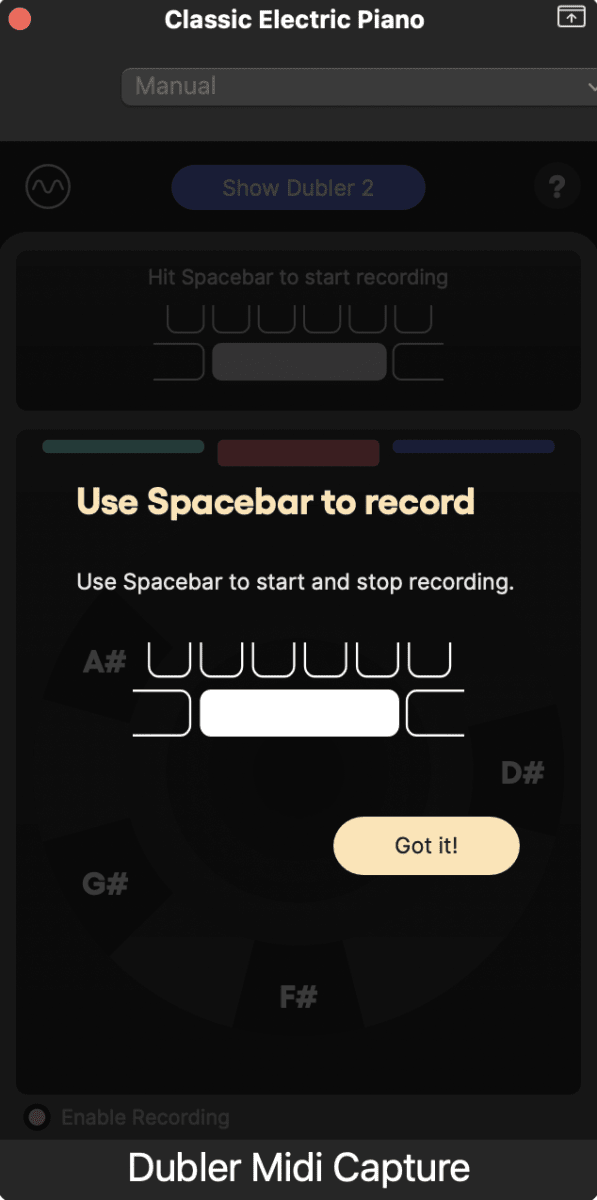
MIDI Capture
Dubler MIDI Capture is an instrument plugin in Garageband that works alongside our standalone application. You can see the full tutorial on what the MIDI capture plugin does here
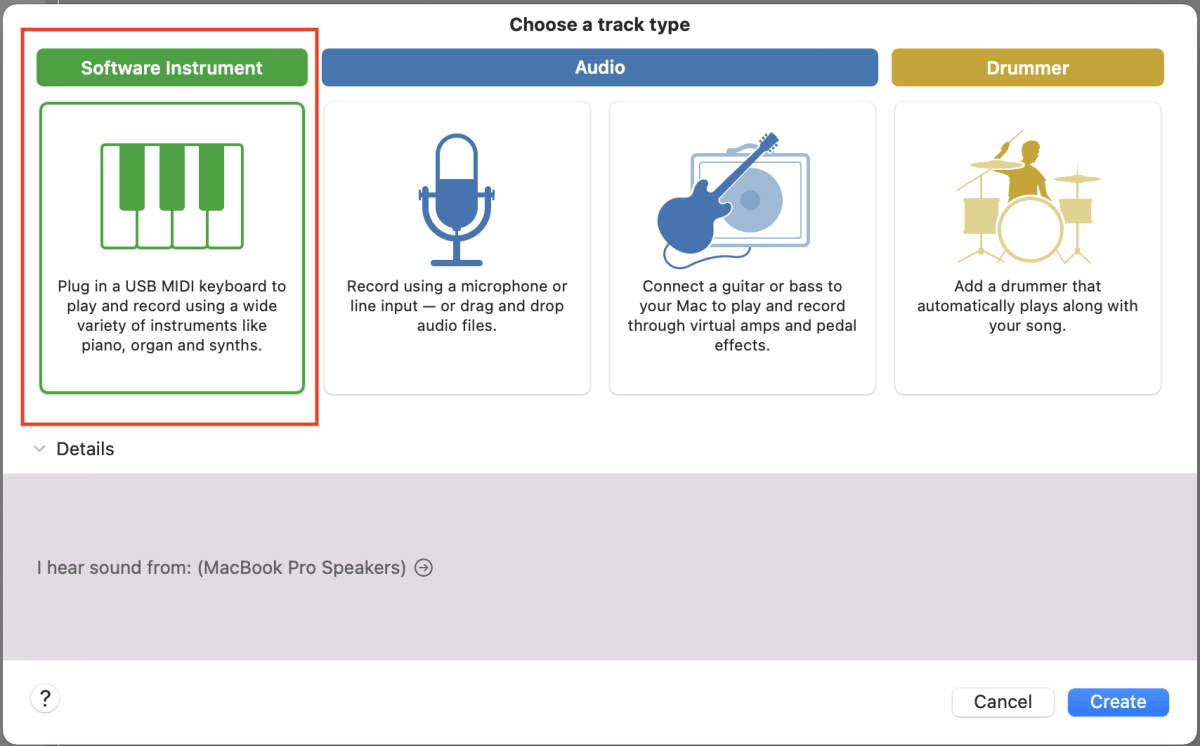
First, please select Software Instrument under Track Type, then select ‘Create’.
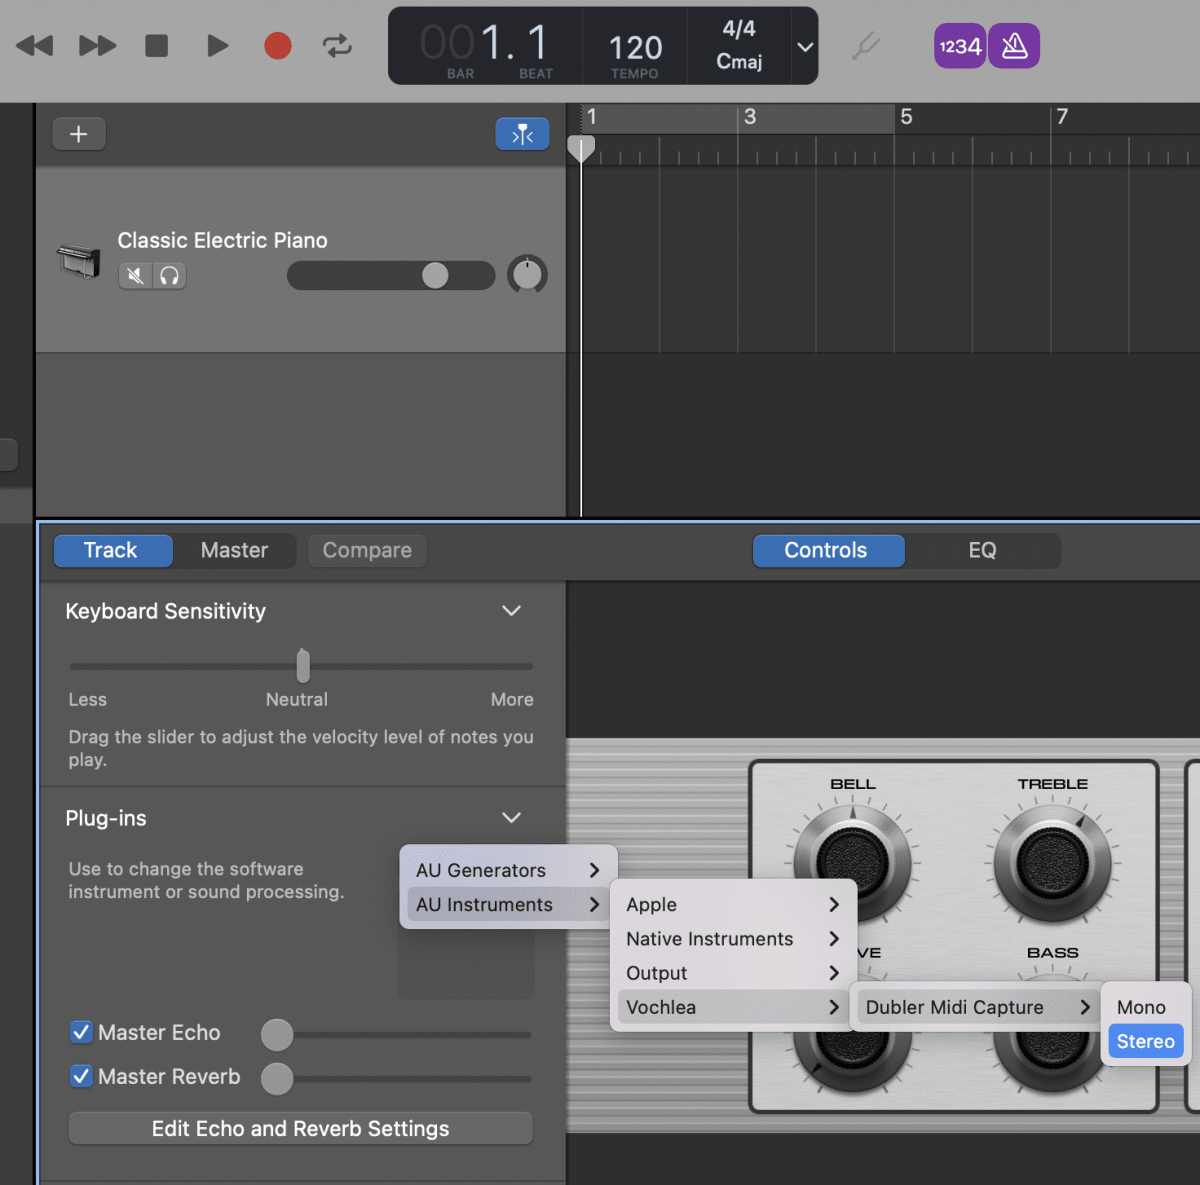
Now your instrument channel is ready, click on drop down menu under ‘Plugins’ (Garageband may have pre-loaded an ‘E-Piano’), hover over ‘AU Instruments’→ Vochlea and then select ‘Dubler MIDI Capture’.
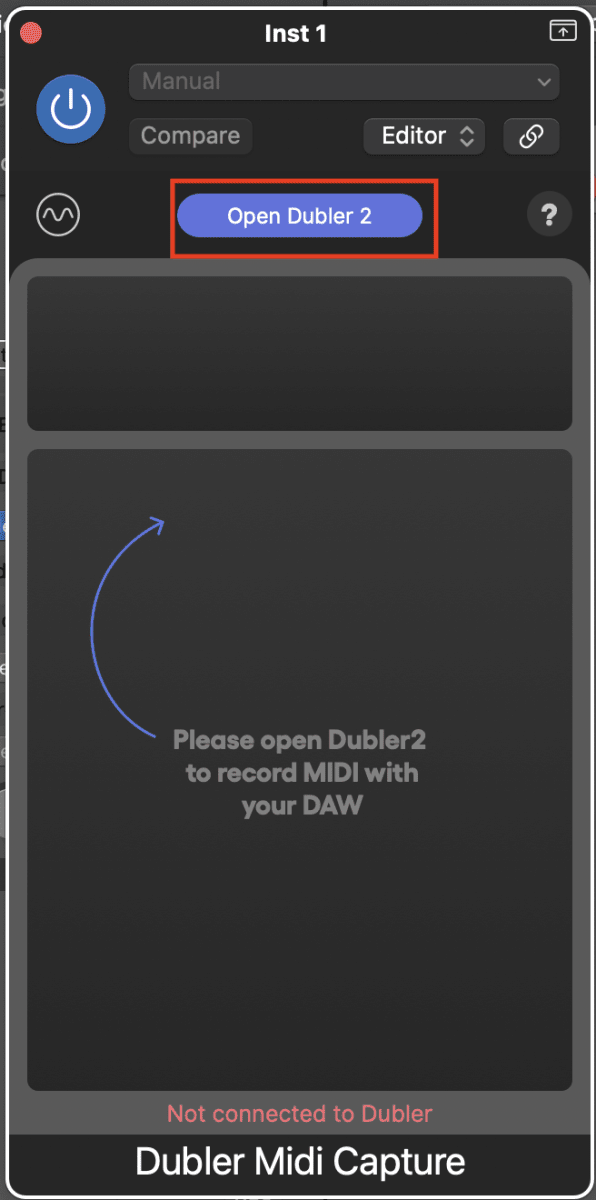
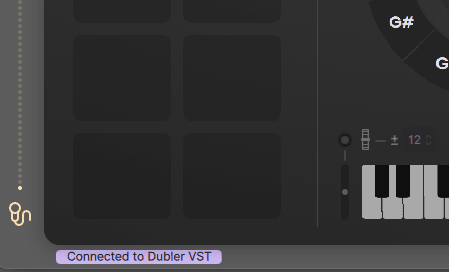
In order for MIDI Capture to work it must be connected to the Dubler 2 app. You can do this by selecting ‘Open Dubler 2’ in the VST. Once Dubler is connected it will display ‘Connected to Dubler VST’ in the app.
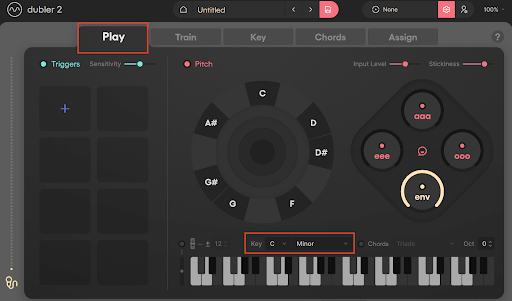
It’s also important to note that for MIDI Capture to work smoothly, you must be in a Key Lock and have the Play tab open in the Dubler app.
MIDI Capture will reflect any changes or settings that you have selected in the Dubler app such as Key Restrictions. Once connected, you’re ready to record.
You can set up a separate track with any sound you want to control, and arm it to receive MIDI info in real time from Dubler 2 as per the instructions above. The track containing MIDI capture does not need to be armed or have the input set to Dubler2.
All you need to do is then press the spacebar to start recording with MIDI Capture. You do not need to press record in Ableton, unless you also want to record your idea in real time as well.
The recorded clip will be visible within MIDI capture which you can click and drag into Garageband.