Calibrating your mic on Mac
Calibrating your mic is an important step to make sure Dubler is accurate and responsive. Any mic can be calibrated with the Dubler app but we strongly recommend a dynamic microphone paired with an audio interface. If you have the Dubler USB mic, it comes auto calibrated so the following steps aren’t needed
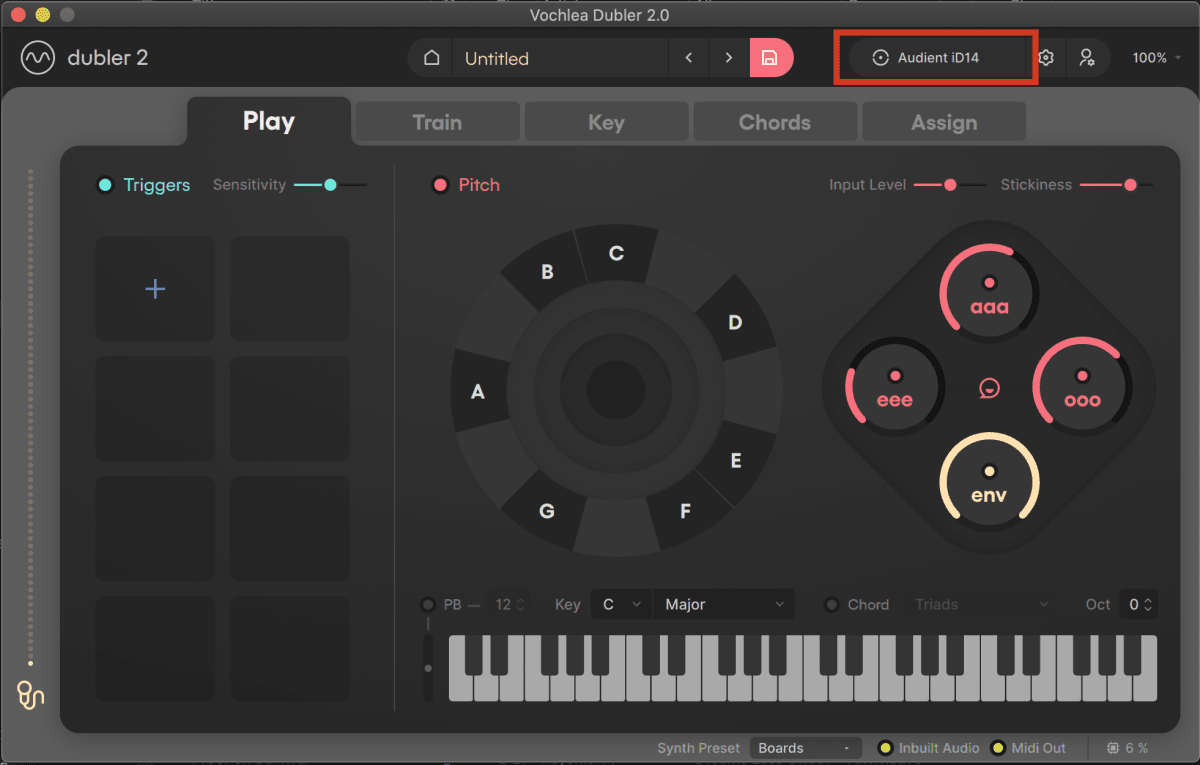
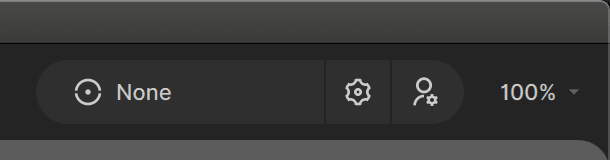
To begin the calibration process you can select the area in the top right of the app that shows the currently connected mic. If you are starting the app for the first time without a calibrated mic, the process will begin automatically
The first screen that appears allows you to select the input device that you want to use, the input channel for that device, as well as the sample rate and buffer size.
Important: We strongly recommend keeping the sample rate at 44100 and the buffer size at 128 samples in order to reduce any latency and allow for smooth audio output.
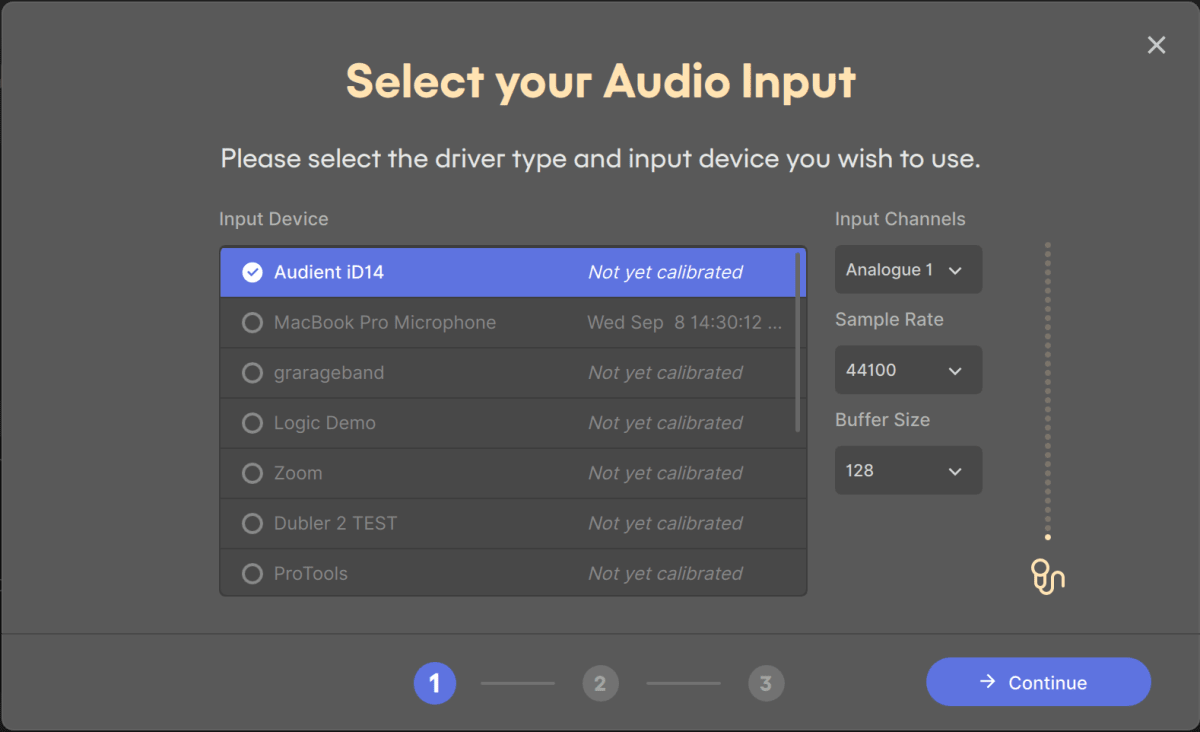
Once you have selected your input, and have the correct channel set, you can continue to the next step
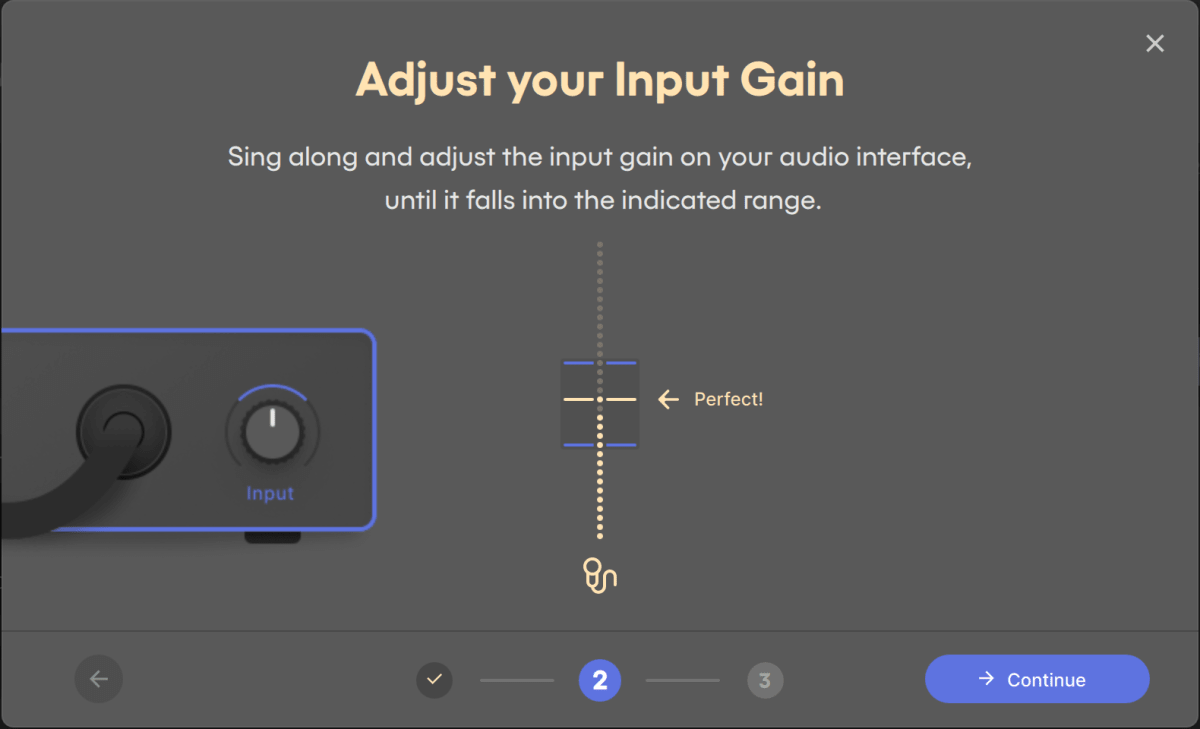
In the next step you’ll need to adjust the gain on your input to make sure it falls within the blue area. Sing into the mic at your normal level and make sure the input falls in this area. If the level is too high or low continue singing at a comfortable level and adjust the gain setting on your interface
You can then proceed to the final step of the calibration process, where you’ll need to hold some notes in the set area of the pitch wheel until the bottom bar is full.
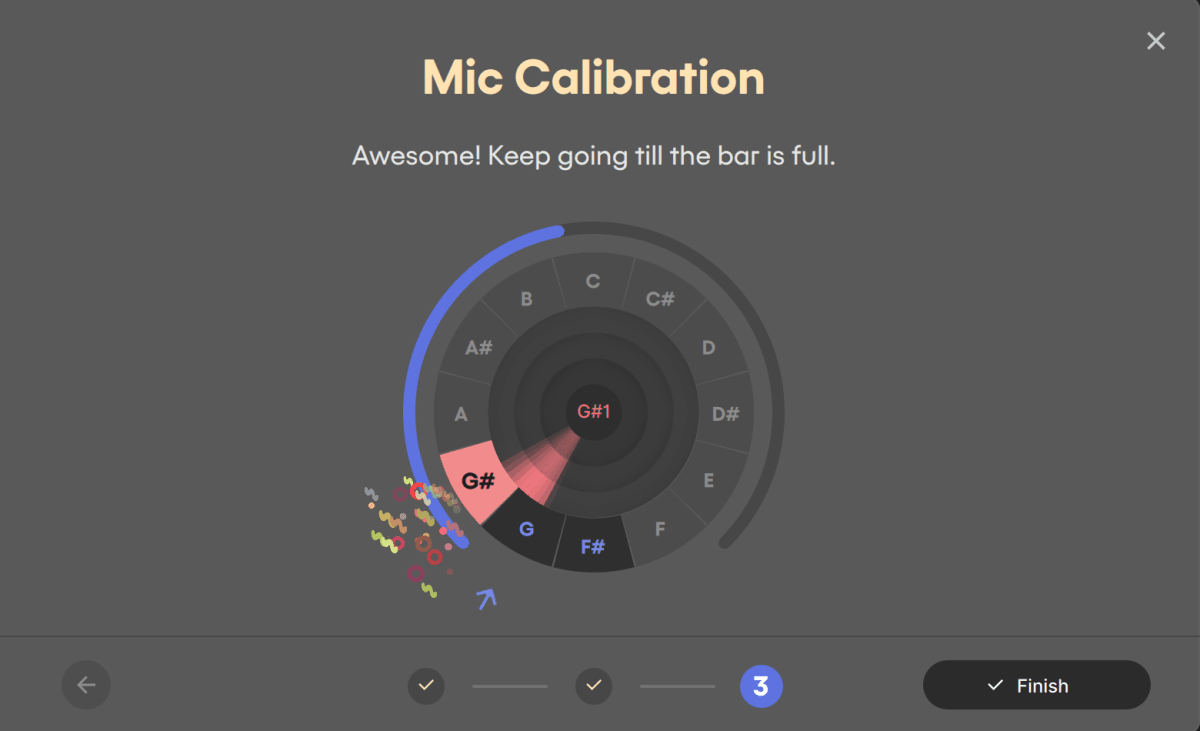
Once this is completed, you can hit finish and your mic is now calibrated. It’s important to note that if you adjust the gain knob on your interface at any point you may need to recalibrate your mic to make sure all the settings are correct. Similarly if at any point Dubler isn’t responding accurately the first step should be to recalibrate your mic. You can do this by clicking on the active mic in the top right