Getting Started with Ableton Live
Jump to Getting Started with Dubler 2
In this page, we’ll be looking at the basics of getting Dubler setup with Ableton.
First, make sure that you have the Dubler application open, and check that the Dubler mic is connected.
The Vochlea logo at the top of the application will light up green if the mic is connected.
Once this is done, open Ableton Live’s Preferences → Link MIDI. In the MIDI Ports section make sure the Track and Remote switch is set to On for the Dubler input port. This will enable MIDI mapping of the CC dials later on. Click here to learn about MIDI mapping in Ableton.
Once this is done you should now navigate to the Audio tab in preferences. Here you should adjust the buffer size to 128 Samples or below in order to ensure the latency is as low as possible when using Dubler.
IMPORTANT: If you're on windows you'll need to use an audio driver such as ASIO4ALL or a driver that comes with an audio interface to make sure you have low latency. You can find out how to setup ASIO4ALL here. Once your audio driver is selected make sure the buffer size for the driver matches the buffer size in Ableton
You can exit the preferences. On the channel for the instrument, you want to control select Dubler in the MIDI From drop-down menu.
Below this, you can choose the MIDI channel(s) you want to use to control this instrument.
Initially, this will be set to “All Channels”.
When ‘All Channels’ is selected the instrument will receive both Pitch and Trigger information from Dubler. This can cause confusion and you will probably want to instead select either Pitch or Triggers to control the instrument. You can do this by selecting a specific input MIDI channel for the instrument.
By default we use:
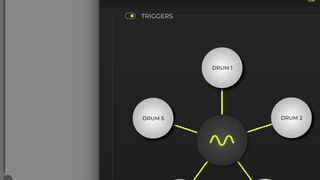
Channel 1 for PITCH information
Channel 10 for TRIGGER information
Make sure the track is armed and Dubler is now ready to use!