Getting Started with Reaper
In this page we’ll be going through how to set up Dubler with Reaper
First of all make sure that the Dubler app is open and the mic is connected as shown by the green logo at the top
First of all make sure that the Dubler app is open and the mic is connected as shown by the green logo at the top

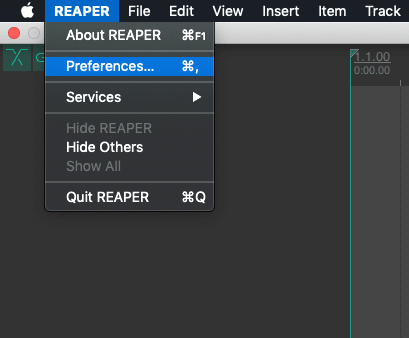
In Reaper, go to preferences
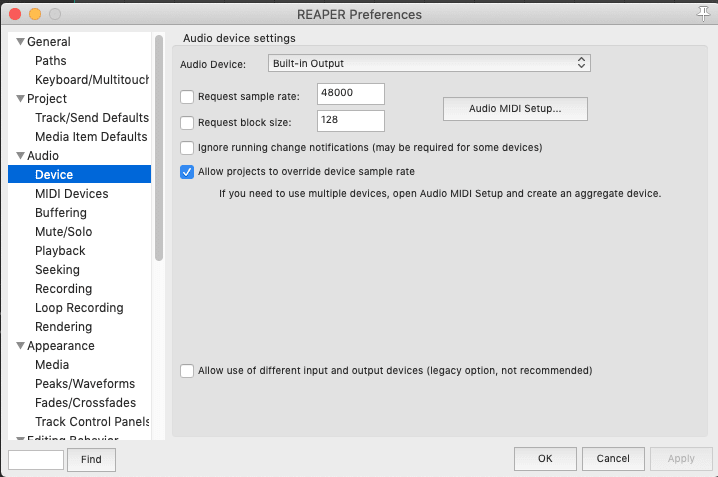
In Preferences you’ll first want to make sure the Block Size is at a good size to reduce latency when using Dubler. In Device under the Audio tab we’d recommend setting the block size to 128 or lower to make sure Dubler works in real time. Once this is done select Apply.
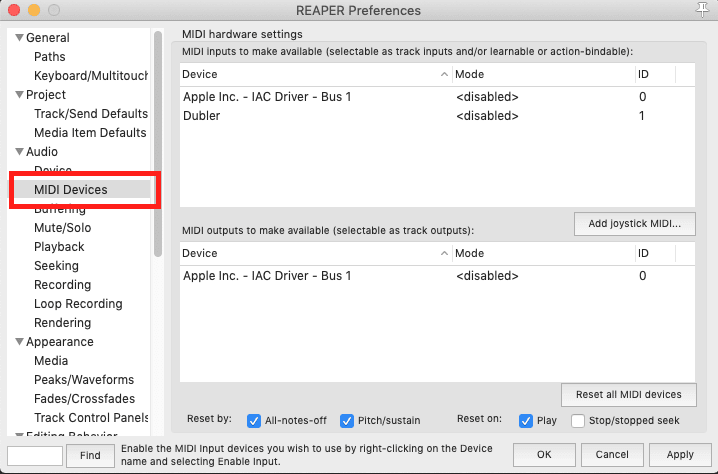
Now go to MIDI Devices under the Audio drop down
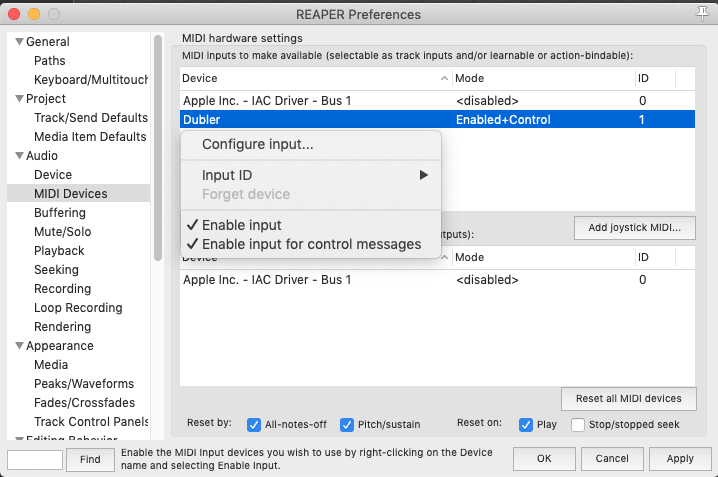
Right-click Dubler under MIDI inputs, and make sure both Enable Input and Enable input for control messages are selected. Under Mode you should see Enables+Control
Once this is done select Apply in the bottom right
Once this is done select Apply in the bottom right
Dubler can now be used as a MIDI controller on any track with input monitoring enabled. To arm a track select the red circle on the MIDI track.
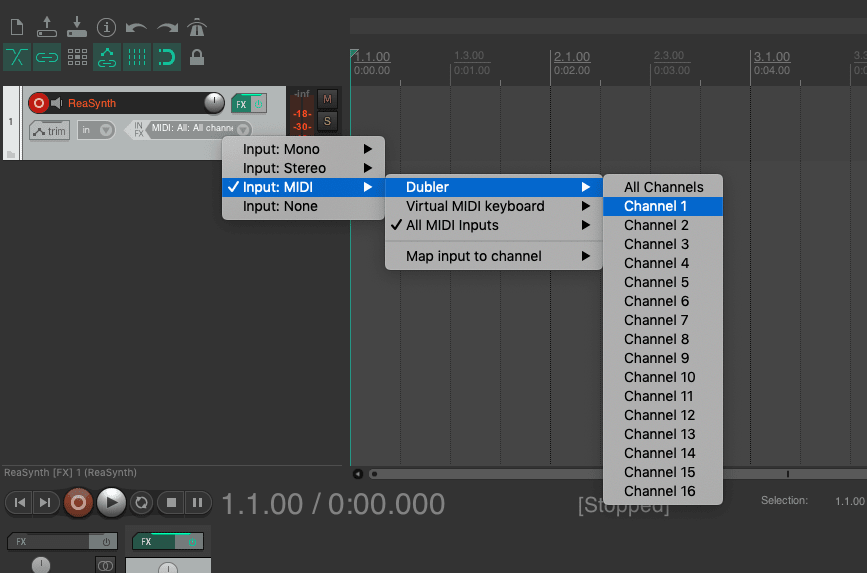
To choose which MIDI channels the track receives information from select the Input drop down from there select Input: MIDI -> Dubler
Here you can select the MIDI channel that you want to receive information from for that track. By default:
Channel 1 receives MIDI information from the PITCH side of Dubler
Channel 10 receives MIDI information from the TRIGGERS side of Dubler
‘All Channels’ will receive both pitch and triggers information at the same time. If you are using just a pitch instrument or just drums we recommend you choose only that channel to receive MIDI information from. It’s especially important to select the MIDI channel when using multiple tracks, to stop unwanted notes from triggering
Dubler is now set up and ready to use with Reaper