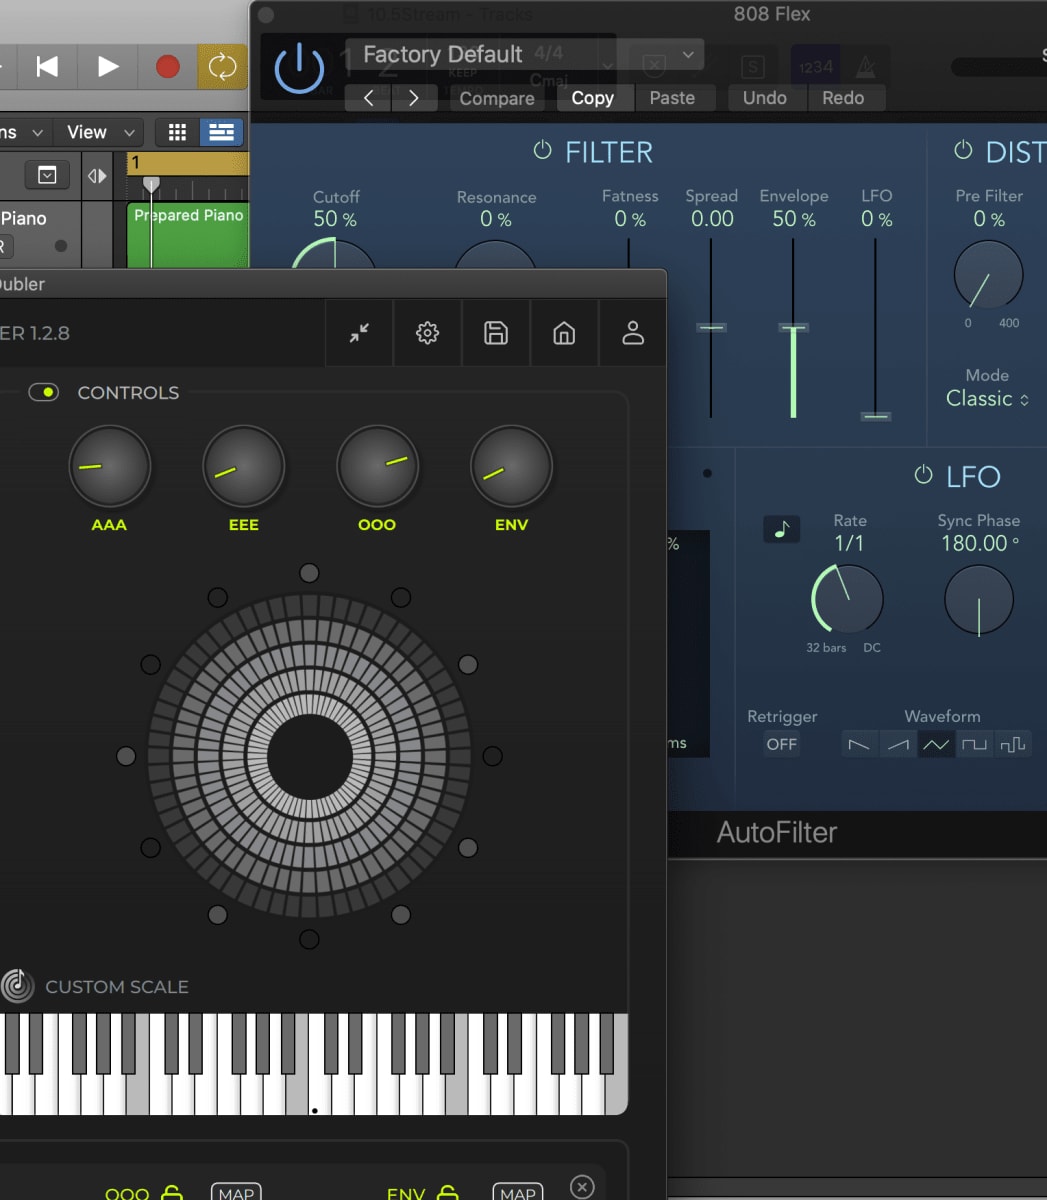
Getting Started with Logic Pro X
In this page we’ll be showing how to set up Dubler with Logic Pro X.
First, make sure that you have the Dubler application open, and check that the Dubler mic is connected. The Vochlea logo at the top of the application will light green up if the mic is connected.
First, make sure that you have the Dubler application open, and check that the Dubler mic is connected. The Vochlea logo at the top of the application will light green up if the mic is connected.

In Logic Pro X enter Preferences → MIDI
In the General tab make sure that MIDI remote is set to ‘On.’ This will enable you to map the CC dials. Also make sure the MIDI channel is set to ‘Per Channel Strip’ in order to separate drum and synth channels.
Still in the MIDI section of preferences select Inputs and make sure that the Dubler input is selected.
Note: If you’re having problems finding the Dubler MIDI connection, navigate back to the General section of MIDI preferences and click Reset All MIDI Drivers.
Now select Advanced preferences make sure ‘MIDI’ and ‘Control Surfaces’ is checked.
Now select Advanced preferences make sure ‘MIDI’ and ‘Control Surfaces’ is checked.
Finally, still in the preferences, head to the Audio tab. Here you'll want to make sure the buffer size is set to 128 samples or below in order to ensure the latency is as low as possible
You can now exit the preferences. Logic will now work with Dubler! However, with the current settings it cannot separate Triggers and Controls.
If you’re happy to only use one at a time then these settings will be sufficient. To ensure you don’t get accidental MIDI notes from the side you are not using, you will need to switch that side off in Dubler via the toggle switches.
If you’re happy to only use one at a time then these settings will be sufficient. To ensure you don’t get accidental MIDI notes from the side you are not using, you will need to switch that side off in Dubler via the toggle switches.
If you want Logic to separate Triggers and Controls into two simultaneous inputs, for two different instrument channels, follow these steps.
Enter Project Settings → Recording.
Enter Project Settings → Recording.
Check “auto demix by channel for multitrack recording” This allows you to split tracks by MIDI channel.
Make sure the two tracks you want to control are both armed by pressing R. If only one track is armed Logic will not split the MIDI which can often cause confusion.
For each track you need to select the MIDI channel (on the left under ‘Track’). You can also change the MIDI channel allocation within Dubler, however by default:
Channel 1 receives MIDI information from the PITCH side of Dubler
Channel 10 receives MIDI information from the TRIGGERS side of Dubler
‘All Channels’ will receive both pitch and triggers information at the same time
Note: Logic often likes to switch back to default settings. E.g. If you swap instrument on the same track Logic will automatically switch the MIDI Channel back to “All” which can often be a source of confusion.
