
Using Vowel MIDI Mapping to Layer Sounds Like Never Before!
9 min read • 14th Apr 2021
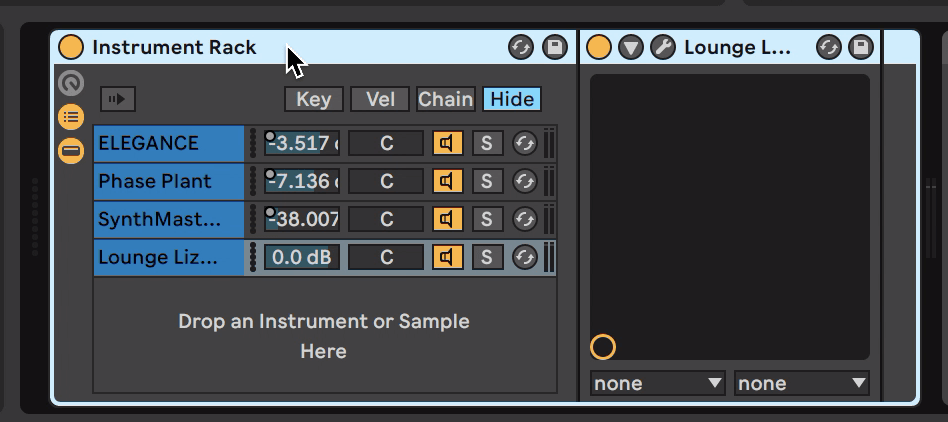
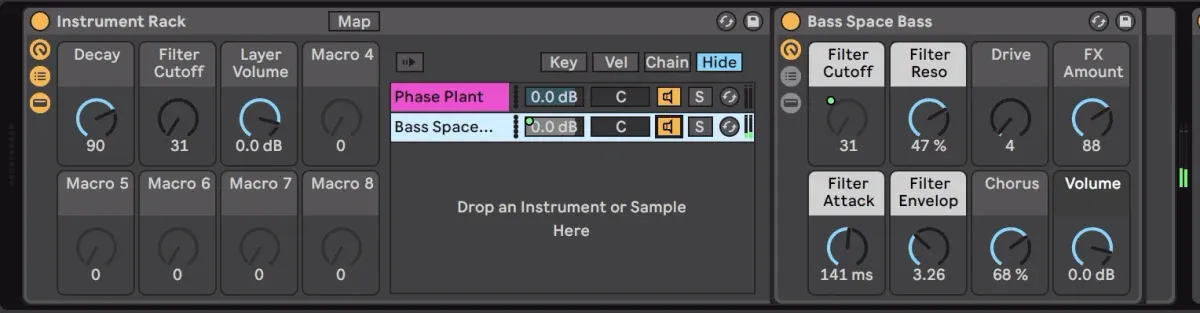
We’ve organized all four layers in an instance of Ableton’s Instrument Rack, which allows you to create a sound with as many synths or instruments as you’d like. This is convenient because then you only have to record arm the channel containing the Instrument Rack to play all of these parts at once. You can find the Instrument Rack under Ableton’s ‘Instruments’ tab at the left of the screen.
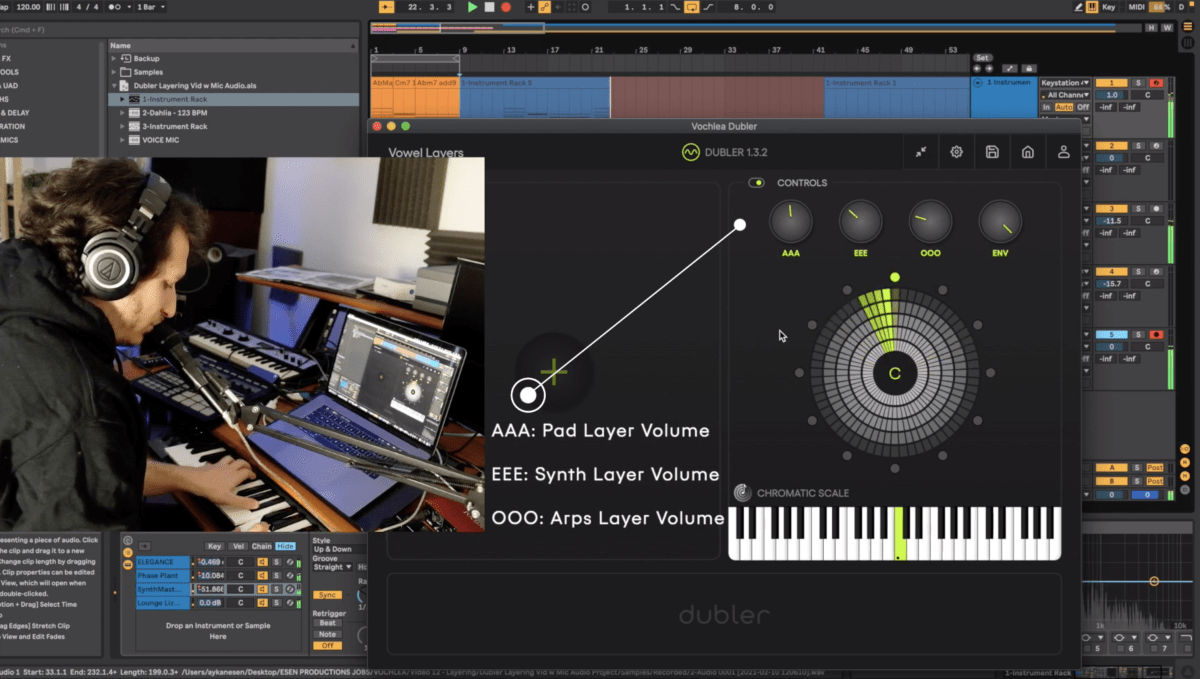
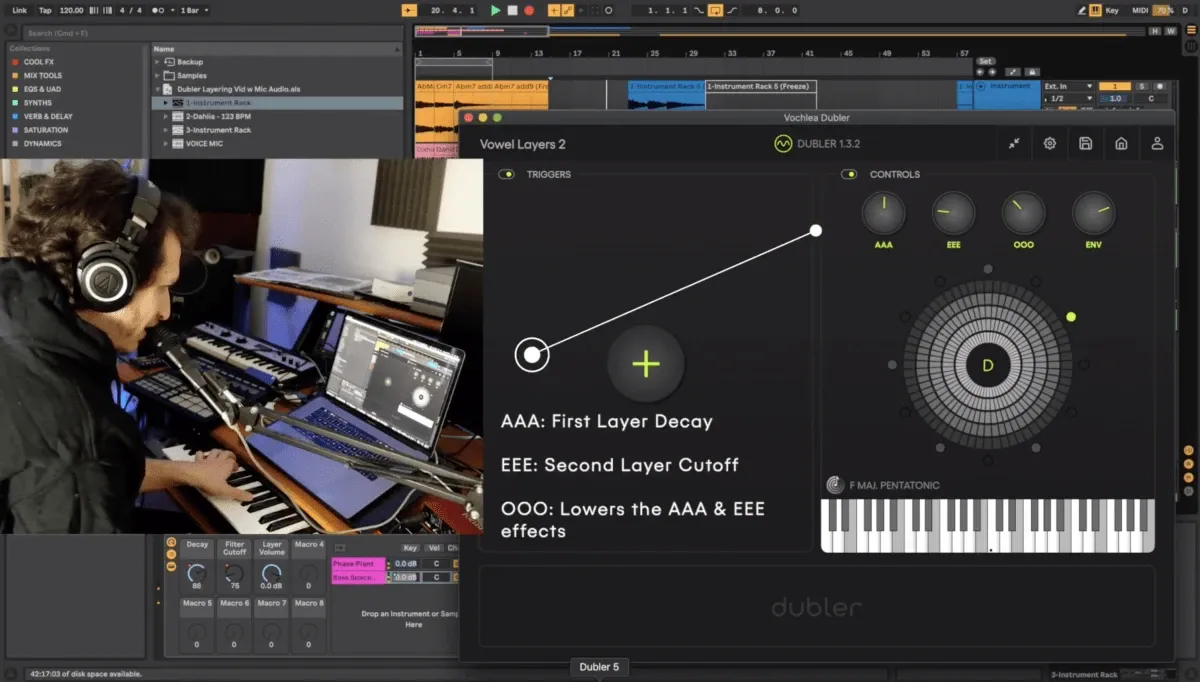
Let’s see how the pad sounds in solo with some live vowel automation. Remember, we're playing the notes on the keyboard and only using Dubler to affect the parameters mapped to the vowels. We’ll first try it out by emphasizing the different vowels one by one:
Now with a bit of inter-vowel movement:
Here’s the patch with the voice removed from the mix alongside a beat and bassline:
Note: Remember to have automation recording enabled in Ableton or whichever DAW you are using before recording your performance! If it isn't enabled, none of your automation will be recorded.
Here’s how the first layer sounds in solo with its Decay control being constantly modulated:
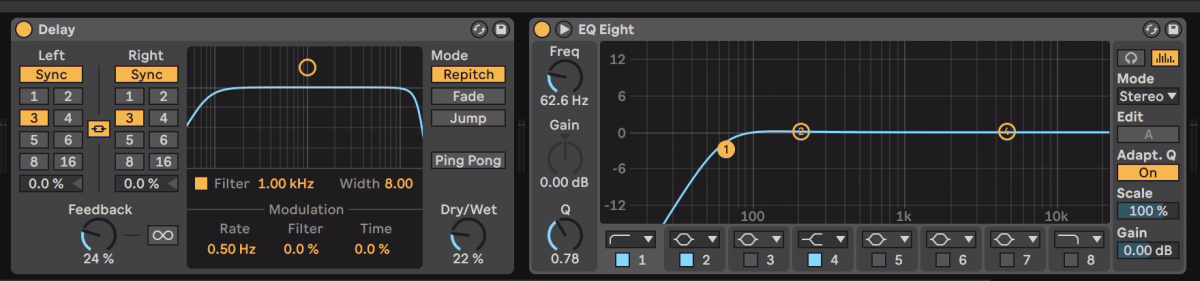
Here’s how the second layer sounds in solo with its Filter Cutoff control being modulated:
We didn’t map OOO to any controls, but it is still useful because emphasizing OOO becomes a short cut to reducing both AAA and EEE at the same time.
Here’s an example of a performance of this bass patch with the voice removed from the mix:
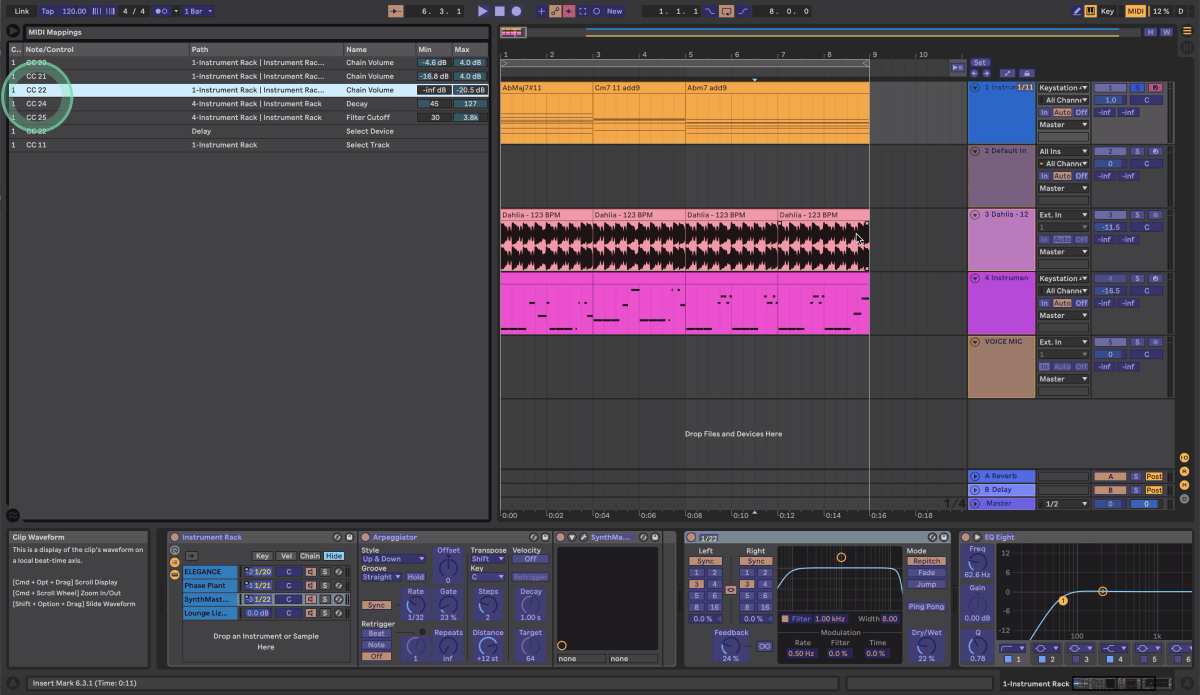
The CC Numbers in our first Dubler Profile for the pad
The CC Numbers in our second Dubler profile for the bass