Instrument to MIDI With Dubler 2
7 min read • 15th Feb 2023
Dubler 2 is mainly a tool for converting the voice to MIDI but many musicians including guitarists, woodwind players and brass players have been getting great results using their instruments as an audio input! Even if you don’t play an instrument, this could be a way to collaborate with musicians, generate ideas and write MIDI melodies in a completely new way.
In this article, we’re going to break down some settings in Dubler 2 that you can use to get much better results while using an instrument instead of the voice. To get a basic idea of some things you can do, definitely check out our latest video about using instruments to record MIDI with Dubler 2:
This content is hosted by YouTube and may set cookies.
Connecting to Dubler 2
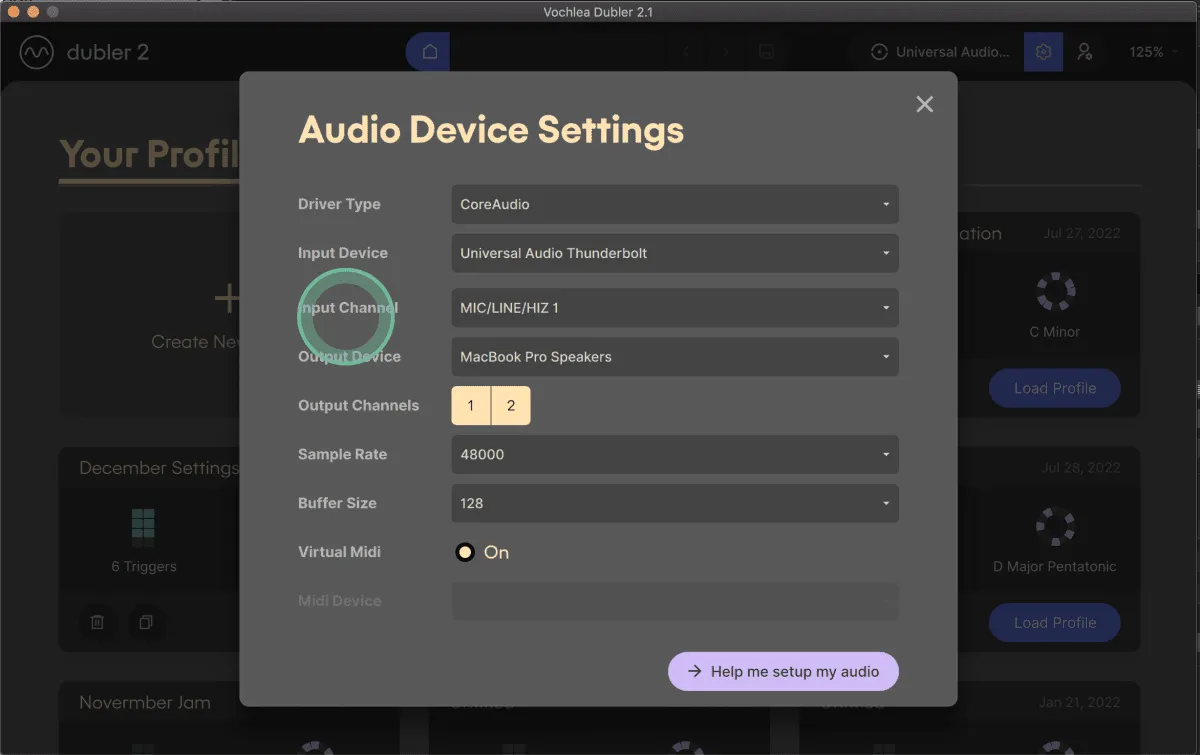
When using an instrument like a guitar that has a TRS/Jack cable output you’ll need to use Dubler 2 with a soundcard. You can select the input source in Dubler 2’s settings as shown below:
You’ll also need to use Dubler 2 with a soundcard if you’re using your own microphone to record your instrument. Dynamic microphones work best because condensers can be very sensitive and lower pitch accuracy!
If you own the Dubler USB microphone, which can be purchased either independently or as part of Dubler Studio Kit 2, you can simply connect that to your computer and use it to capture your instrument audio.
When positioning the microphone ensure that you’re playing as closely into it as possible. Any distance will increase latency!

Play Tab Settings
In the Play Tab there are three key settings that can help you get the best results when using an instrument. These are the Key Selection, Input Level and Stickiness parameters.
In terms of key, unless you’re sure that you’re going to only play notes from one scale, it’s a good idea to go for the C Chromatic scale. With every note available Dubler will pick up detailed movements and understand bend motions as sliding across a number of different notes.
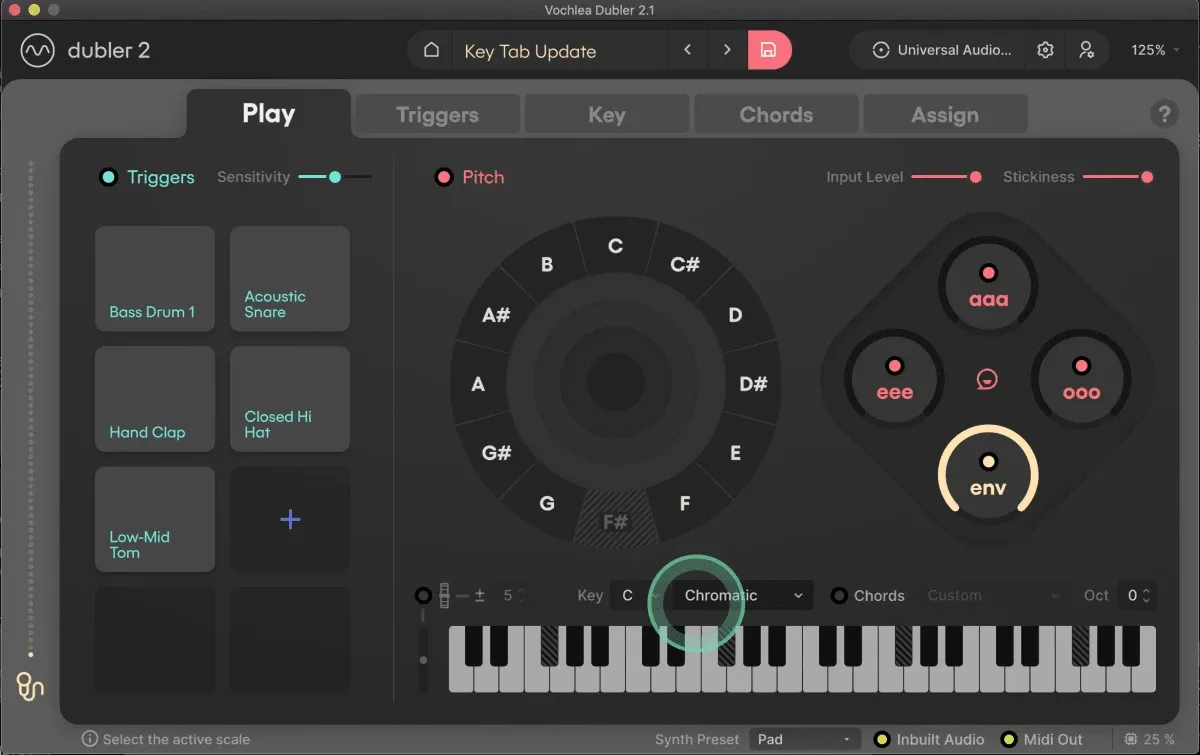
The first example in our “Instrument-to-MIDI” video at the top of the article shows this setting in full swing, with the pitch wheel responding to any note played by the saxophone.
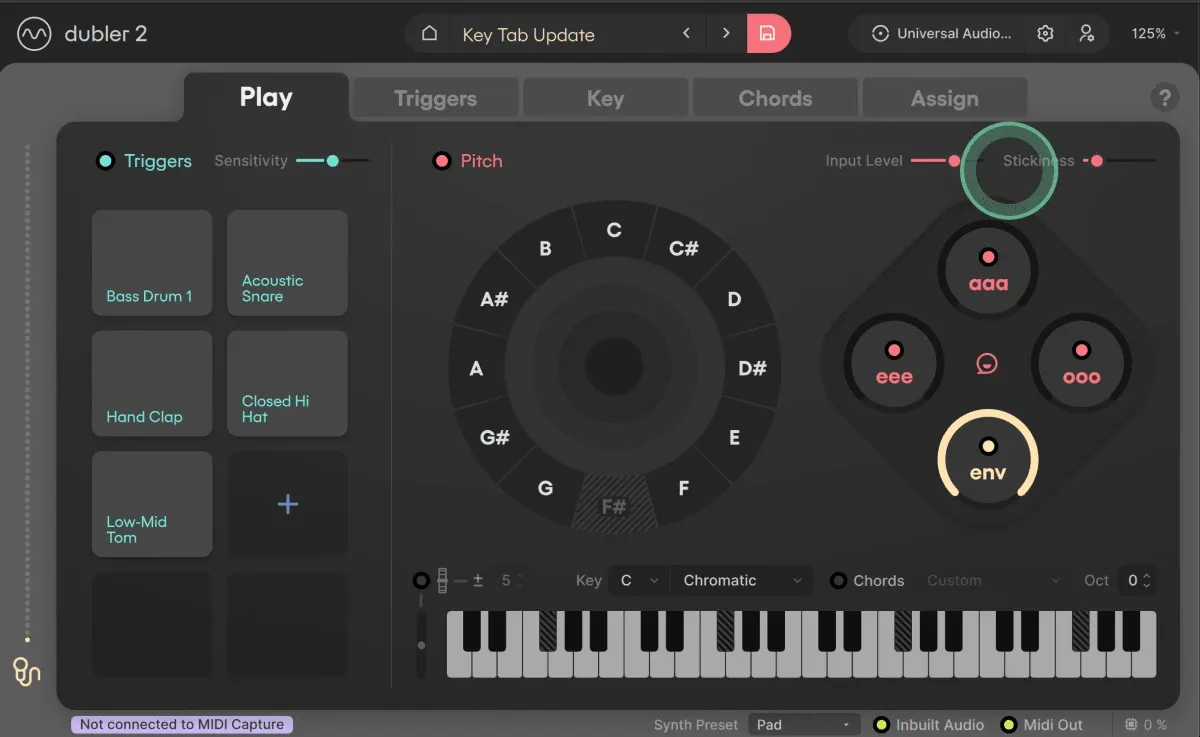
Stickiness is the next important setting, because it controls how easy it is to switch from note to note. A higher stickiness will create more resistance, but with an instrument this could cause latency. For instruments we recommend a mid-to-lower Stickiness so that the software is very responsive to each note you play.
To the left of Stickiness is Input Level, which should also be set to a mid-to-lower level unless your instrument is quiet. If you’re playing notes and they aren’t being detected, definitely try increasing the Input Level.
Recording With Pitch Bend
One of out favorite features of Dubler 2 is the ability to record MIDI with pitch bend. This also applies to instruments and can especially come in handy if you’re playing with more expression.
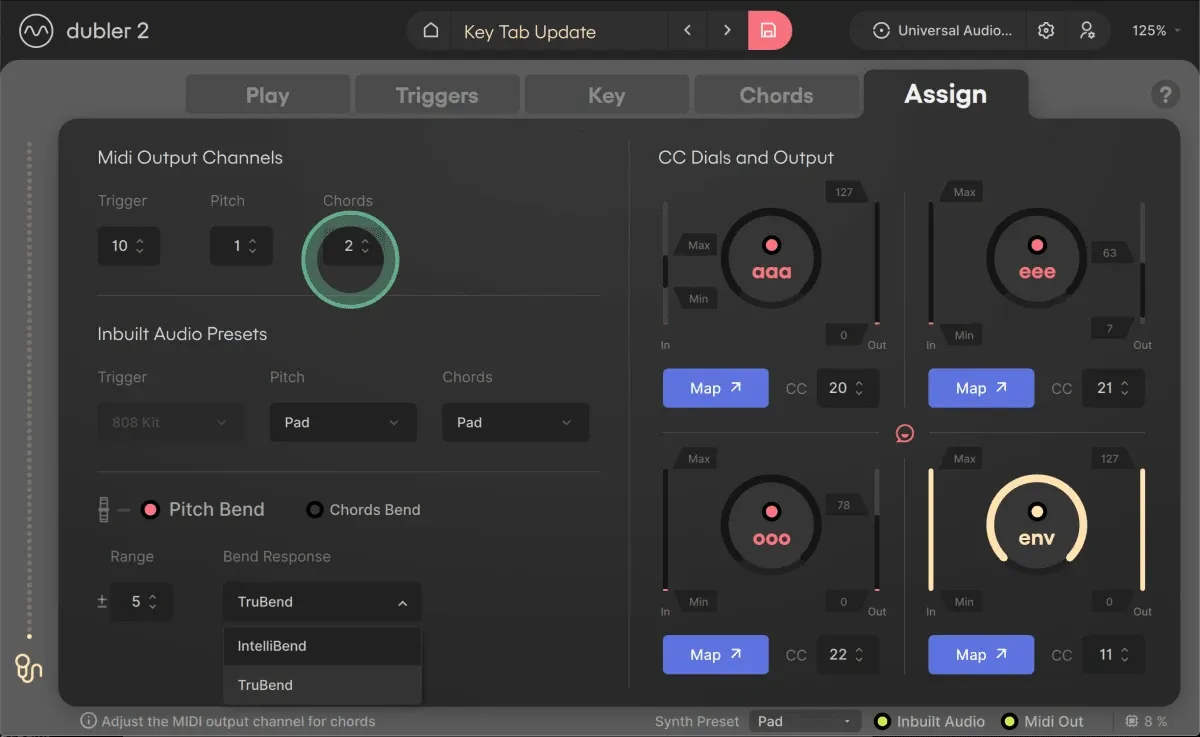
Turning on Pitch Bend is, however, not enough and there are some other settings you need to take into account. The first is Pitch Bend Range. The key here is making sure this value matches the value of the pitch bend range of whichever synth you’re going to control with your instrument.
The next important choice you have to make concerns which Pitch Bend Response Mode you’re going to use. Dubler 2 has two modes, TruBend and Intellibend.
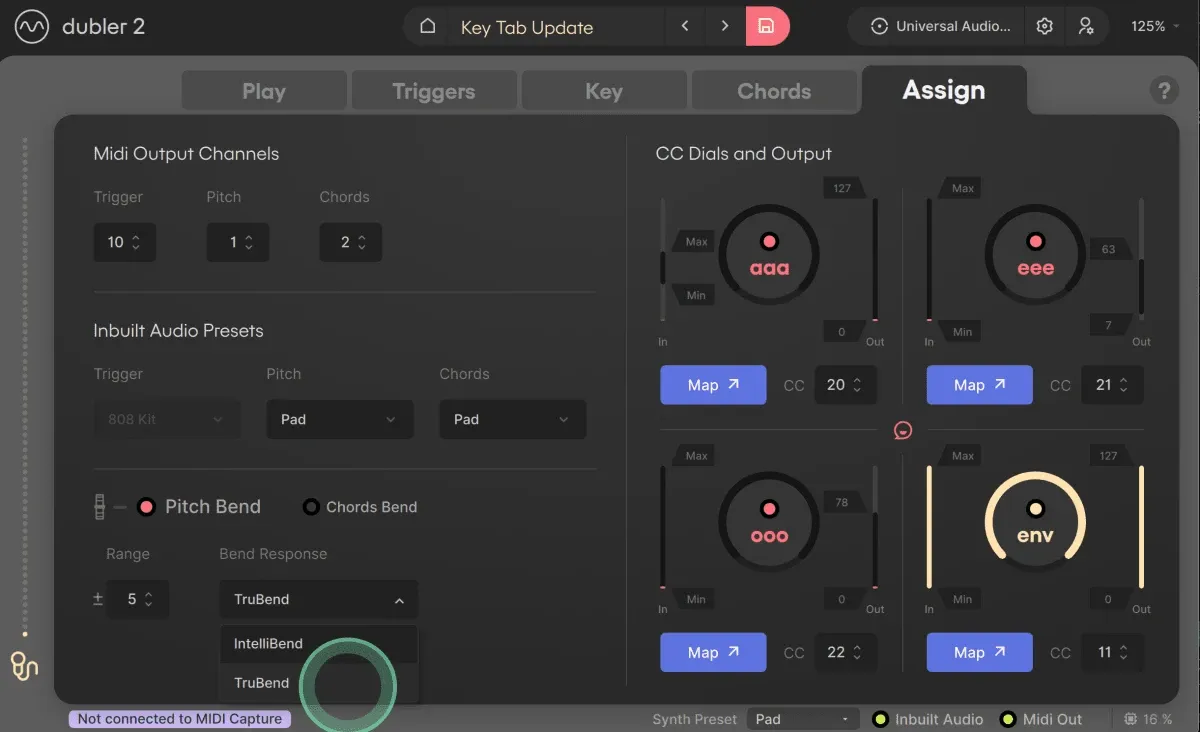
Intellibend is is a smarter pitch bend that will anchor you to a note until you clearly want to bend away from it. This may create problems for instruments if you want pitch to follow every movement exactly. Fortunately, this is exactly what the TruBend response mode does!
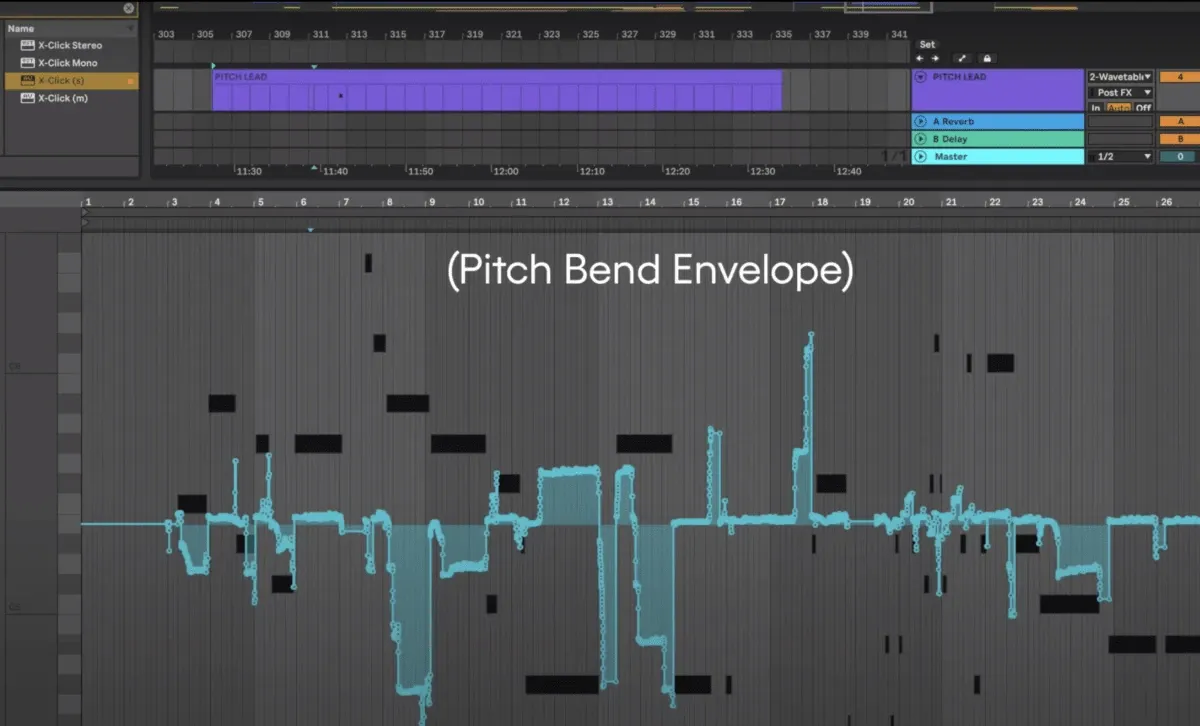
With Pitch Bend active you can edit your MIDI clip’s pitch bend envelope after recording. For example, the below picture is the envelope from the third saxophone example in the “Instrument-to-MIDI” video:
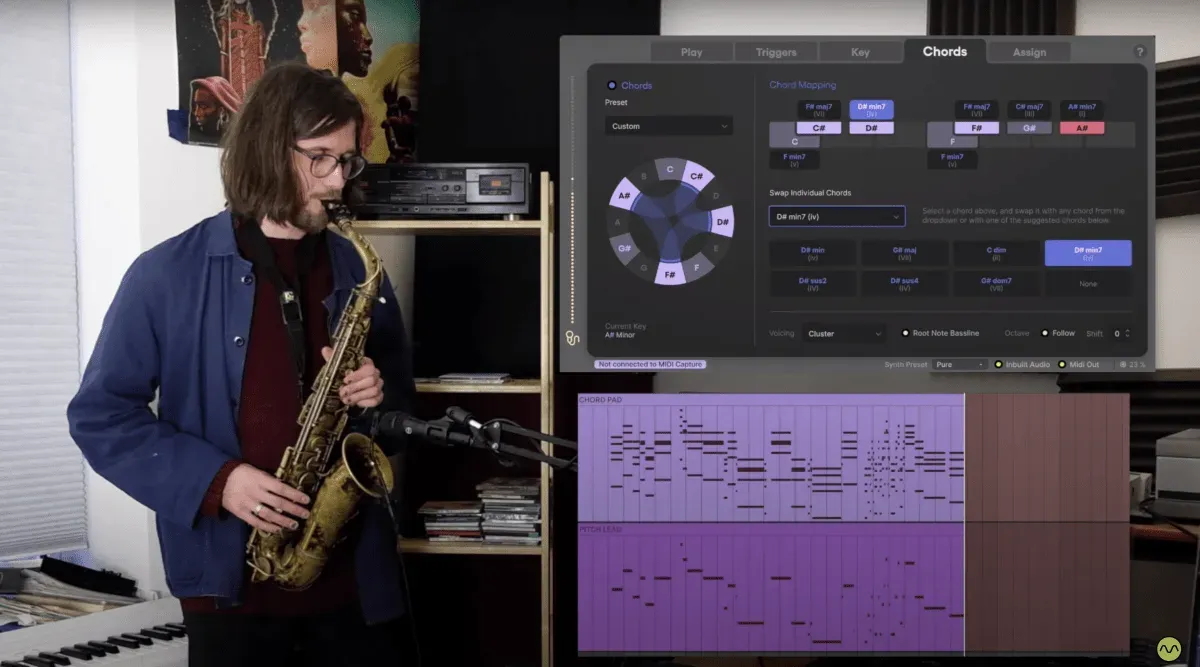
Playing Chords
Something really unconventional you can do with your instrument is use it to trigger chord MIDI in the Chords tab. We have a dedicated tutorial for how to use all of the settings in this tab, but a really handy trick with instruments is recording melodies and chords simultaneously. This is the technique we use in the second example in the “Instrument-to-MIDI” video.
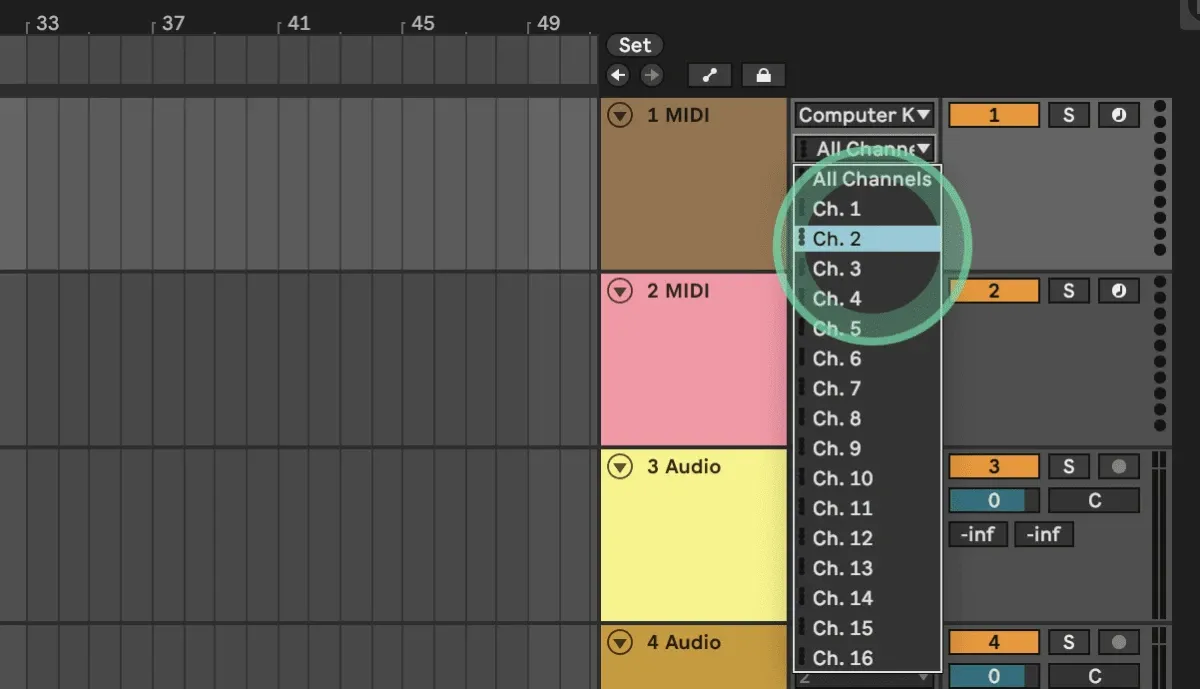
All you have to do is enable Chords, head to the Assign Tab, and set different MIDI Output Channels for Pitch and Chords. Next, in your DAW load up two new MIDI channels and set their MIDI inputs accordingly.
Note that It is best to lock yourself to a Major or Minor key if you're going to use your instrument with the Chords Tab!
Dubler 2’s large chords work great with epic pad sounds and orchestral ensemble sounds!
Controlling Effects With Your Loudness
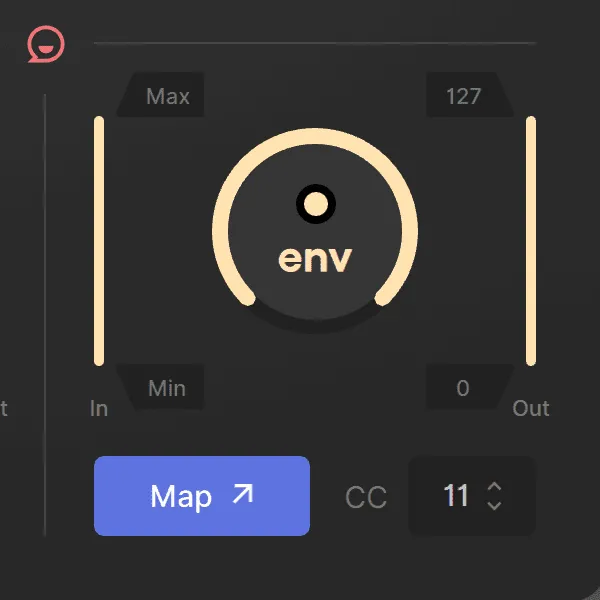
One last trick that can give you a whole new level of expression with Instrument to MIDI conversion is mapping parameters to your instrument’s loudness. This can be done via Dubler 2’s ENV knob in the Assign Tab.
MIDI Mapping is done differently in every DAW but once you’re in MIDI Mapping mode in your DAW and you’ve selected which parameter you want to map, all you have to do is click Map in Dubler 2 below ENV. The detailed controls around the ENV knob like sensitivity and MIDI Output range gives you full control over how your parameter reacts to your loudness.
Some ideas to get you started could be mapping the filter cutoff, reverb amount, or other effects’ dry/wet in the synth you’re controlling. In the third clip in the video, George has it mapped to an LFO amount that adds a wobbly quality to his synth when he plays louder.
If you have any questions about Dubler 2, converting instrument to MIDI be sure to drop a comment here or under the Youtube video and we’ll get right back to you!