Improvising Basslines With Dubler 2
5 min read • 6th Apr 2023
One of the best ways to use Dubler 2 is to hit the record button, sing a bunch of ideas, and choose the best moments from the resulting MIDI. Working this way will allow you to come up with tons of options for unique and complex basslines.
In this article we’re going to look at the steps to do just that, while also discussing the ideal settings in Dubler for recording basslines. Let’s dive right in!
Settings For Singing Basslines
Firstly, it really helps to choose a scale in Dubler 2, so that all of the notes we sing will be corrected to one key. The easiest way would be to just select a Major or Minor scale, but you can also use the Auto Key Detect feature to sing in an idea and have the software give you a list of suggested scales to choose from.
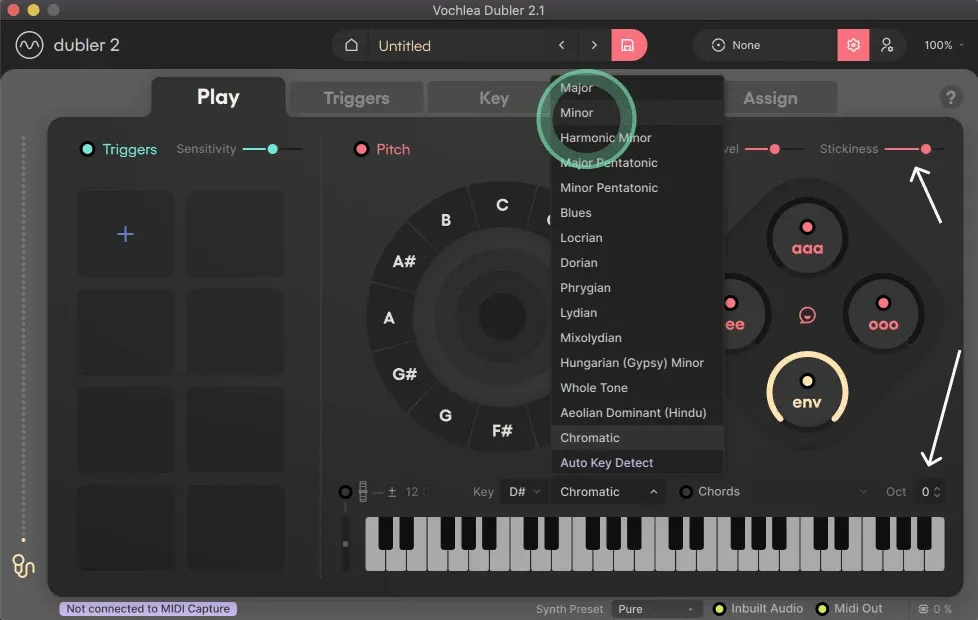
The second important control to consider is the Stickiness at the top right. A higher stickiness will make it slightly harder for Dubler to switch from note to note, so you can increase this if you find that the notes you are singing are jumping around too much. Everyone has an ideal Stickiness setting!
Lastly, the octave control at the bottom right is crucial. You can set it to -1 or -2, in order to sing low bass notes using high notes with your voice. Dubler 2 will understand higher notes more clearly and this will greatly increase the accuracy of your MIDI.
Recording With MIDI Capture
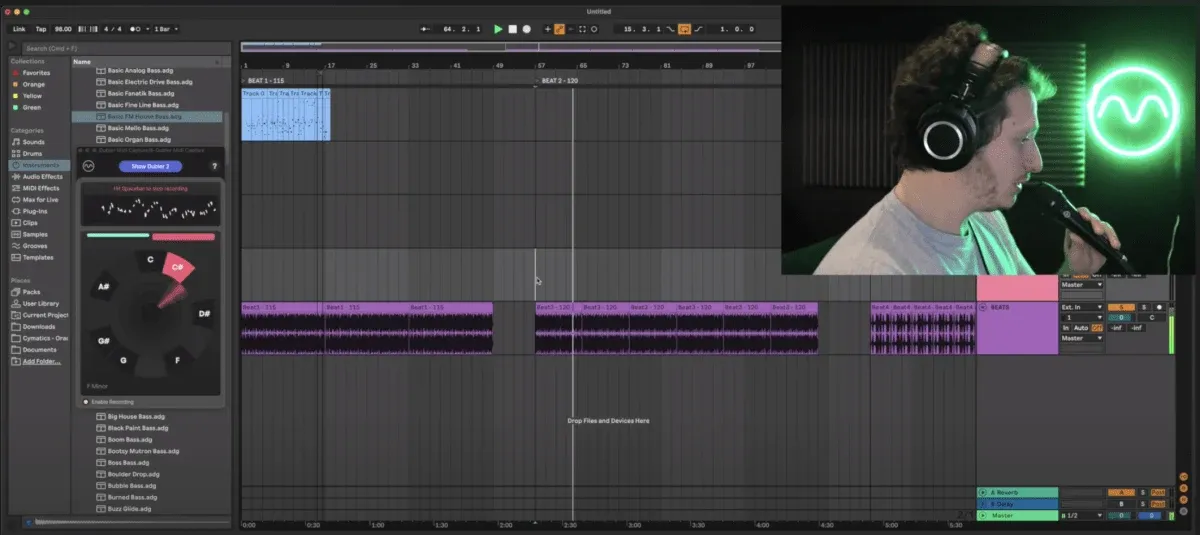
We’re going to record using Dubler 2’s MIDI Capture companion plugin. This is ideal for recording basslines because it cleans up ghost notes and notes that jump an octave up or down by mistake.
All you have to do is place MIDI Capture on an empty MIDI channel, record arm the MIDI channel that contains your instrument, and hit spacebar to start recording.
Top Tip: When recording really let yourself experiment with different melodies and rhythms to add a lot of variety to the MIDI you’ll get. A slow tempo will leave plenty of space for that!
Once you’re done you can choose the Raw or Clean version of your MIDI clip to drag into your session.
We have some pre-made beats ready to record over, but there’s one more thing we can do that will really help us come up with some incredible lines; lowering our BPM and recording at a slow tempo!
When you record like this, you’ll be able to sing busier and more interesting lines without worrying about keeping up with a fast beat. Also, it your parts will sound much more epic and complex when sped up!
For example we have this 123 BPM house beat here:
We’ll lower our BPM all the way down to 98 and record with MIDI Capture.
(As a disclaimer, this will sound unmusical as a whole but we’re only after those golden 2 or 3 loops)
We’ll lower our BPM all the way down to 98 and record with MIDI Capture.
Using Loops To Find Moments
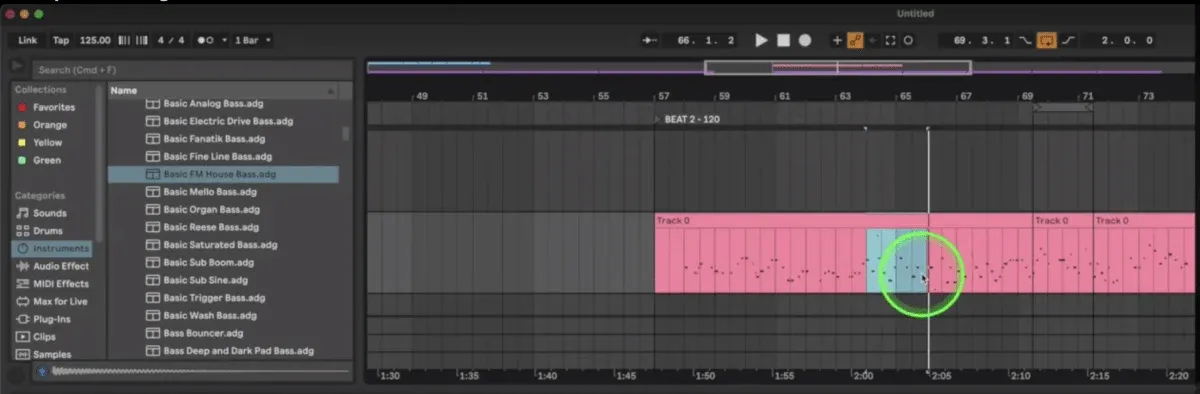
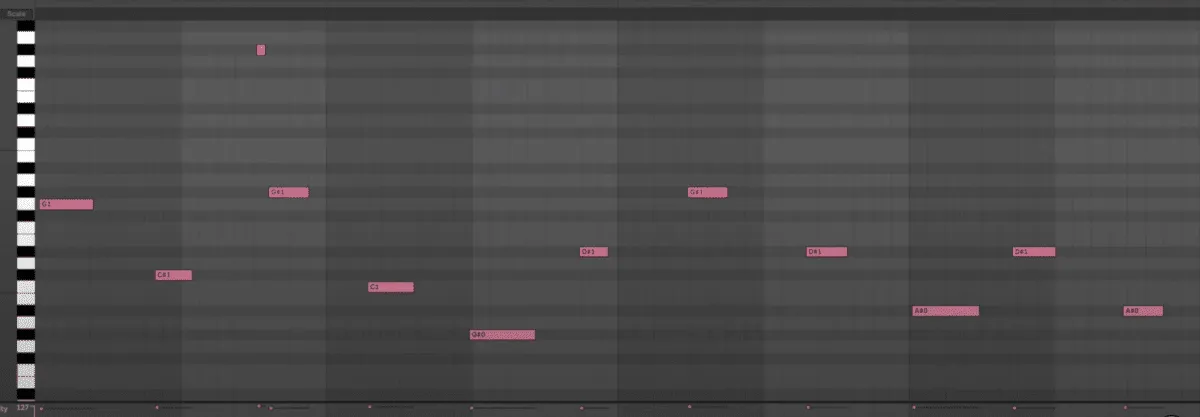
Now that we have our clean MIDI we can speed it back up to 125 BPM and choose the best loops using our DAW’s loop function. Try looping in even 1 bar, 2 bar, 4 bar or 8 bar intervals.
After finding your best moments you can slice them into new MIDI files and separate them out to use them in the current track you’re working on or any future productions.
Here are some basslines we got from this recording:
Changing The Bass Sound
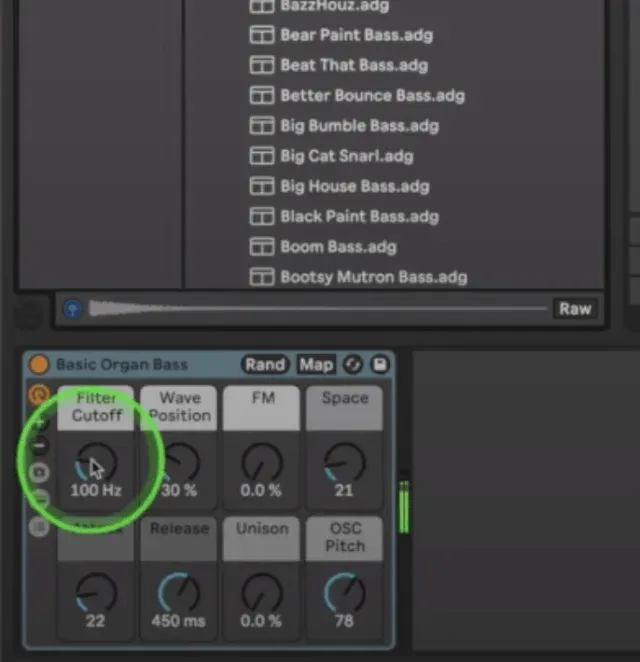
One of the best things to do after you have a ton of MIDI basslines is to experiment with different bass sounds while the MIDI is looping. In the examples below we’ve taken our bass loops from above and tried them with different bass instruments in Ableton.
You can also tweak the synths’ parameters while the loop is playing to demo how the bass would sound with some effects and automation!
More Examples
If you want to check out more examples, we apply this technique three times with three different styles in the below video!
As always if you have any questions be sure to comment on the video or reach our team at help@vochlea.co.uk