Getting Into Music Production: A Guide for Singer-Songwriters
12 min read • 3rd Sep 2024

In today’s fast-paced music industry artists need the skills to turn their song ideas into finished productions as fast and as efficiently as possible!
As a singer or songwriter, it’s common to have files full of voice notes or raw demos that you end up not releasing, unless working with an experienced producer. The problem is that it can be time-consuming and expensive to depend on producers, let alone trusting them to execute your vision.
The alternative, which is getting into music production yourself, can feel daunting - but it doesn��t have to be! There are countless tools available that will allow you to complete the whole process of producing and releasing your own songs all by yourself - without putting hundreds of hours in.
In this article we walk you through all of the tools you'll need to produce your own tracks, covering equipment required, mixing and mastering websites, technology that allows you to sing instruments with your voice, and even platforms that will get your music to streaming services for the best prices.
Let’s dive into it!
Your Equipment
When people think of producers they tend to have this image of someone surrounded by thousands of dollars worth of gear and synths. You’d actually be surprised how many of the biggest hits in recent years have been produced with just a laptop, microphone, and headphones. Gear usually comes into play more during mixing or mastering, but we’ll get to that later.
1 - Computer and Heaphones
Music production software can be pretty straining for computers so you’ll want a laptop or desktop computer with at least 8 or 16 GB of RAM. Storage is also a major consideration because even one song’s project file can take up 1-5 GB. As such, we recommend a computer hard disk size of at least 256 GB. If your system has less space, you could of course alternatively store your projects on an external hard drive!
It goes without saying, but laptop speakers are definitely not the most ideal points of reference while producing music! You’ll want a good pair of studio headphones that are available for all budgets. Musicradar has put together a great list of options here: https://www.musicradar.com/news/best-budget-studio-headphones
In the long term you’ll also want to invest in studio monitors, but while starting out headphones will be more than enough!
2 - DAW
A digital audio workstation (or DAW) will be the main program you use to produce music.
There are many DAWs currently on the market and each has a different workflow, but they all share a number of key features, such as:
The ability to record vocals and physical instruments, as well as virtual instruments
Specific controls for editing and arranging a song
Large banks of virtual instruments and loops
Creative effects and mixing/mastering tools
If you have a Mac computer the DAW GarageBand comes for free and is a great place to start. Logic Pro X would be the next level up and it currently has a price tag of $199.
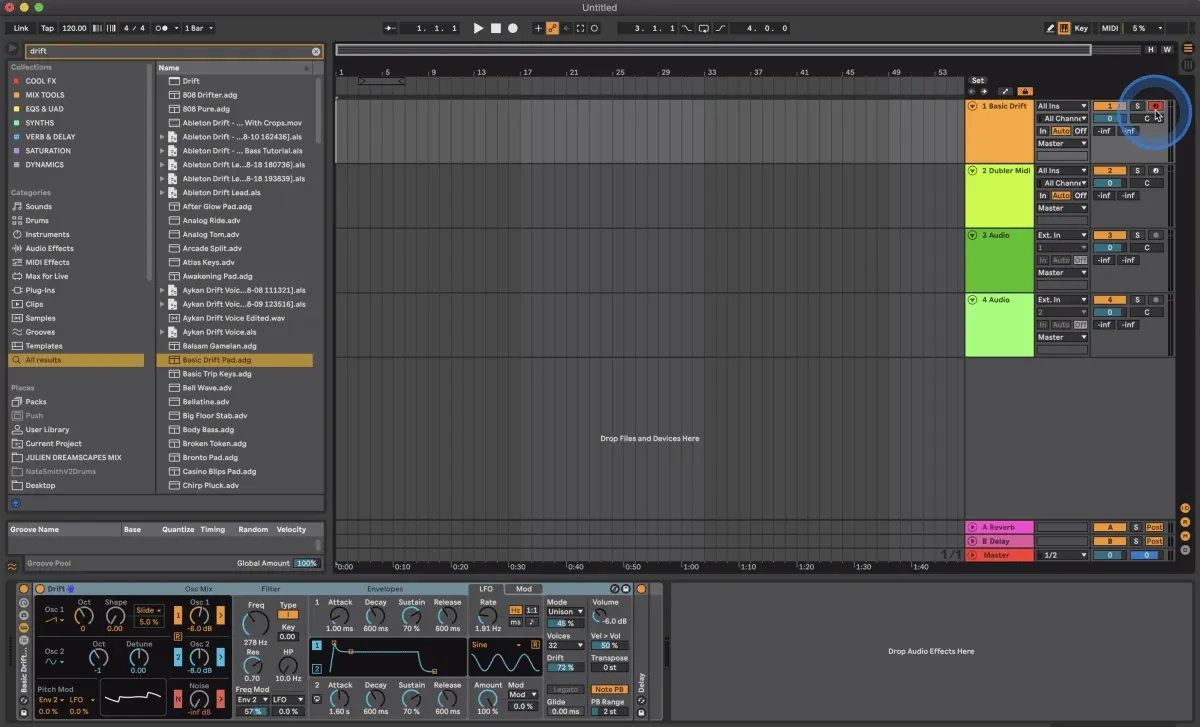
If you’re on a Windows computer, we recommend starting with Ableton Live 12 Intro (pictured below), which has a price of $99, but is included for free with a lot of MIDI Controllers. We'll get into more detail about MIDI controllers shortly!
Other popular DAW options are FL Studio and Pro Tools, though there are many others.
3 - Audio Interface and Microphone
Audio interfaces can be described as a physical bridge between your computer and your musical instruments and microphones. It’s essentially a translator that helps your computer understand and process audio signals.
They tend to be small box-sized devices that connect to your computer via USB or USB-C and have inputs and outputs designed specifically for recording and playback. The inputs can be connected to microphones or guitars, allowing you to record high quality audio.
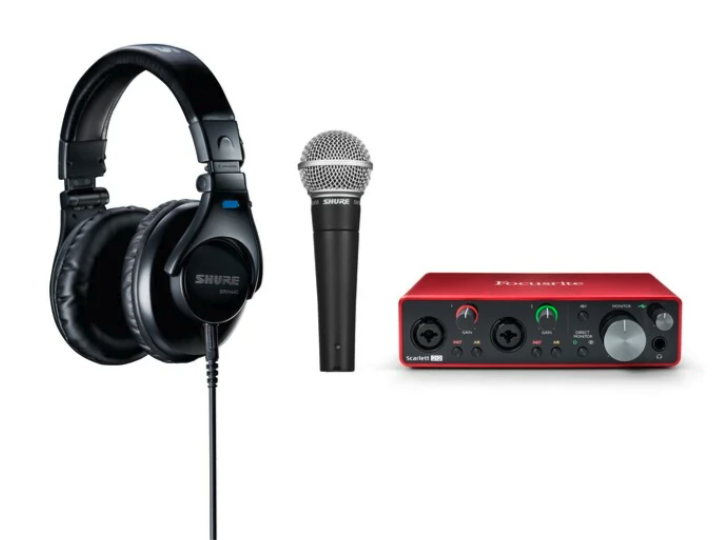
Most people start their music production journeys with a Scarlett 2i2 interface along with a Shure SM58 microphone (pictured below). There’s no problem with buying second-hand to save some cash as well!
The first step of producing your song will be getting your ideas into your DAW by recording via your audio interface.
But “produced” songs have a lot more sounds than just guitar or vocals, so how can you add those in?
4 - MIDI Controller
This is where MIDI controllers come in. Traditionally, these are portable piano-style keyboards that connect to your computer via USB and send MIDI information to your DAW. This allows you to play any virtual instrument in your DAW with a keyboard.
This can be off-putting to new producers, especially if you don’t already play piano or keys. The thought of having to learn how to play keys in addition to learning a DAW can definitely be stressful.
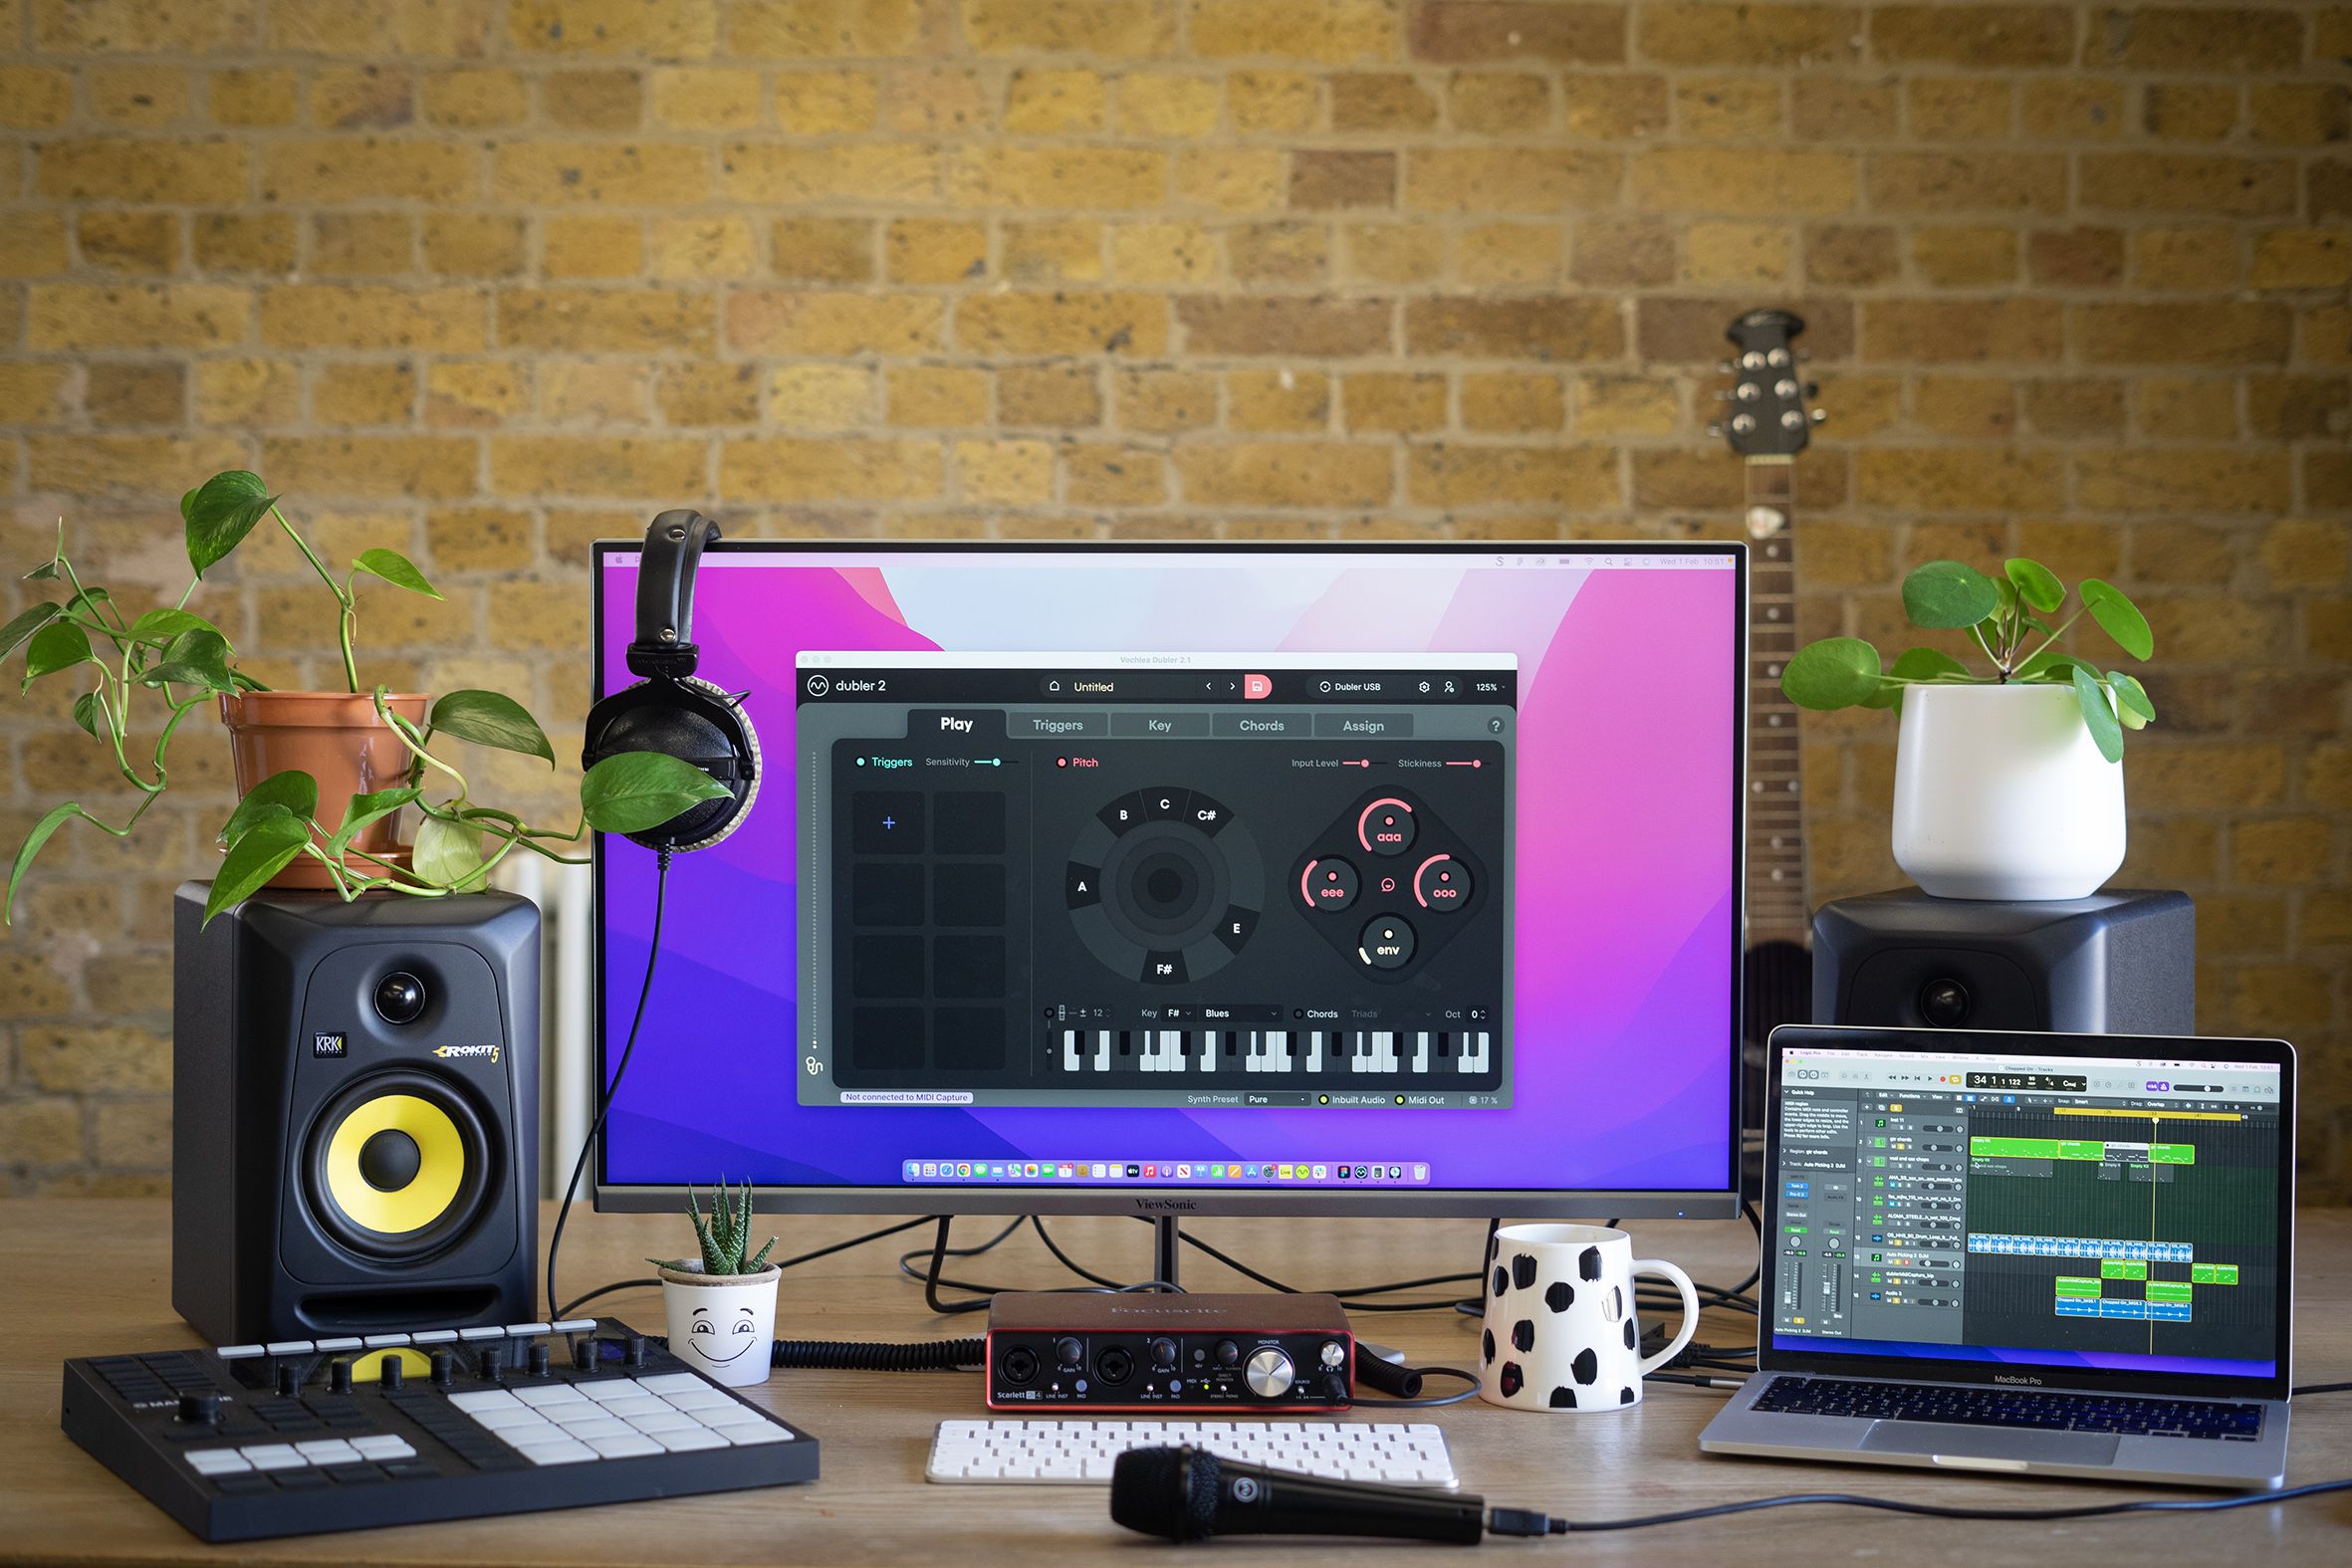
However, this is the year 2024 and a new kind of MIDI controller has arrived! Dubler 2 is a program that turns your voice into a MIDI controller. Just sing, beatbox, hum or whistle your ideas and Dubler 2 will translate them into MIDI notes, allowing you to easily compose using all of the sounds in your DAW.
Here are a couple of videos of singer-songwriters demonstrating this.
One of the best parts about the Dubler 2 software is that it can be used with any dynamic microphone, like the Shure SM58. So you can use the microphone you use to record vocals, to record MIDI as well!
Next Steps
1 - Learning Your DAW
Even though it may seem intimidating, putting the hours into learning your DAW is beyond worth it. Even after a couple hours of exploring and learning a DAW you will see incredible results!
There are so many tutorials and free courses online for each DAW and even the combination of each DAW with the style of music you want to make. It will be overwhelming in the beginning, but there is absolutely no need to learn everything at once.
You just need to reach a reach a point where you know how to record audio, load up virtual instruments, use your MIDI controller, and add effects. As you keep improving and researching you’ll seek out more techniques, which is when you will start to watch more specific tutorials and learn as you go.
We guarantee you that within one hour of watching a DAW introduction tutorial, you could easily be recording guitar and vocal parts into your DAW and even doing things like adding lush pads and effects!
2 - Expanding Your Sounds & Effects Library
A lot of DAWs and especially the ones we recommended above have incredible libraries of sounds and effects, but this doesn’t mean that you have to be limited to them.
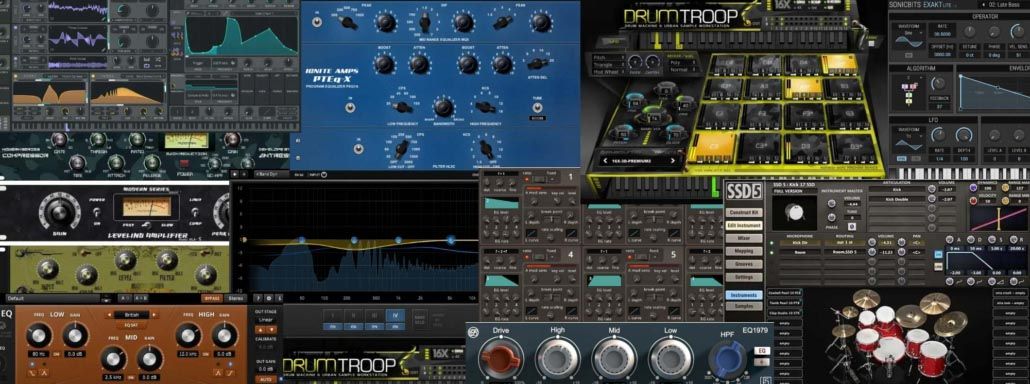
This is where plugins come in. These are software components that you can add to your DAW, to enhance its functionality. This can be in the form of synthesisers, drum sample kits, effects like delay and reverb, EQ's or even software emulations of guitar amps.
One trap that beginner producers can fall into is buying too many plugins without even having explored the full capability of their DAW’s sounds. There’s nothing wrong with having more sounds and effects, but make sure to finish at least a couple songs with just your DAW’s library, before starting to spend money on plugins!
3 - Understanding Mixing and Mastering!
Mixing is a bit of a sore subject for new producers. It happens to everyone - you’ll finish a great demo with lots of vocal recordings, virtual instrument sounds, and even a great arrangement. But then you’ll play a song on Spotify and compare the sound quality with your new production. This will generally not end well and you may feel disappointed and discouraged.
You just always have to remember that mixing and mastering are two essential steps in getting a song to sound professional and ready for platforms like Spotify. Without these steps it is almost impossible to compete with mastered and released tracks.
Mixing is a process that involves every single instrument or sound on your arrangement. The goal of it is to achieve a great overall balance while getting the most sound quality out of each part.
Mastering is done to the final export of your mix. It’s the process of making your song sound cohesive and louder, while also making sure that it will sound great on all listening devices (phone speakers, headphones, hi-fi speakers, car speakers, bluetooth speakers etc.)
There is nothing wrong with paying professional mixing engineers and mastering engineers to mix and master your song. However, if you are able to learn even the basic principles of mixing and apply these to your song, an automatic Mastering website can be enough to finish your track.
The most popular of these websites is Landr with lots of affordable Mastering plans: https://www.landr.com/online-audio-mastering/
However, make no mistake - hiring an actual experienced Mastering engineer will give you the best results.
soundbetter.com is a super resource for finding mixing and mastering engineers for all budgets and you can even listen to examples of their work.
In terms of learning how to mix yourself you can find loads of free tutorials on Youtube as well as tons of courses online. Just be wary that mixing tutorials can become an endless rabbit-hole, so we recommend finding one specific channel or tutor and sticking with them to get cohesive guidance.
4 - Releasing Your Music
Some General Advice
This has been a long article, so you might be thinking that the learning curve is quite steep when it comes to music production for songwriters - or anyone else who hasn’t used a DAW before. All you have to keep remembering is that this is a process. Don’t. Give. Up. The best part about the process is that every time you reach a new milestone you’ll have learned a new skill.
Even adding one sound to your song that you wouldn’t have been able to add before is such an amazing feeling, let alone learning how to mix all the parts and experiment with new effects.
Stay open to new ideas, talk to other producers, watch tutorials, practice regularly, take notes and soon enough your melodies, chords and lyrics will transform into release-ready productions.
We hope you’ve found this guide helpful and if you have any questions please get in touch with us at help@vochlea.co.uk - we’re always happy to help!