6 Techniques for Orchestral Composition with Dubler 2
7 min read • 17th Nov 2021In this article we look at six techniques you can use with Dubler 2 to level up your orchestral composition skills.
We also recently released a video on our Youtube channel Vochlea Music where all of these techniques and more are used to sculpt an arrangement and you can watch that below:
Dubler 2’s new features like chord voicing types, chord presets and precise control over MIDI-mapped parameters make it really easy to get live sounding expressive performances and find great chord progressions quickly.
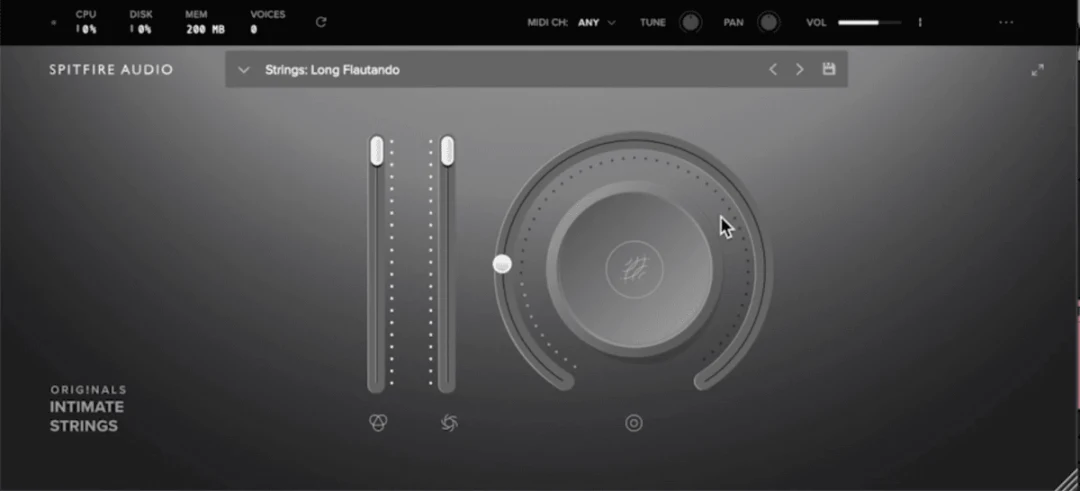
These techniques work even better if you’re using high quality orchestral instrument-emulating plug-ins. For the audio examples we used (and highly recommend) Spitfire’s Audio free BBC Symphony Orchestra Discover plug-in and their budget-friendly Originals libraries Intimate Strings and Epic Strings.
Technique 1 - Using Input Volume for Realistic Dynamics
To avoid software orchestral instruments sounding too robotic it is good practice to have their volume rising and falling as they play to recreate the dynamics of a real player.
Dubler 2 allows you to do this in realtime as the loudness of your voice can be traced and applied to your instrument’s volume parameter in real-time via the ENV control dial. One of the best aspects of this dial is that tends to be automatically mapped to the velocity dynamics control of synth plug-ins.
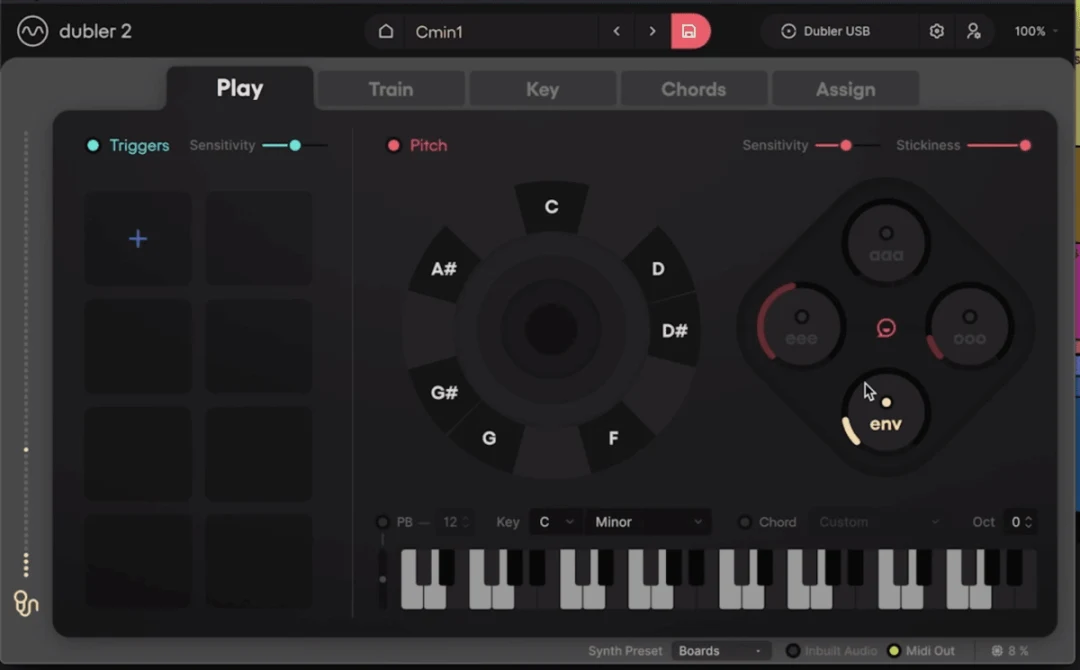
This also applies to the Spitfire plug-ins we’re using, so even without doing any MIDI mapping the loudness of our voice affects the instrument’s volume.
Here are a couple examples where we change our dynamics while singing to edit the strings’ volume:
Dubler 2 has detailed control over the control dials in the Assign tab and this allows you to determine the sensitivity of the ENV parameter, as well as its minimum and maximum values.
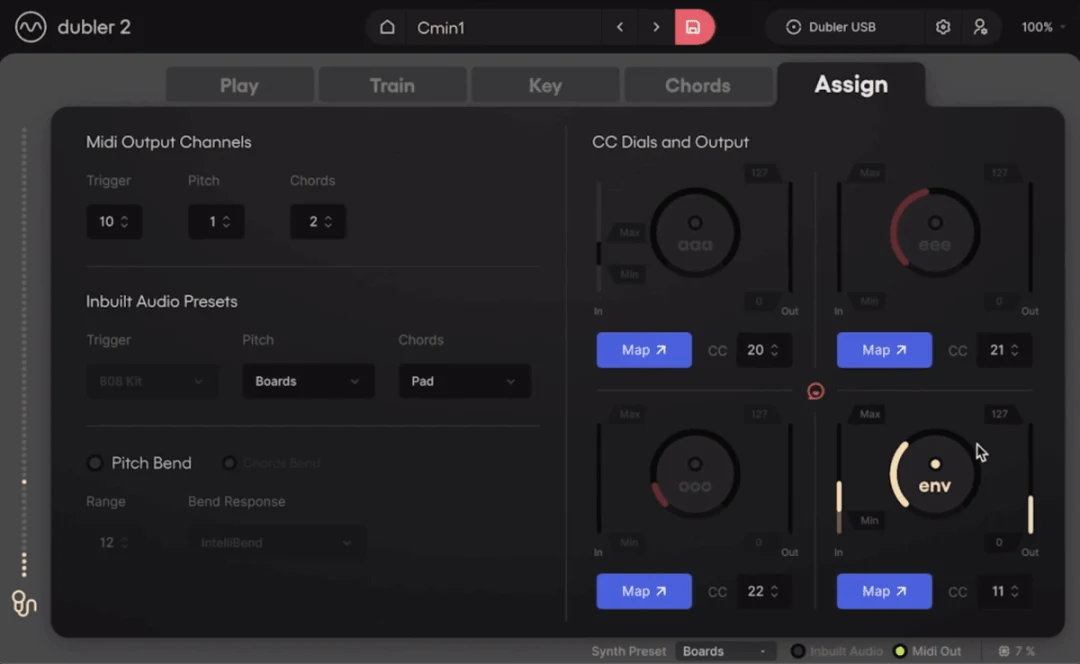
Decreasing the left-side Max In value can have the envelope open faster when you get louder for example. Increasing the Min In value requires less input volume for the instrument to get louder. On the right, you can set the maximum and minimum cc values to determine the quietest and loudest the instrument can get.
It’s definitely worth taking the time to tweak these parameters in the Assign tab until you find a setting that works best with your voice! You can then save the settings in one of your profiles.
Technique 2 - Using Slash Chords
The Chords tab is one of Dubler 2’s most exciting features and it allows you to assign chords to each note in the scale you’re singing. With chords enabled, you’ll then get the full MIDI of the chords in your DAW, as opposed to the single notes you sing.
There are triads, 7th chords, sustained chords and more options to choose from and one thing we like to do to get some interesting chord progressions is using slash chords. This is when you have one note’s chord shape playing over a different root note.
If you look at the image below you can see that for the C, D, F and G chords we’ve simply used their minor 7th chords. However, for the D note we’ve used a G minor chord, for the D# note we’ve used a G#maj7 chord, for the A# note we’ve again used a Gmin7 chord.
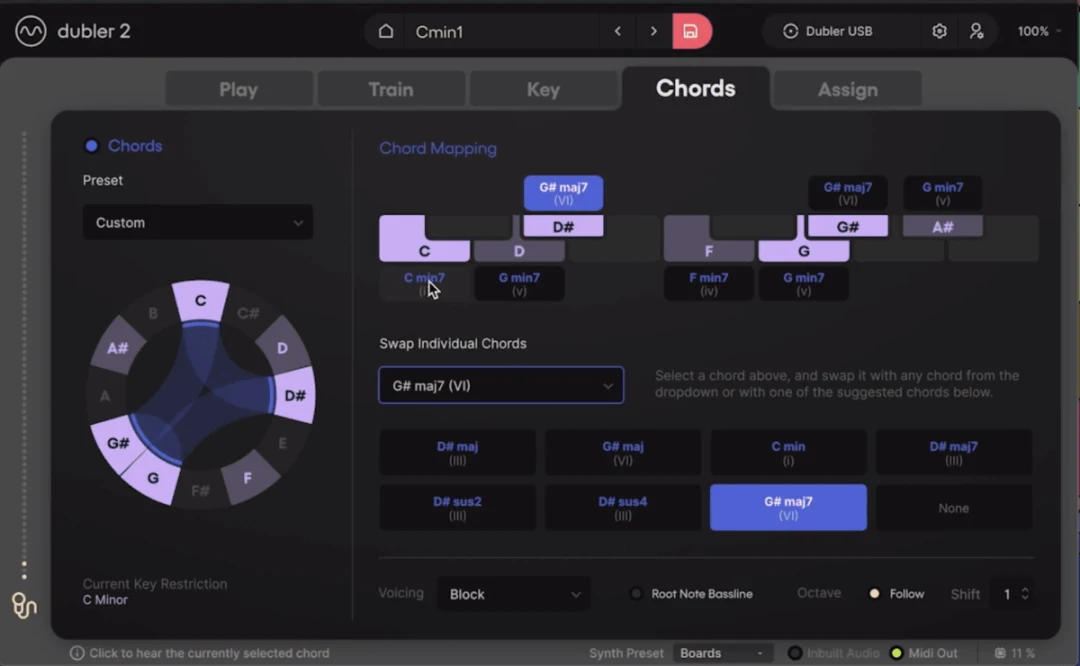
As a result, we’re using slash chords for the D, D# and A# notes. Here’s how some of these chords sound performed with Dubler 2:
Orchestral Ensemble presets that spread different string instruments throughout octaves really do the chords justice and we definitely recommend Spitfire’s Epic Strings for the task!
Technique 3 - Using the Spread Voicing
The Voicing dropdown list in the Chords tab includes a Spread option that makes orchestral ensemble chords sound even more full and dynamic. This mode spreads the notes in a chord voicing across four octave ranges and you can even make this five by adding a lower root note via the Root Note Bassline button.
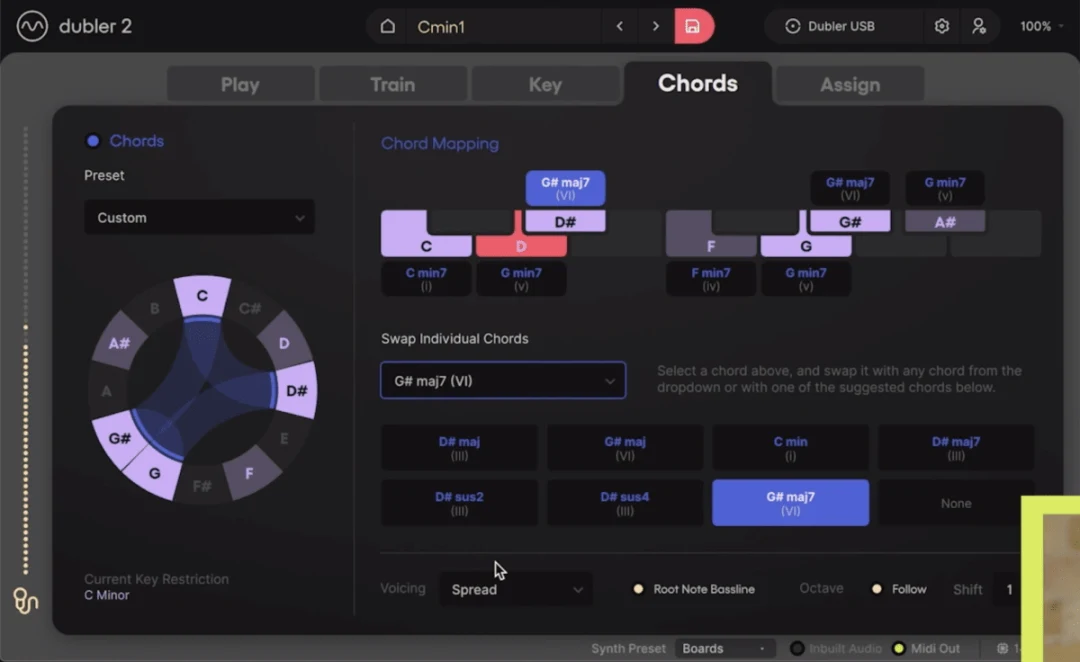
Here’s an example along with the MIDI notes shown in the piano roll:
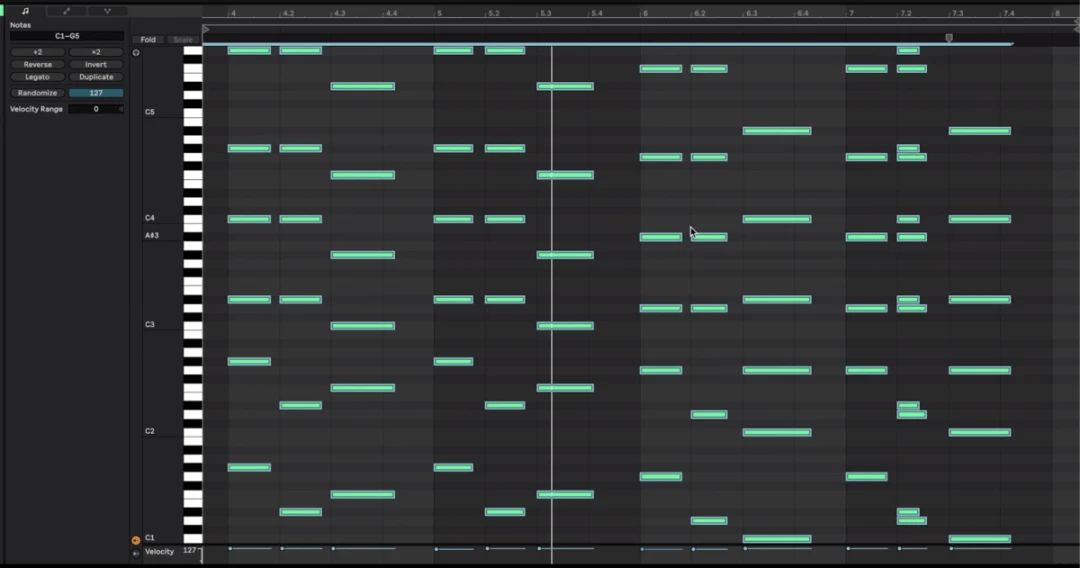
Here’s another example, again performed with the Spread voicing type:
Getting all of the chord MIDI is really convenient and it allows you to make edits to the chords like deleting notes or adding new ones to change up the chords even more.
Technique 4 - Arpeggiating Chords
While we have all of these chords playing across multitudes of octaves we can insert an arpeggiator to get some unique melodic lines. Here’s an example using the same chord preset above but with a cello instrument with an arpeggiator on its MIDI channel:
Another thing you can do is record arm and perform two instruments at the same time - one playing the chord as it is and the other playing an arpeggiated version.
Below we have the ensemble preset from the last steps playing the chords and a violin instrument playing arps. Both are record armed so when we sing in a note we can hear both instruments:
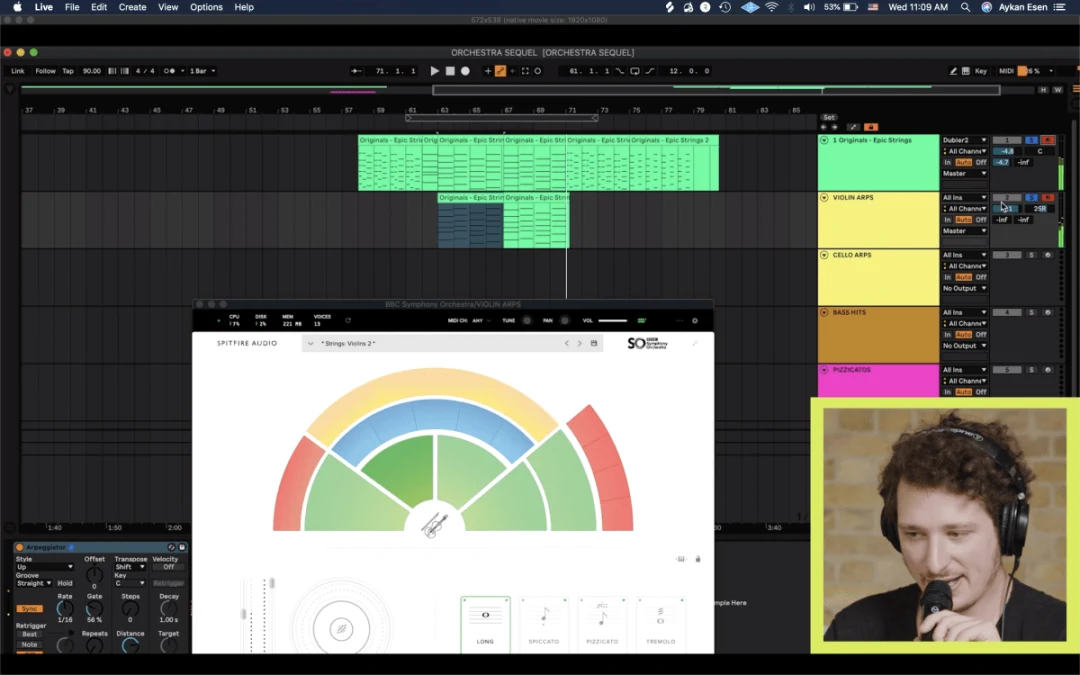
To get even more interesting melodies from arpeggiated parts make sure to change parameters like the rate and pattern in your arpeggiator device while singing. We demonstrate this arp technique in our previous video about orchestral tips for Dubler that you can watch here:
Technique 5 - Performing Tuned Percussion With Pitch
While Dubler 2’s trigger side is more commonly associated with drums and percussion, performing tuned percussion presets with Dubler 2’s pitch is another option.
This is really fun, gives great results and is convenient because the pitch lock keeps all of your drum hits in key.
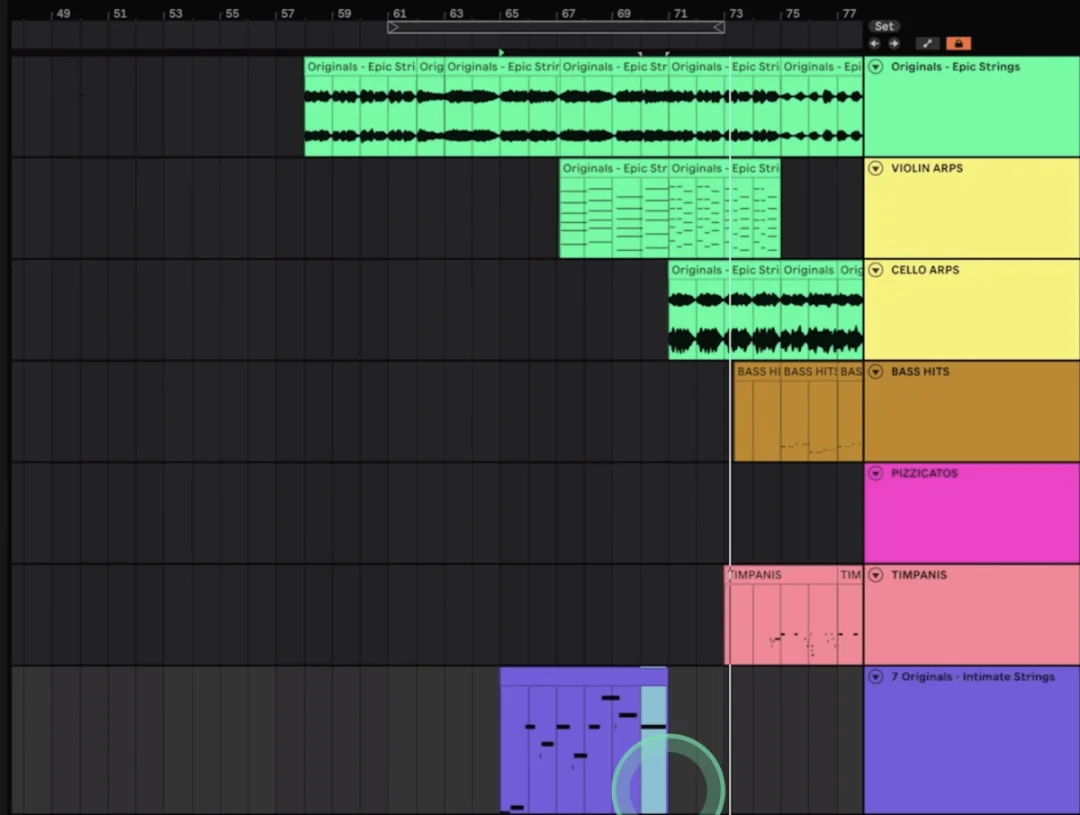
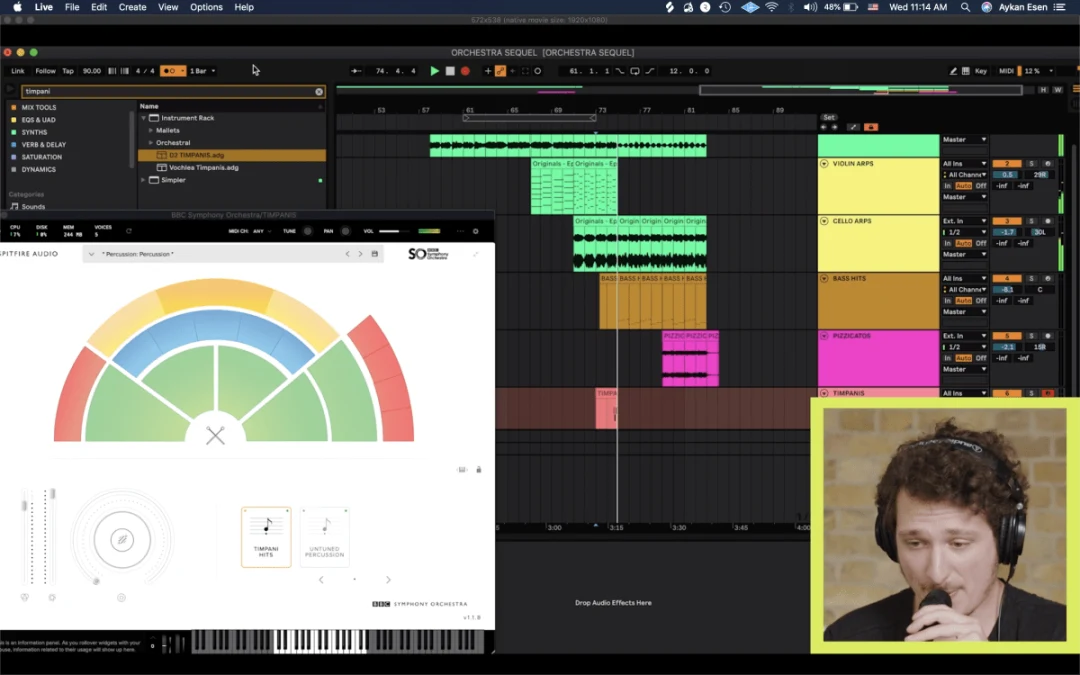
In the below example we perform some timpani drums using the BBC Symphony Orchestra Discover’s Timpani Hits preset, first in solo and then with the arrangement from our video:
Technique 6 - Improvising Lead Melodies
This is a technique that can apply to every single instrument and not just orchestral instruments.
Sometimes it can be much easier to lay down chord progressions and general ideas as opposed to single-note melodies. The freedom to sing and record ideas live is one of the best parts of Dubler 2 and this allows you to come up with emotional and expressive melodies over the chord progressions you record via the Chords tab.
In the below example we use a preset from Spitfire’s Intimate Strings library to sing over chords. As with the tuned percussion, the key lock helps you stay in key while performing and the ENV control dial adds live volume expression, making you sound like a live string player!
