
Audio Setup on Windows
Get DubBox hearing your microphone, playing back with low latency, and calibrated for accurate triggering. This takes about five minutes and you only need to do it once per audio device.
You will need:
A microphone - we recommend a dynamic microphone (never your laptop's built-in mic)
An audio interface with a dedicated ASIO driver (most interfaces have one - download it from your interface manufacturer's website). No ASIO interface? See Setting up ASIO4ALL below.
Using the Dubler USB microphone? If you have the Dubler USB mic (included in the Dubler Studio Kit, or available at vochlea.com), just plug it in - it has its own ASIO drivers, so it's recognised automatically and calibration is taken care of for you. That covers everything on the input side. The Dubler USB mic is input only, though, so you'll still need to choose an ASIO device for output: either a separate audio interface (our recommendation), or ASIO4ALL with your speakers or headphones - see Setting up ASIO4ALL below.
Why ASIO matters: on Windows, low-latency, good-quality audio requires an ASIO driver. The standard Windows audio drivers carry a high risk of long latency, audio crackle and dropouts, so DubBox should always be run through ASIO.
1. Choose your audio input
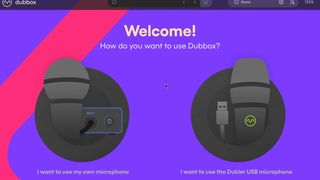
When you open DubBox for the first time, you'll be asked what kind of audio input you're using.
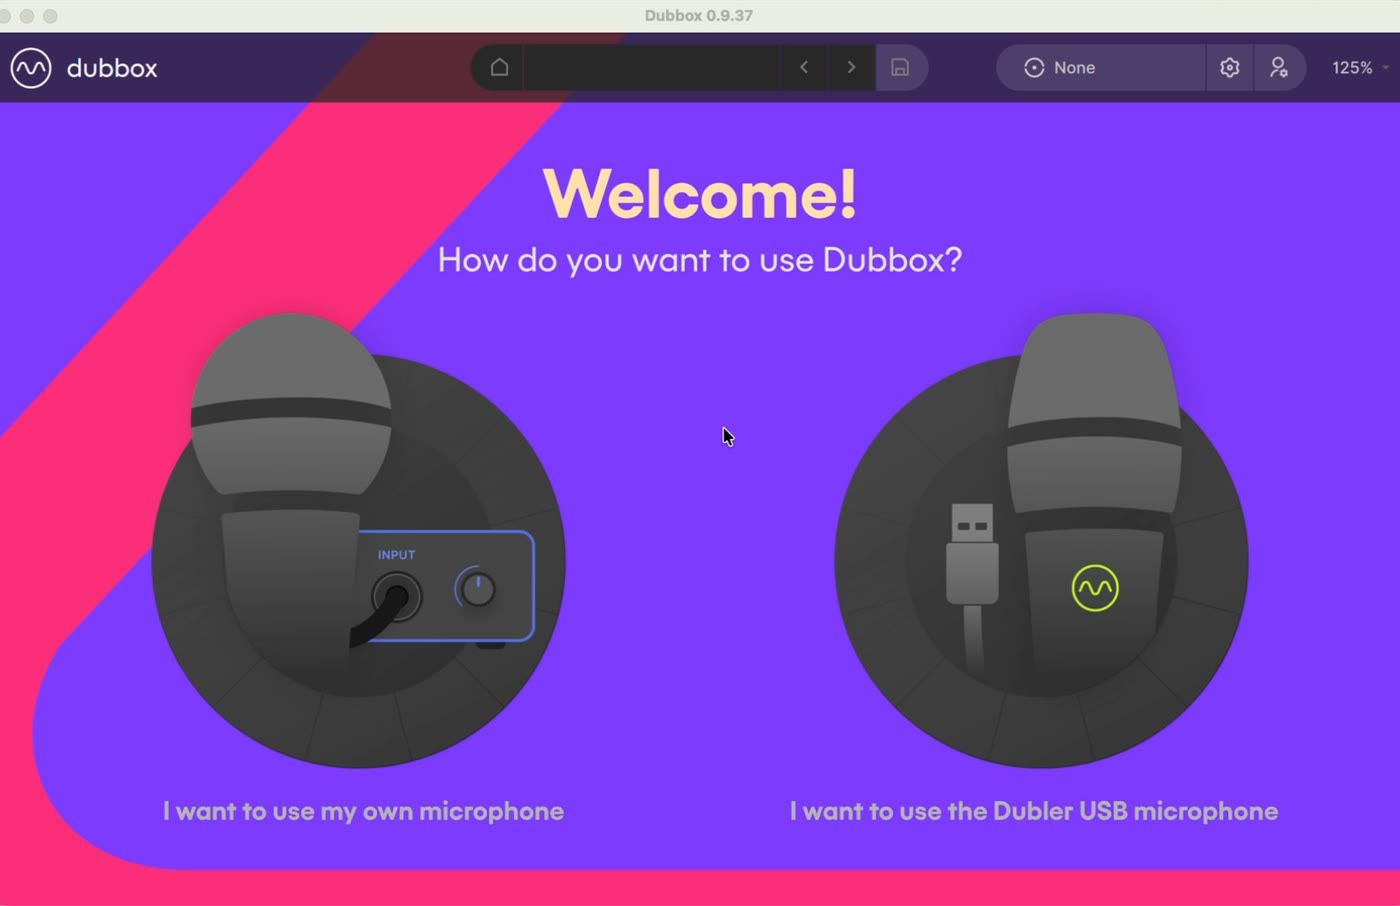
If you have the Dubler USB microphone, select that option - your input is set up automatically with no calibration needed, and you just choose an ASIO output device (see the note above).
If you're using your own microphone and audio interface, select "I want to use my own microphone".
Selecting your own microphone takes you through to the calibration process.
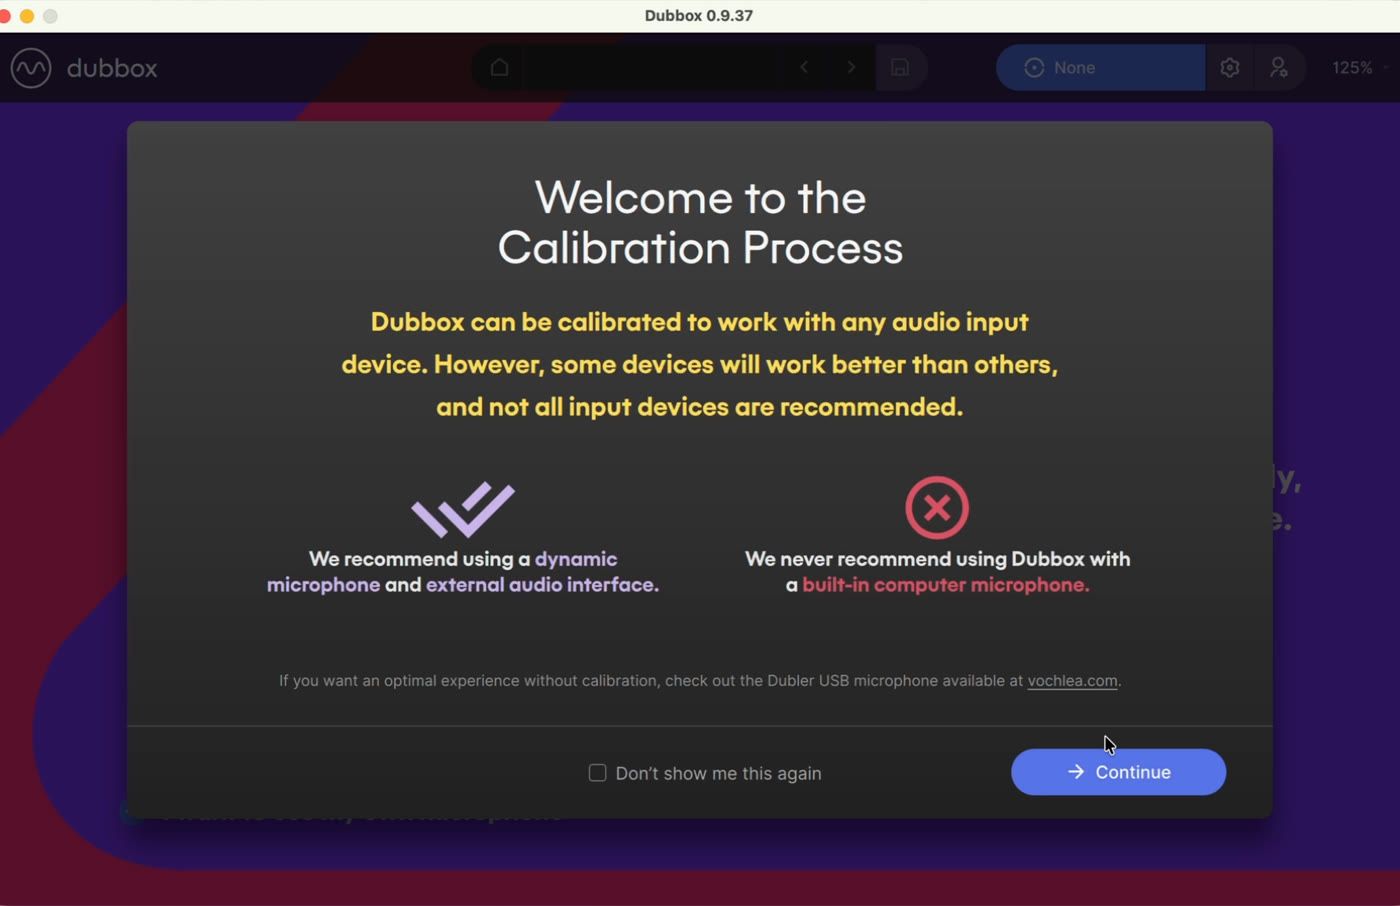
DubBox can be calibrated to work with any audio input device, but some work better than others. We recommend a dynamic microphone with an external audio interface - and we never recommend using DubBox with a built-in computer microphone.
2. Select your input device (ASIO)
Choose your audio interface's ASIO driver from the device list - here that's the "AudioBox ASIO Driver" for a PreSonus AudioBox. If your interface's ASIO driver isn't listed, install it from the manufacturer's website first.
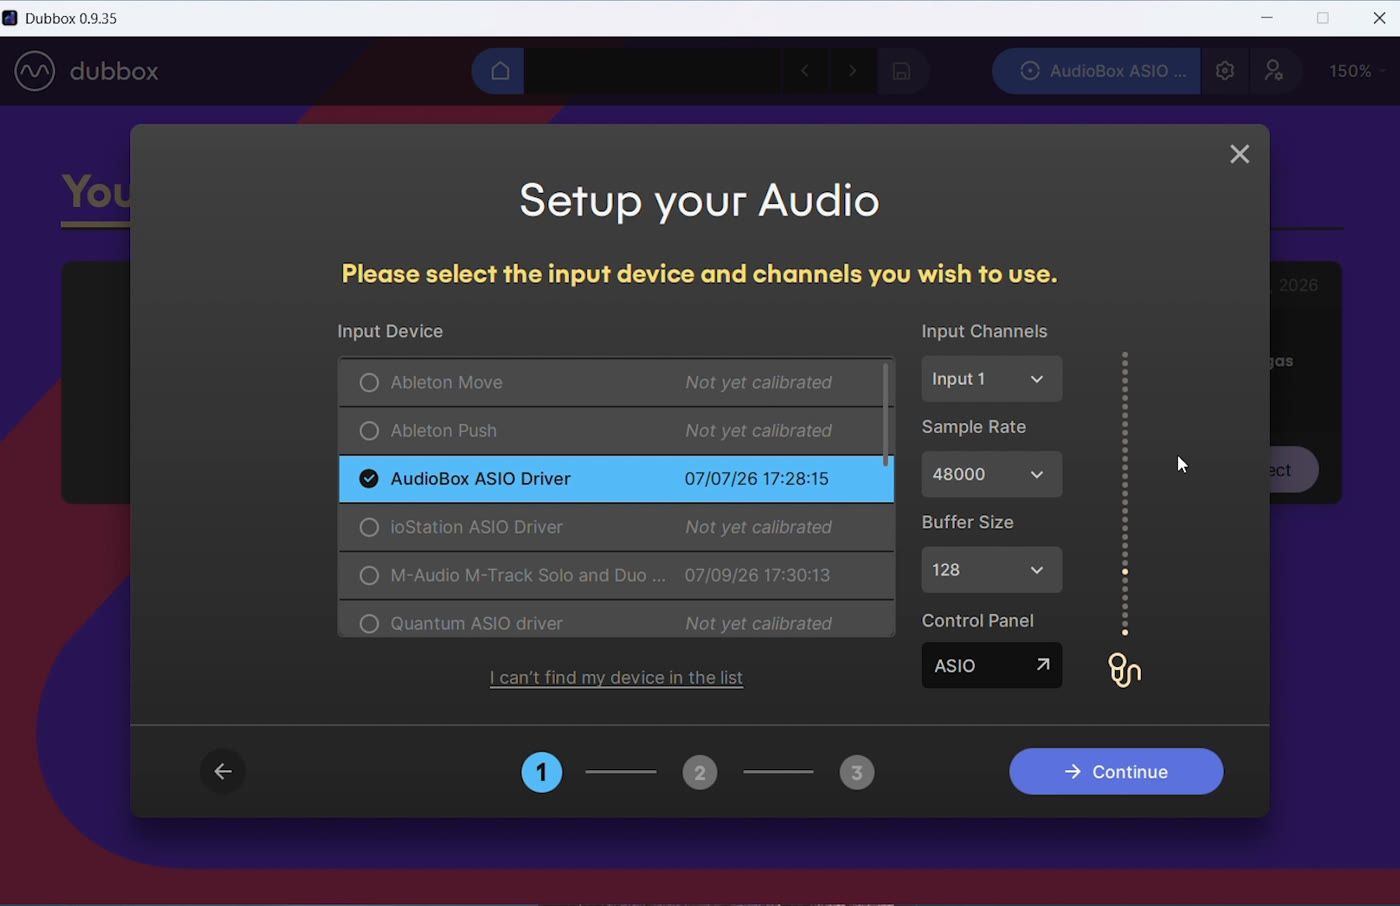
On this screen you can also set the input channel (match the channel your mic is plugged into), the sample rate, and the buffer size. You'll also see a Control Panel link, which opens the ASIO control panel for your device.
Check the volume meter to the right of the device list: it should respond when you make sounds into your microphone. That confirms audio is reaching DubBox.
Click Continue.
A note on outputs: on Windows, when you're using your own audio interface, input and output go through that same interface - that's what keeps latency low. DubBox selects it as the output automatically, so there is no separate output step: just plug your headphones or speakers into the interface. The one exception is the Dubler USB microphone - it's input only, so alongside it you choose a separate ASIO output device (a second interface, or ASIO4ALL).
3. Adjust your input gain
Make some sounds into your microphone - beatbox or sing exactly the way you plan to use DubBox - and watch the meter.
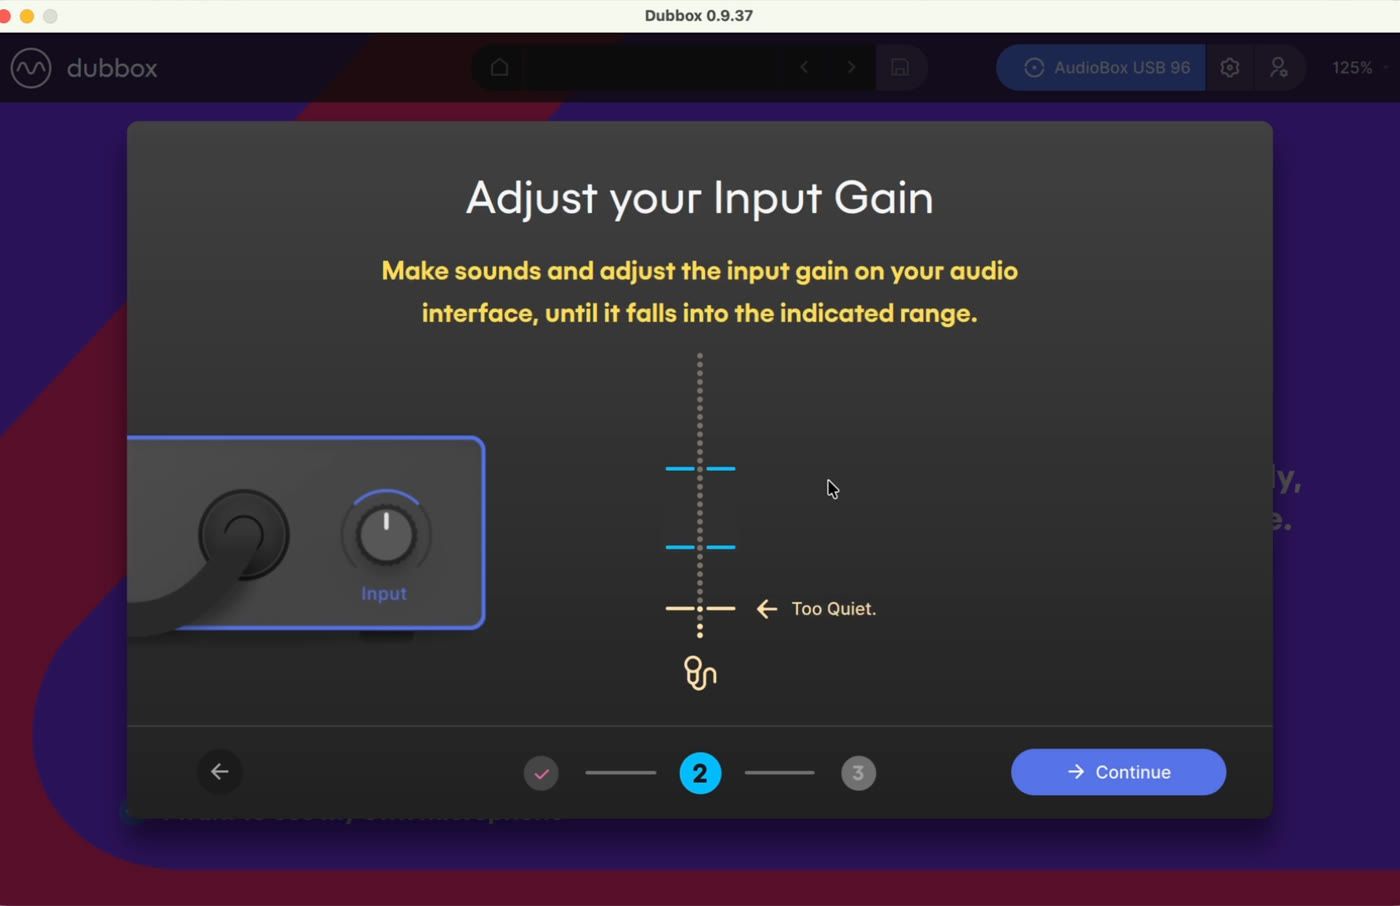
Adjust the gain knob on your audio interface (not in DubBox) until your level sits between the two blue lines:
Too quiet? Turn the gain up on your interface.
Too loud? Turn it down.
When you're consistently landing between the lines, click Continue.
4. Calibrate your microphone
Now beatbox into your mic, giving it a range of different sounds - kicks, snares, hi-hats - just as you would when actually using DubBox. The more variety, the better.
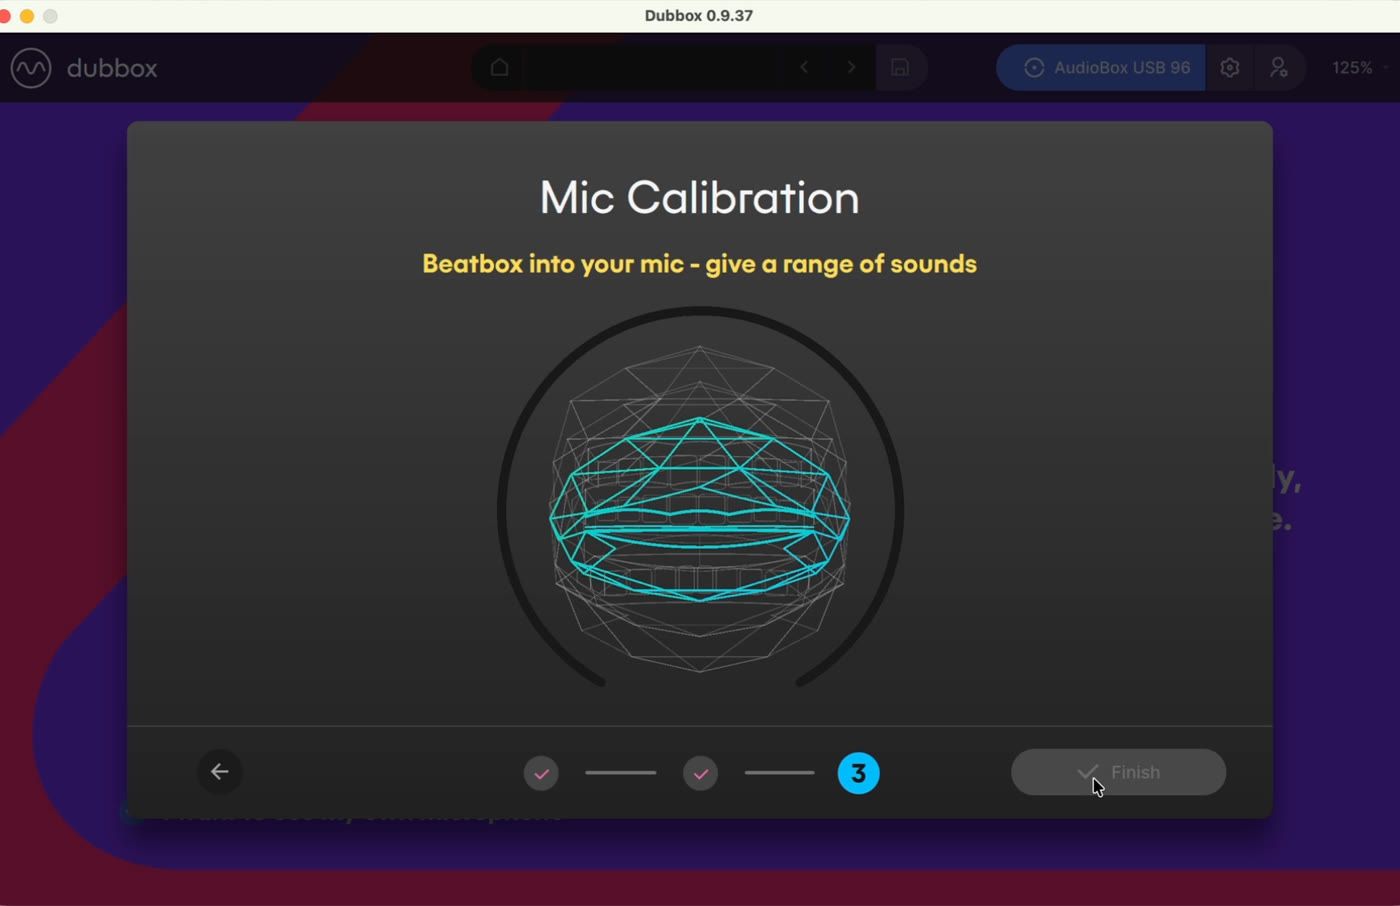
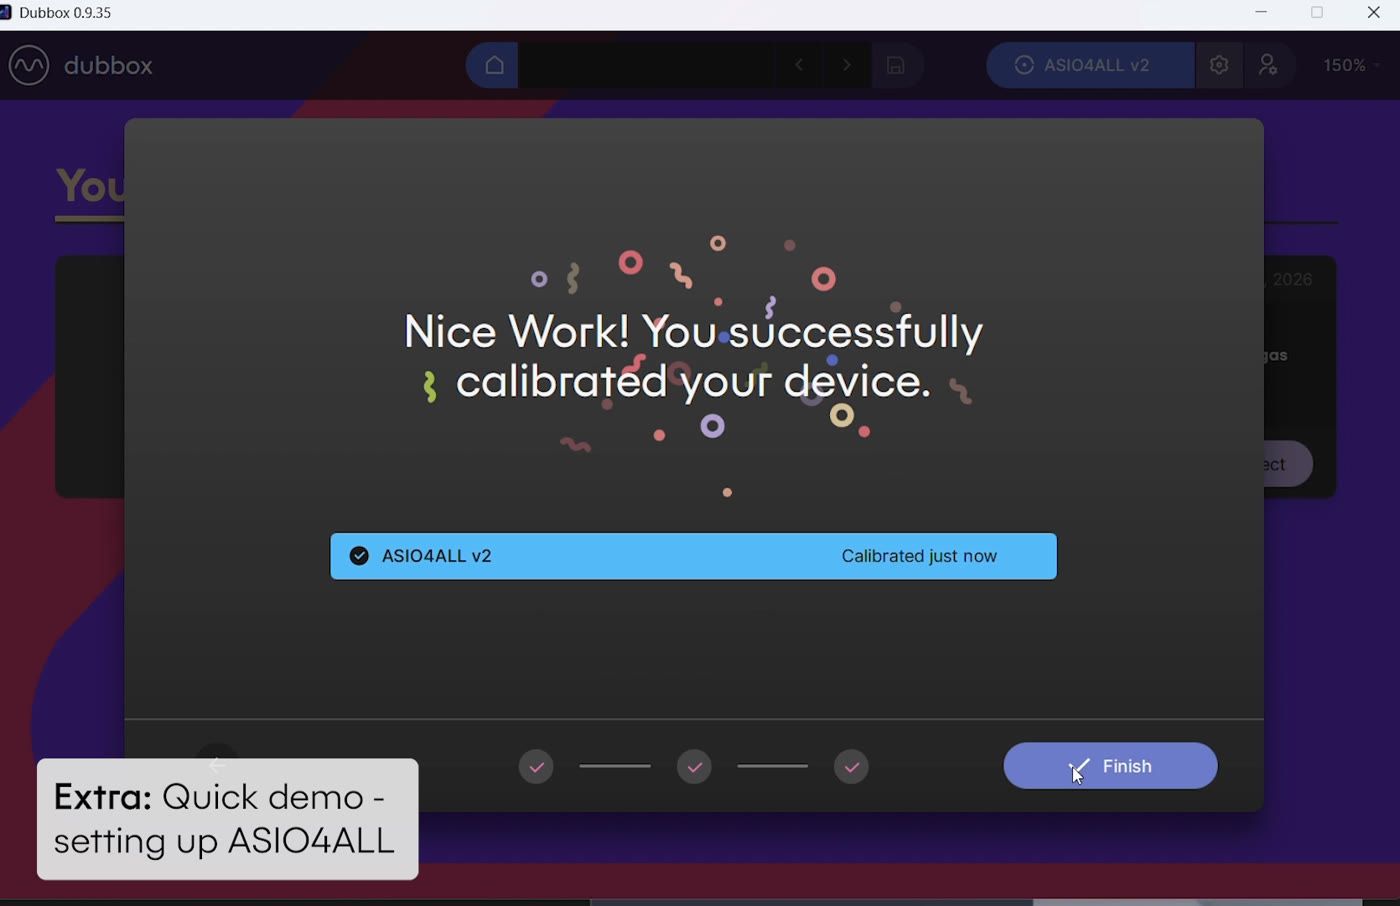
When the ring around the visualiser completes, click Finish.
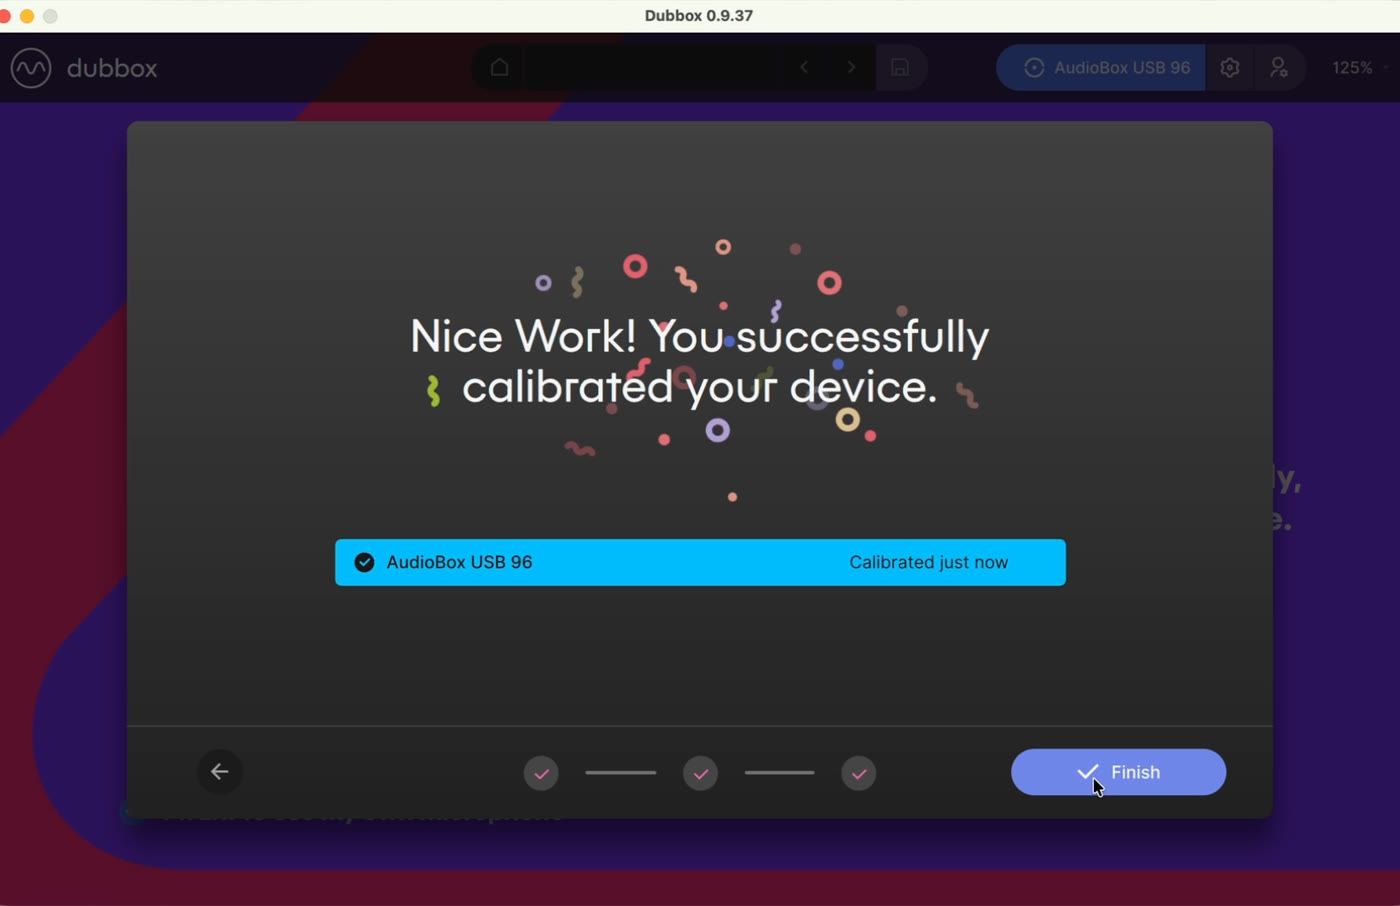
That's it - your device is calibrated and you're ready to create a project and start training triggers.
When to recalibrate: if your triggers stop responding as expected - false triggers, oversensitivity, or sounds being misclassified - come back and recalibrate. Note that any change to the gain on your interface will throw the calibration off, so recalibrate after adjusting gain.
5. Audio Device Settings (reference)
You can change any of these choices later. Open Audio Device Settings from the settings icon in the top bar.
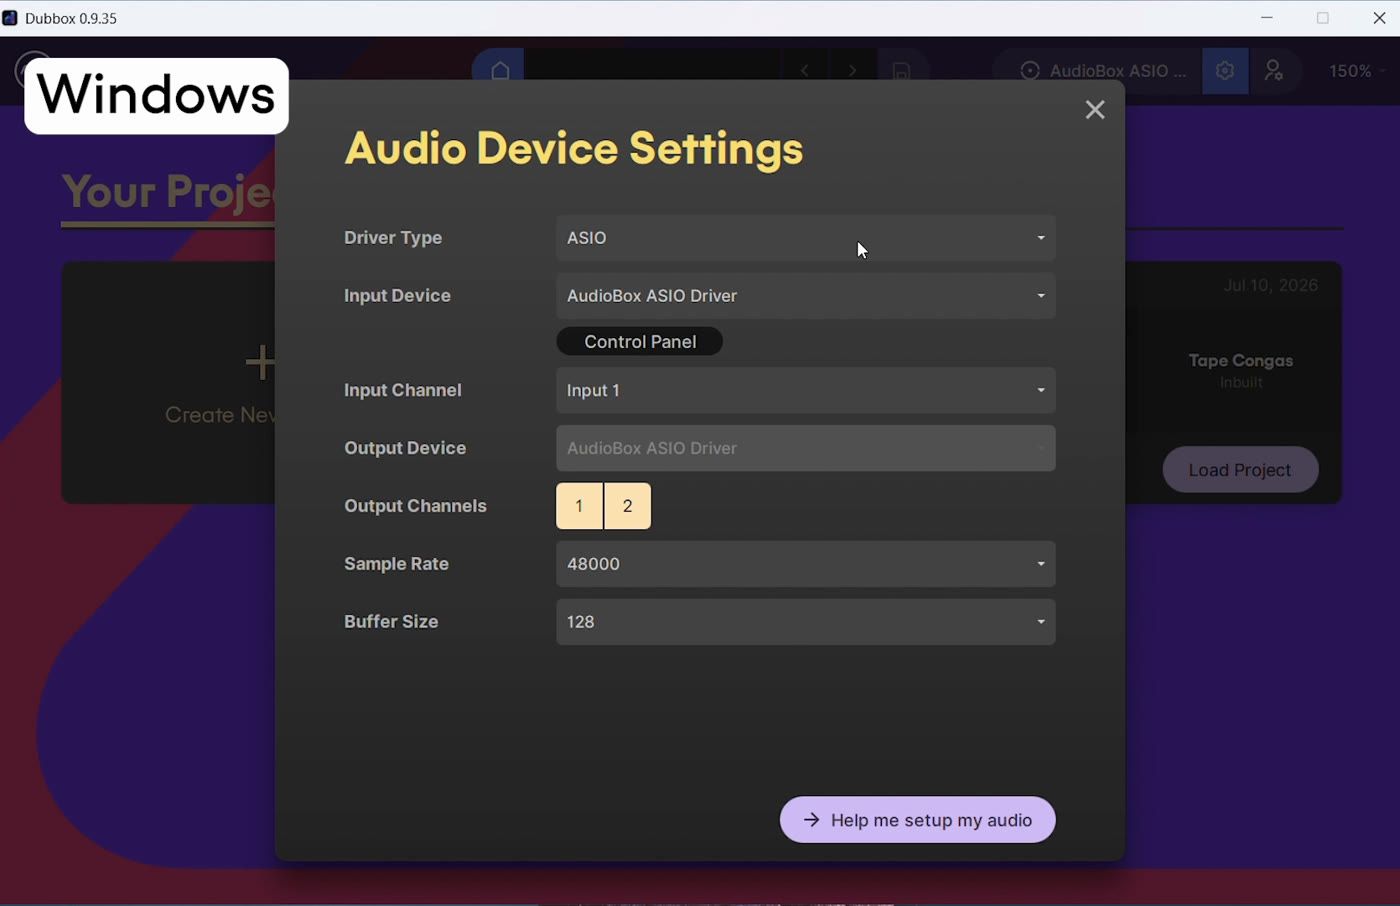
Driver Type - Always choose ASIO.
Input Device - Your interface's ASIO driver. The Control Panel button opens the ASIO control panel for the device.
Input Channel - Match this to the physical input your mic uses on the interface (e.g. Input 1).
Output Device - Set automatically to the same interface as your input - all audio in and out of DubBox goes through the interface for low latency. (Exception: the Dubler USB mic is input only, so it's paired with a separate ASIO output device.)
Sample Rate - The available options are set by your interface. 44.1 kHz or 48 kHz is ideal - higher rates just add CPU load.
Buffer Size - Smaller = lower latency, but higher CPU load. 128 samples is a good balance; a high-performance CPU can handle 64, while an older system may need 256 to avoid crackles.
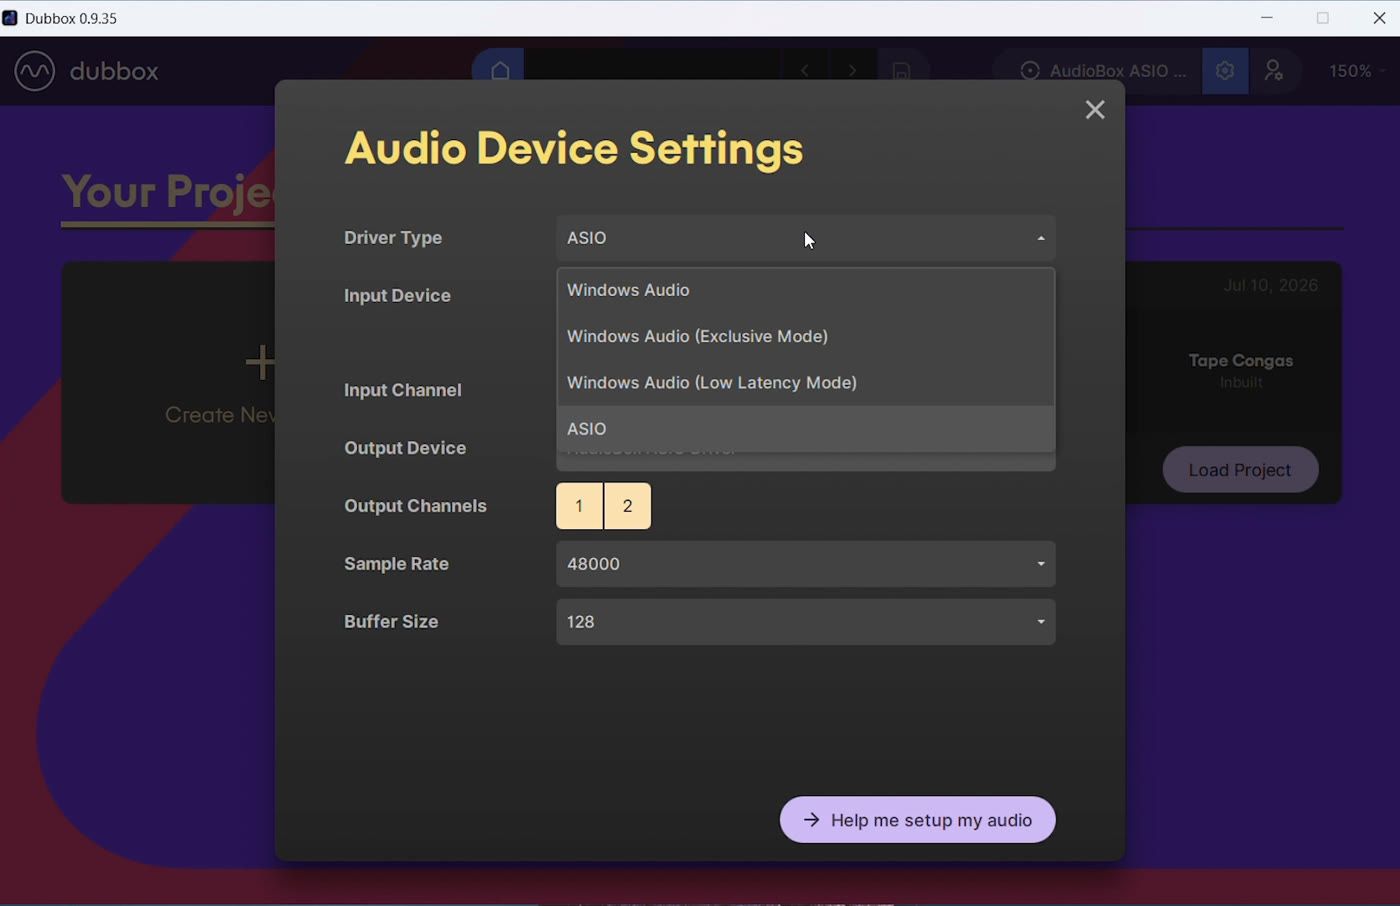
You'll see Windows Audio options in the Driver Type menu (including Exclusive and Low Latency modes). We don't recommend any of them - there's a high risk of long latency, crackle and dropouts. Always use ASIO.
Setting up ASIO4ALL (no ASIO interface?)
If your audio device doesn't have a dedicated ASIO driver, you can use ASIO4ALL - a free, generic ASIO driver. It's slightly trickier than a dedicated driver, but it gets you the same low-latency experience.
Download and install
Follow the guide at vochlea.com/learn/setting-up-asio4all.
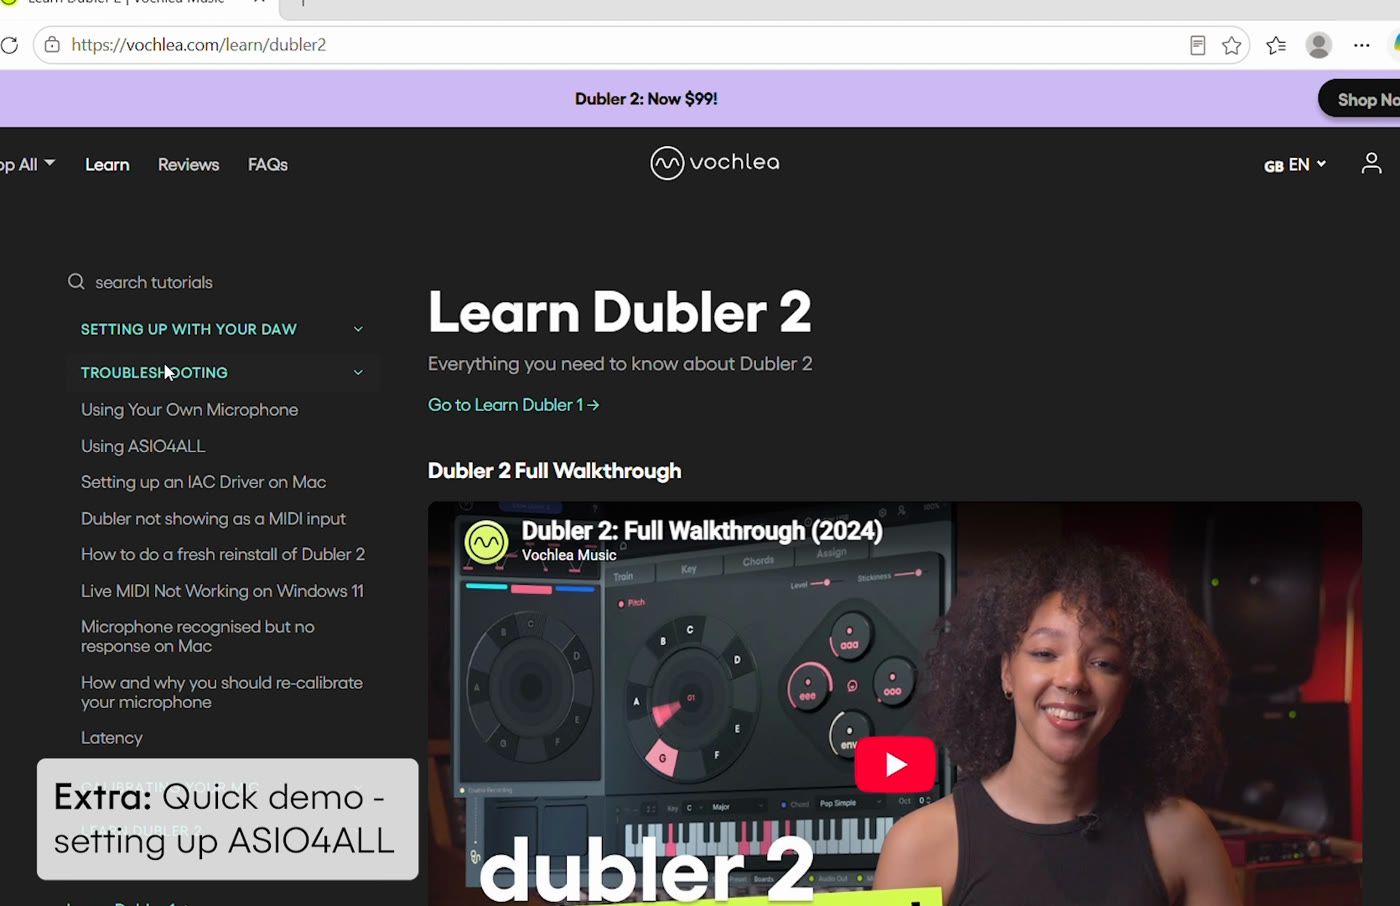
Click Download ASIO4ALL here - this downloads it directly from the Vochlea site, avoiding third-party download sites with spurious installers.
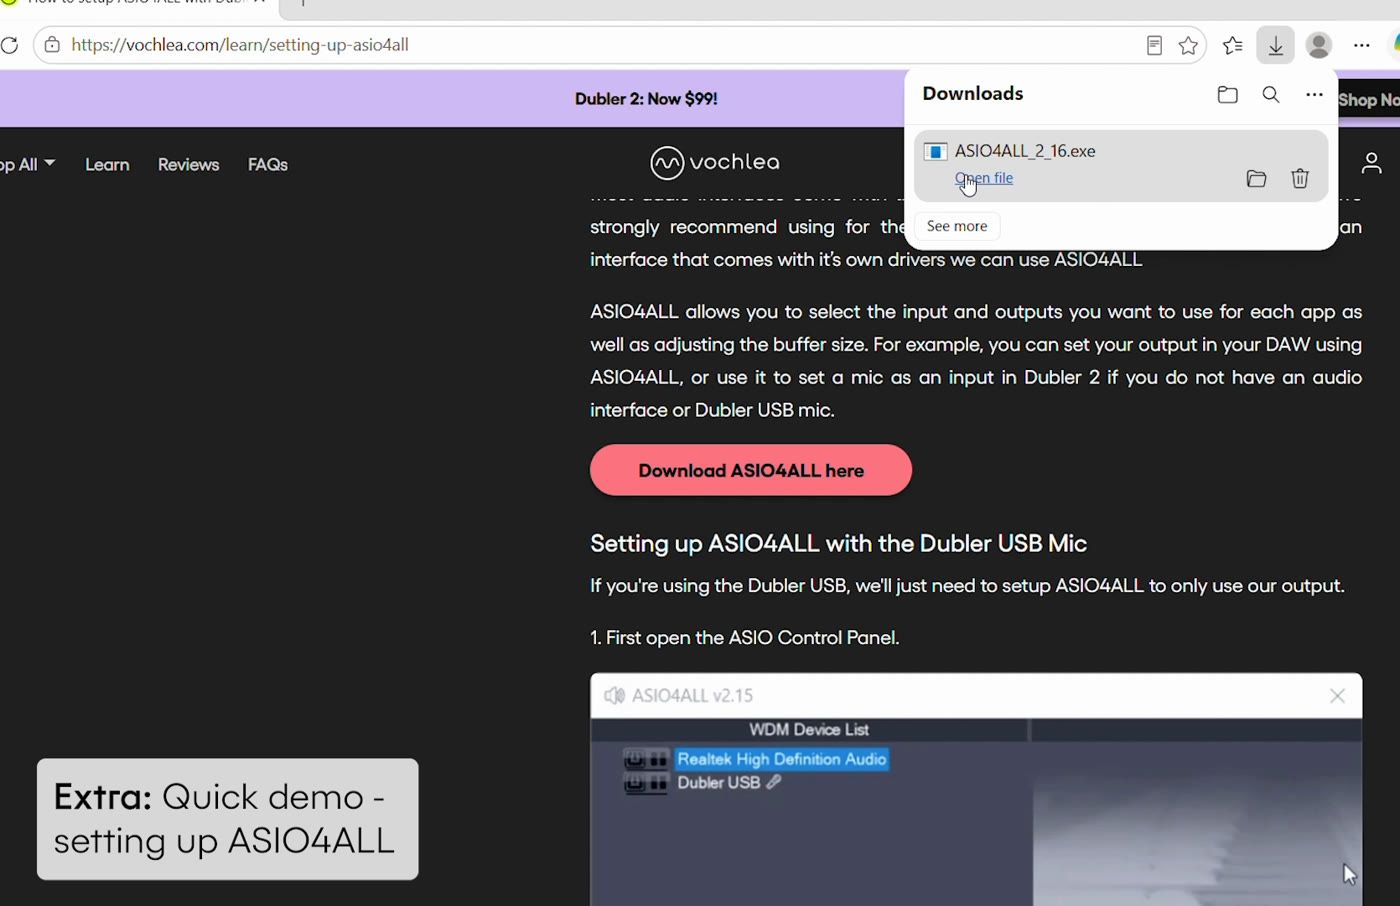
Run the installer and click through the installation. A Windows restart is recommended after installing. Then close and reopen DubBox.
Select ASIO4ALL in DubBox
In the audio setup (or in Audio Device Settings), set the driver type to ASIO and select ASIO4ALL v2 as your input device.
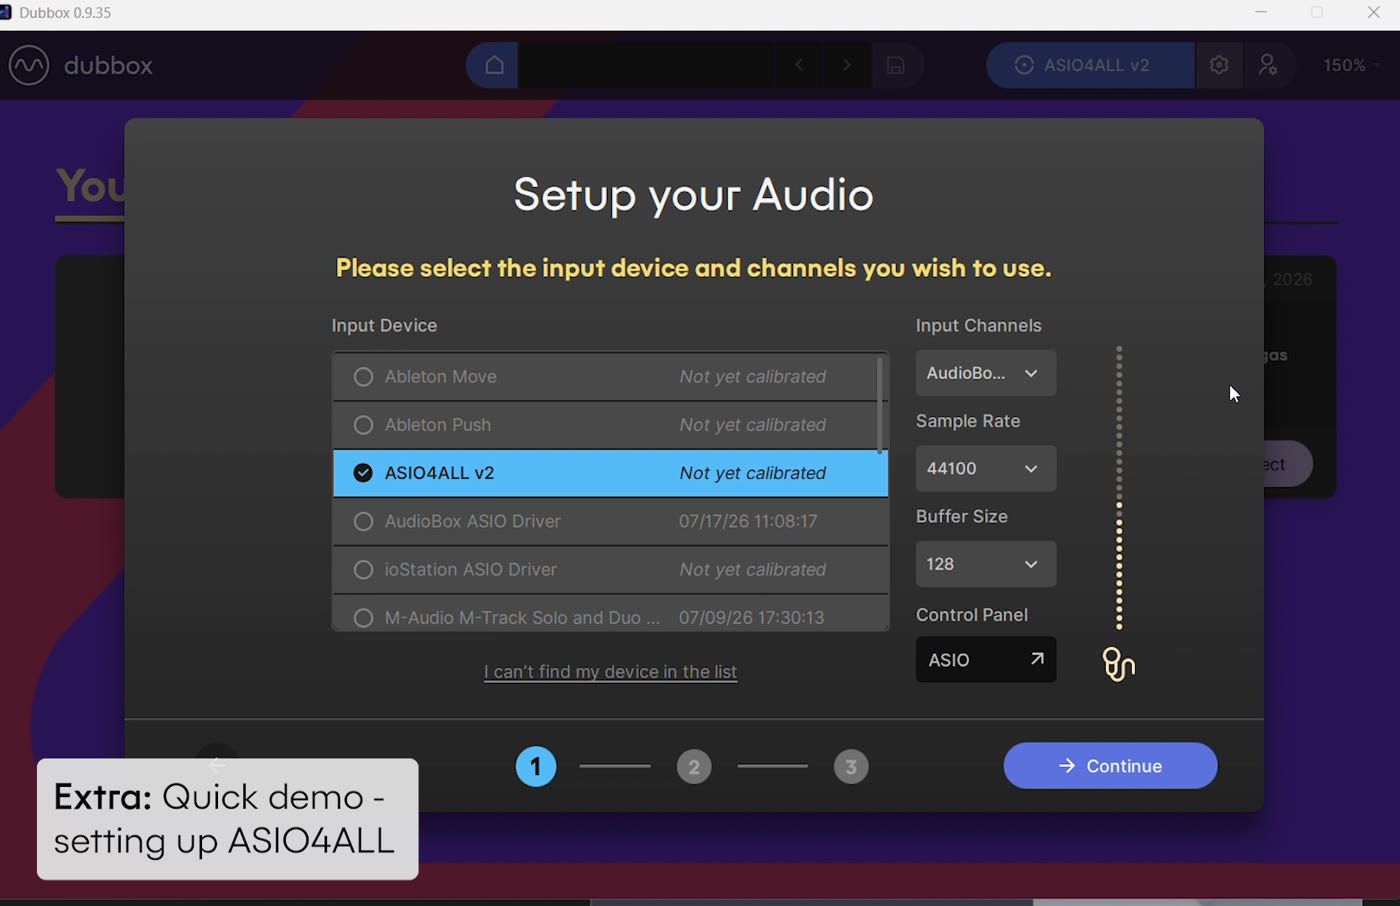
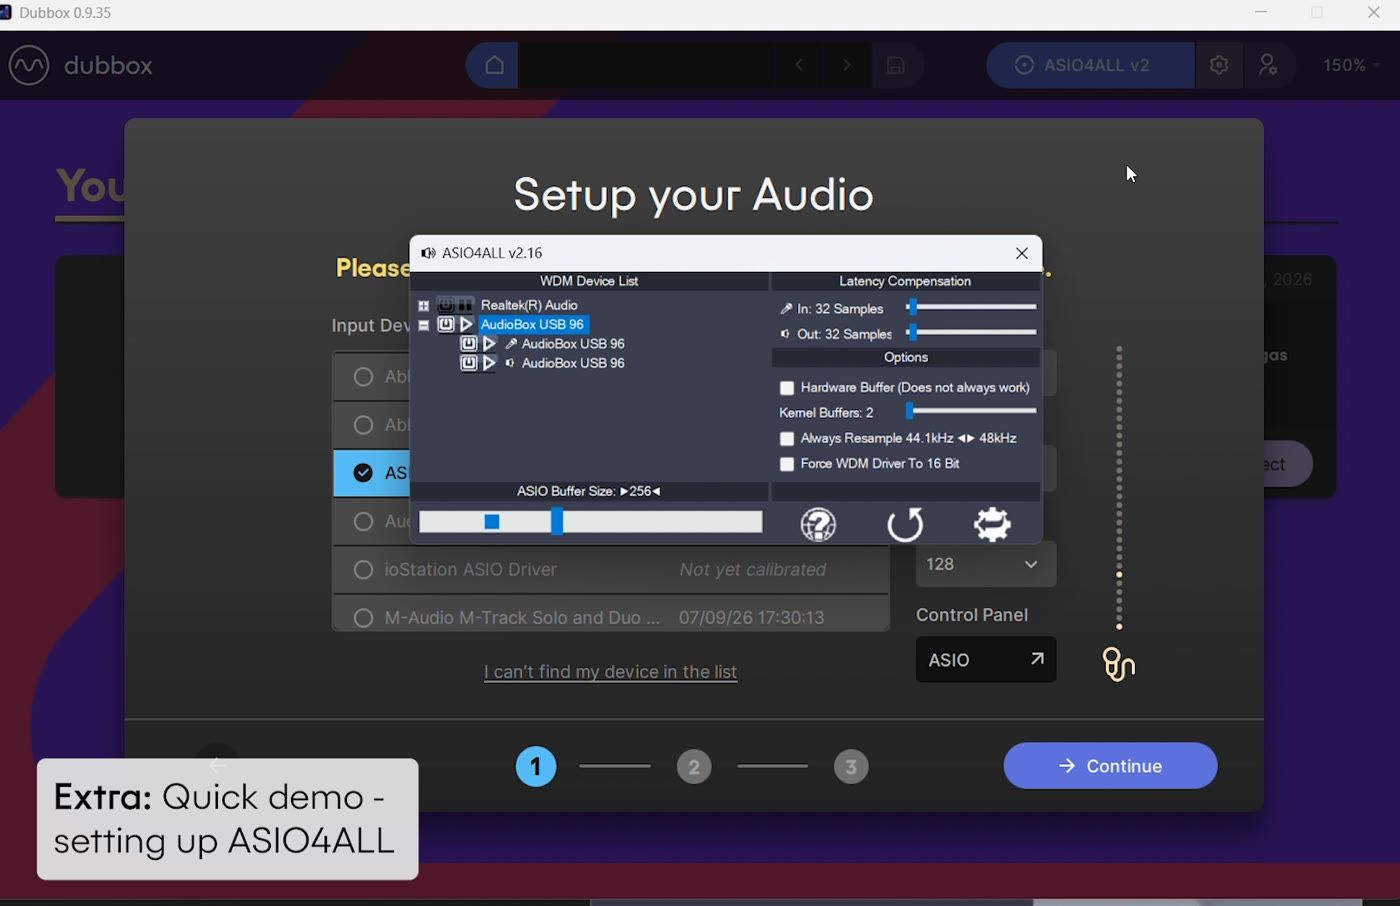
At this point no audio is coming in yet - ASIO4ALL doesn't know which hardware device to use. Click Control Panel to open the ASIO4ALL control panel.
Enable your device in the ASIO4ALL control panel
The WDM Device List shows every audio device on your system - typically your laptop's built-in audio (e.g. Realtek) plus any connected device. Click the power button next to the device you want to use so it lights up as active.
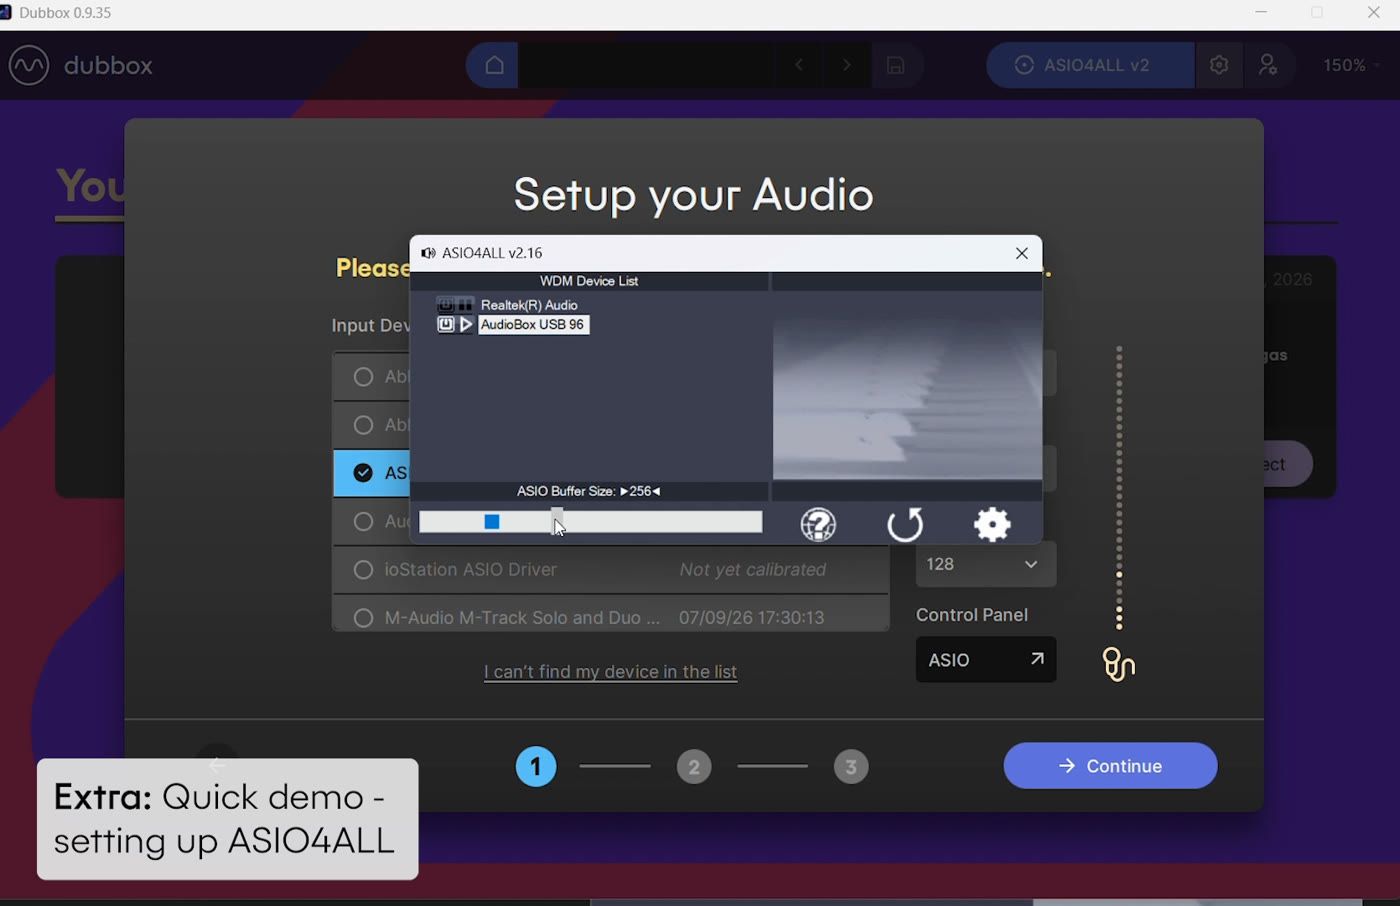
While you're here, check the ASIO Buffer Size slider at the bottom. 512 is quite big - bring it down to something more reasonable like 256 for lower latency.
If you need per-channel control, the advanced options (spanner icon) show the separate inputs and outputs of each device, plus latency compensation settings - you won't normally need to touch these.
Calibrate
Go back to DubBox - the volume meter should now respond to your microphone through ASIO4ALL. From here, calibration follows exactly the same three steps as above: adjust your input gain, beatbox through the mic calibration, and finish.
You're all set - create a new project, train some triggers, and start making loops.