
Audio Setup on Mac
Get DubBox hearing your microphone, playing back through your speakers, and calibrated for accurate triggering. This takes about five minutes and you only need to do it once per audio device.
You will need:
A microphone - we recommend a dynamic microphone (never your Mac's built-in mic)
Using the Dubler USB microphone? If you have the Dubler USB mic (included in the Dubler Studio Kit, or available at vochlea.com), just plug it in - it's recognised automatically, calibration is taken care of for you, and no setup is required, so you can skip this guide. The one setting worth knowing about is buffer size, which still affects latency and audio quality - see Audio Device Settings below if you ever need to adjust it.
1. Choose your audio input
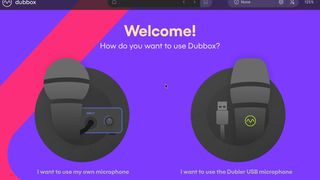
When you open DubBox for the first time, you'll be asked what kind of audio input you're using.
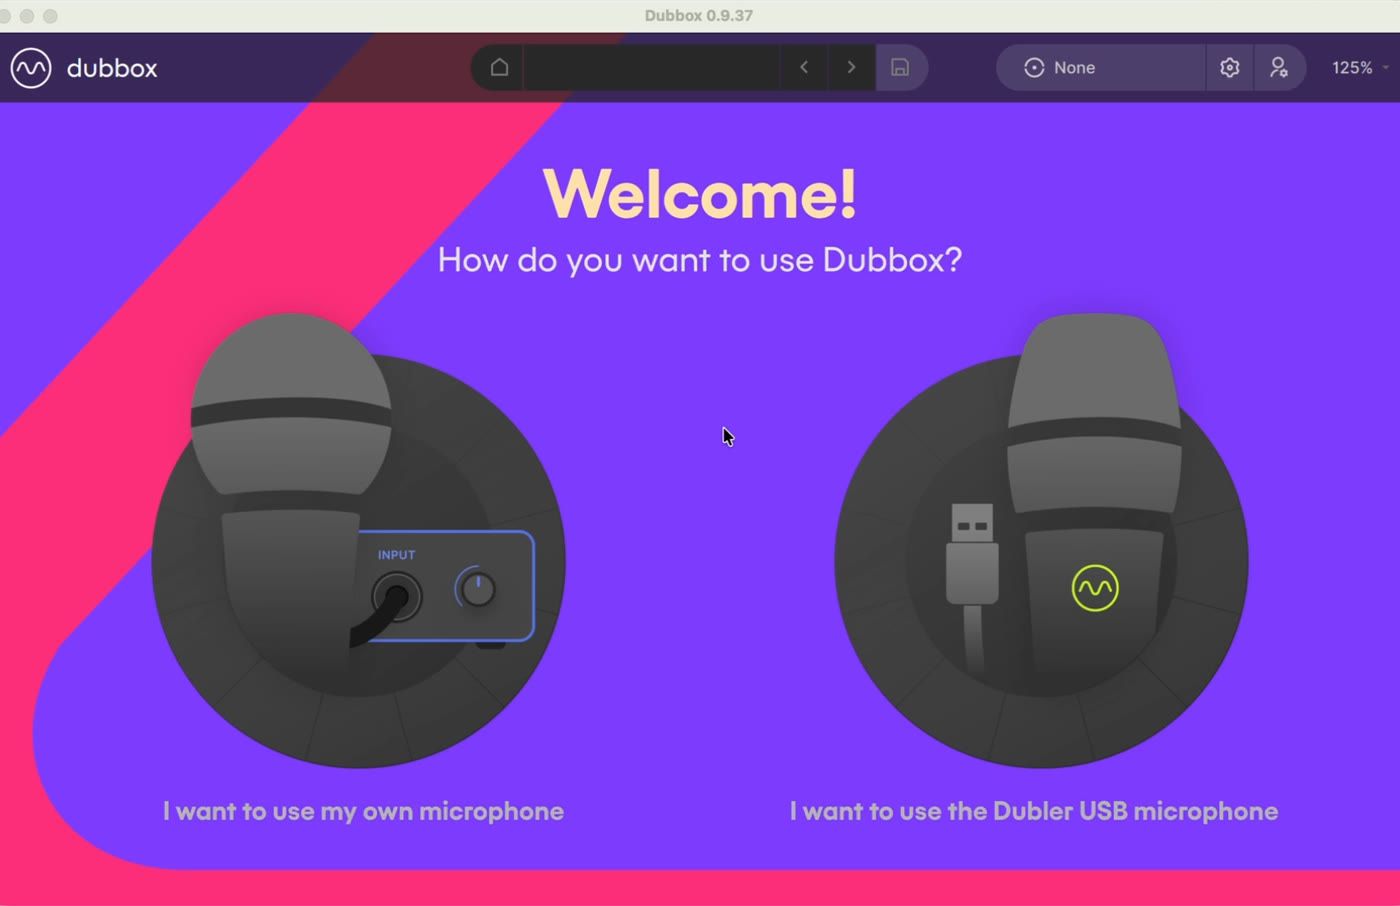
If you have the Dubler USB microphone, select that option and you're done - no calibration needed.
If you're using your own microphone, select "I want to use my own microphone".
Selecting your own microphone takes you through to the calibration process.
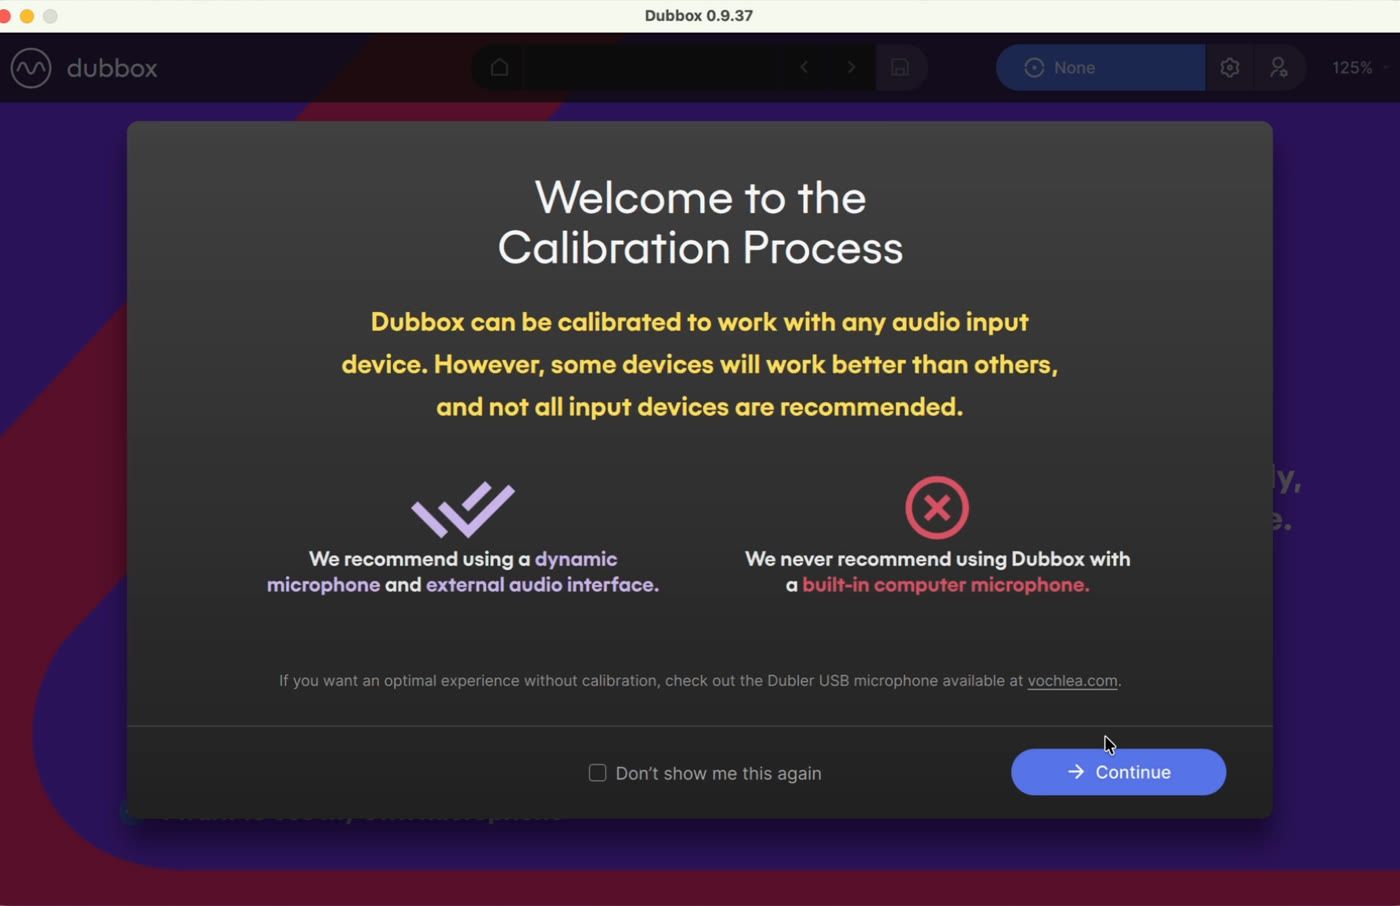
DubBox can be calibrated to work with any audio input device, but some work better than others. We recommend a dynamic microphone - and we never recommend using DubBox with a built-in computer microphone.
2. Select your input device
Choose your microphone, or the audio interface your microphone is plugged into. On Mac, your devices appear under their normal CoreAudio names - here we're using an external audio interface, a PreSonus AudioBox USB 96, with a Shure SM58 dynamic microphone.
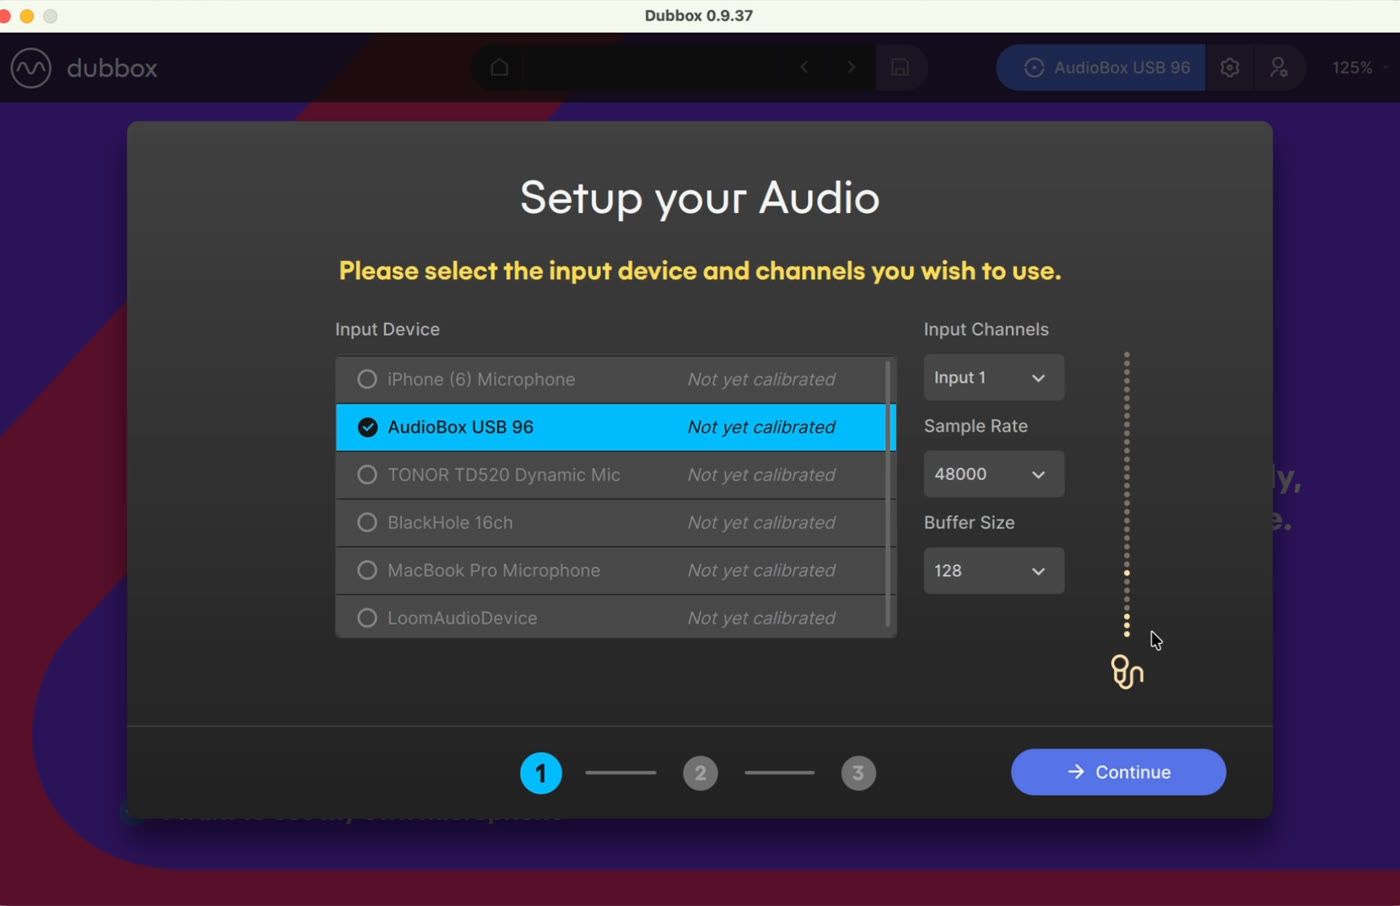
On this screen you can also set the input channel (match the channel your mic is plugged into on the interface), the sample rate, and the buffer size - the defaults are fine for now.
Check the volume meter to the right of the device list: it should respond when you make sounds into your microphone. That confirms audio is reaching DubBox.
Meter not moving? Audio from your microphone isn't reaching DubBox. This usually comes down to privacy permissions: open System Settings → Privacy & Security → Microphone and make sure DubBox is allowed to access the microphone.
Click Continue.
3. Choose your output device
Next, choose the device DubBox will play back through. DubBox is audio-in, audio-out - this can be your Mac's built-in speakers, headphones, or your audio interface.
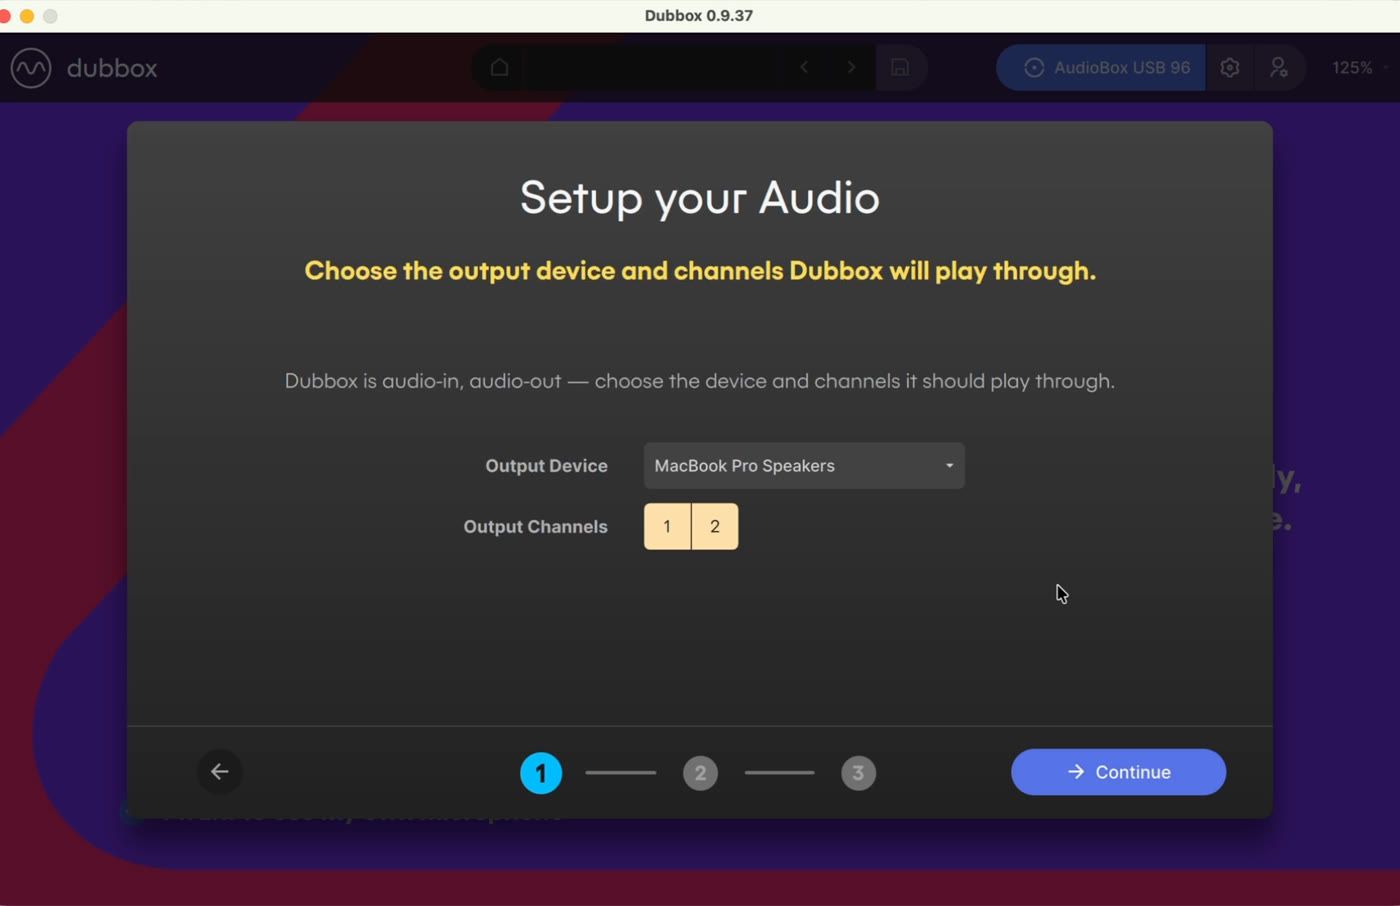
Here we're using the MacBook Pro speakers with both output channels selected. Click Continue.
4. Adjust your input gain
Make some sounds into your microphone - beatbox or sing exactly the way you plan to use DubBox - and watch the meter.
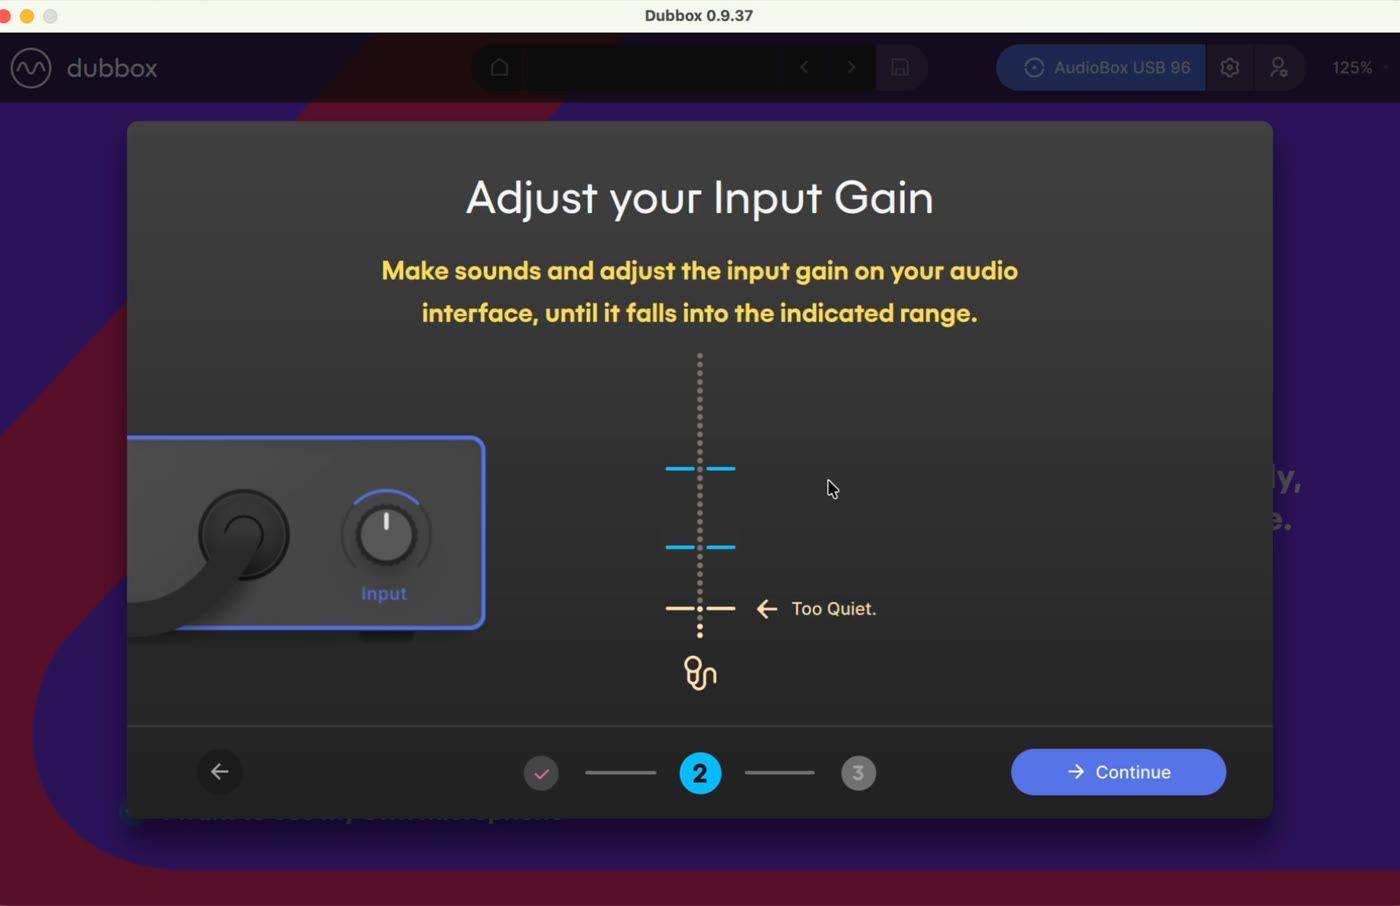
Adjust the gain knob on your audio interface (not in DubBox) until your level sits between the two blue lines:
Too quiet? Turn the gain up on your interface.
Too loud? Turn it down.
When you're consistently landing between the lines, click Continue.
5. Calibrate your microphone
Now beatbox into your mic, giving it a range of different sounds - kicks, snares, hi-hats - just as you would when actually using DubBox. The more variety, the better.
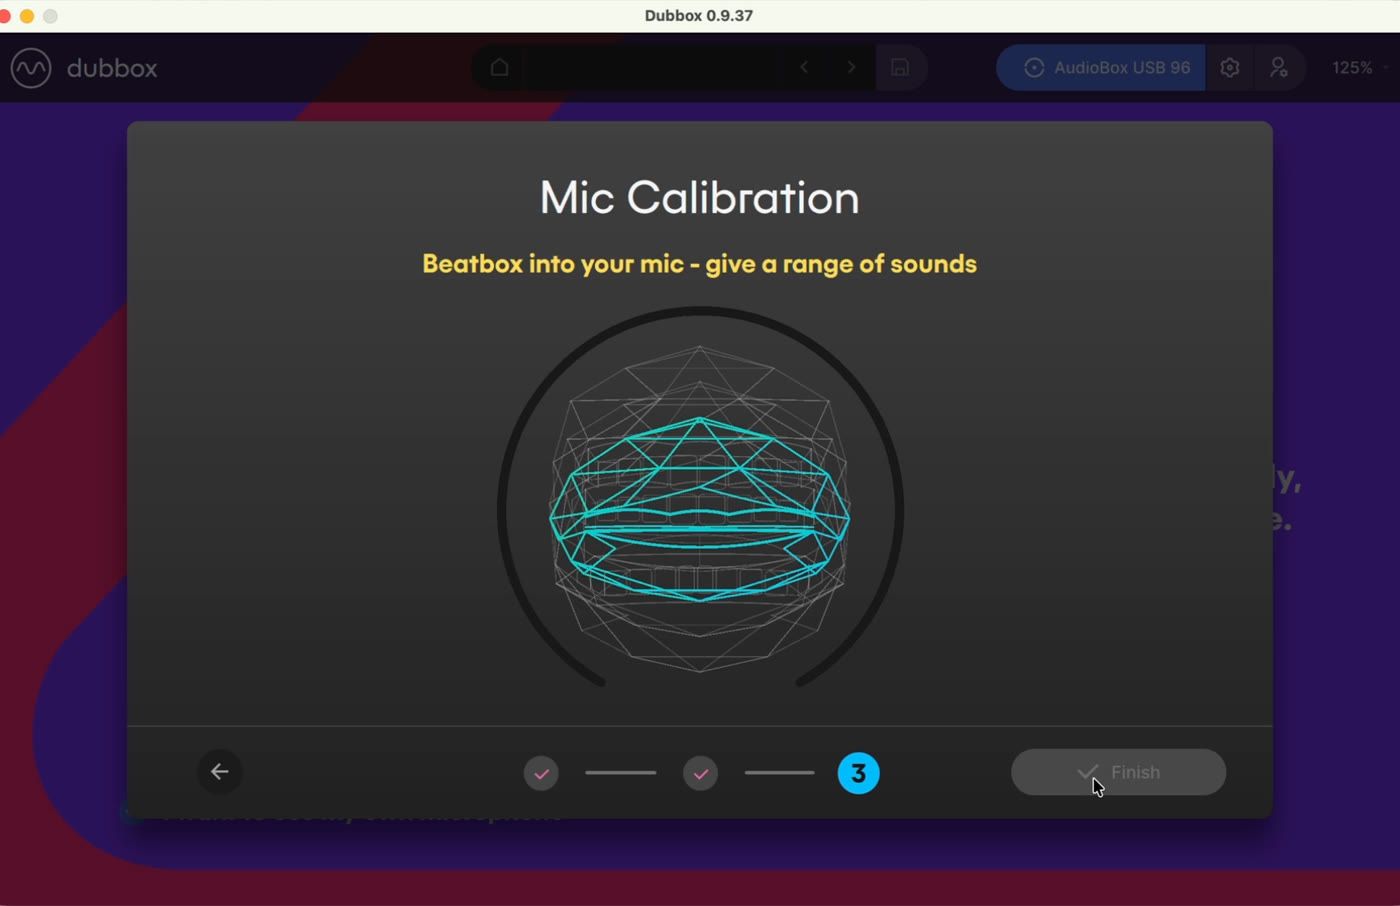
When the ring around the visualiser completes, click Finish.
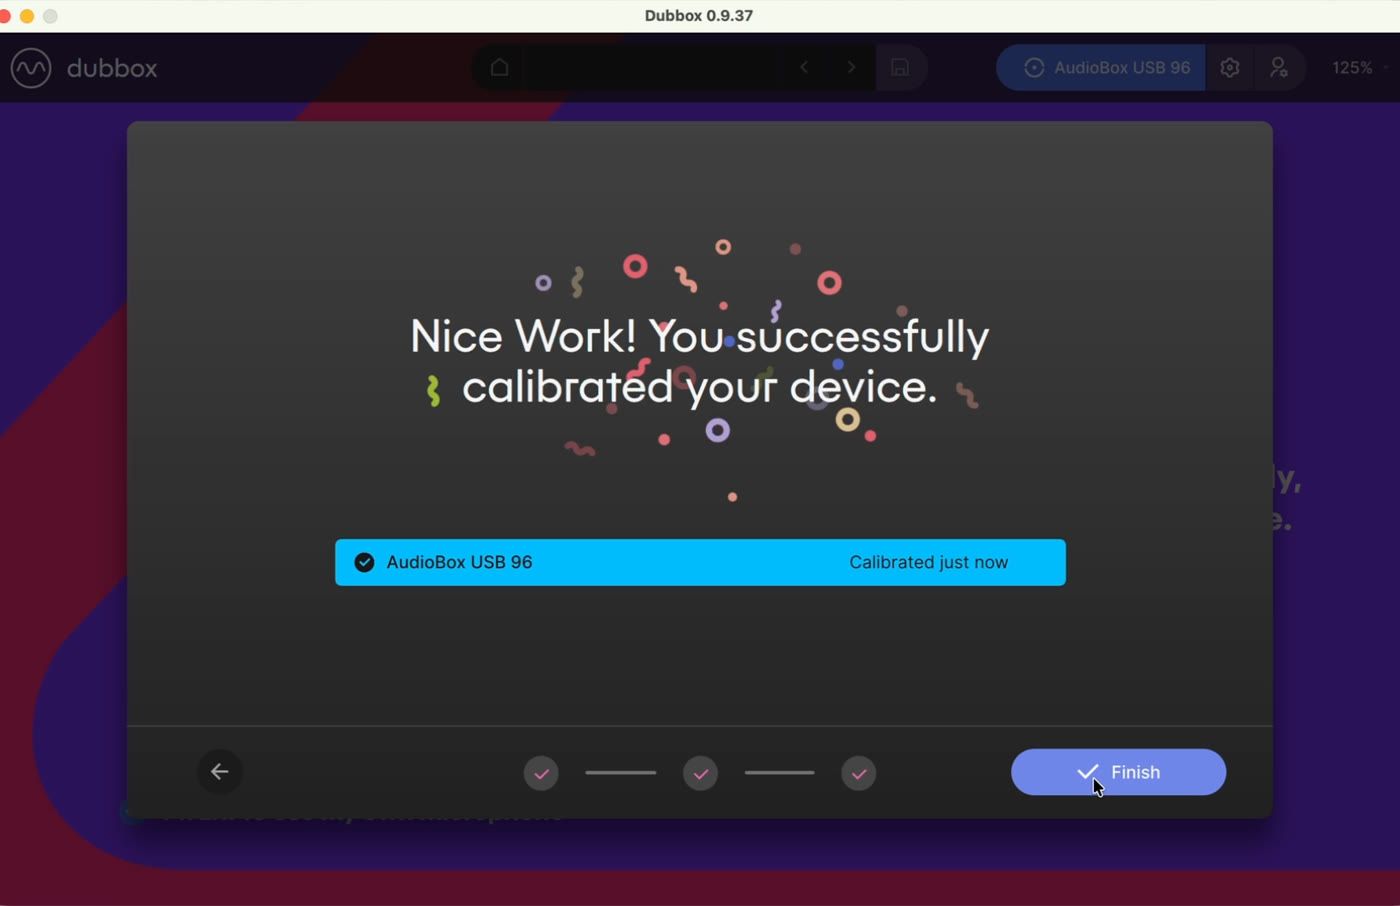
That's it - your device is calibrated and you're ready to create a project and start training triggers.
When to recalibrate: if your triggers stop responding as expected - false triggers, oversensitivity, or sounds being misclassified - come back and recalibrate. Note that any change to the gain on your interface will throw the calibration off, so recalibrate after adjusting gain.
6. Audio Device Settings (reference)
You can change any of these choices later. Open Audio Device Settings from the settings icon in the top bar.
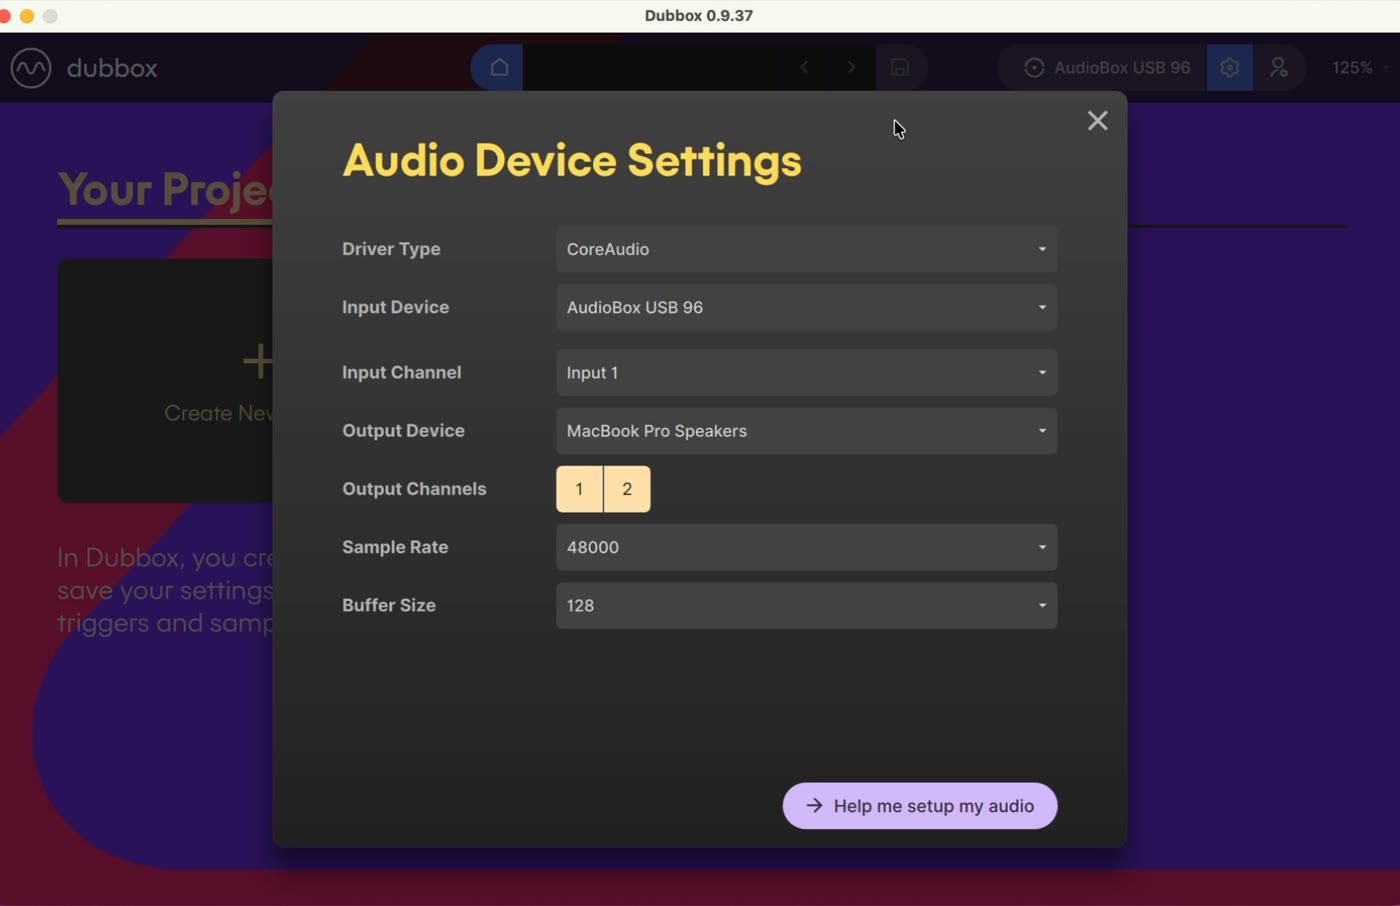
Driver Type - On Mac this is CoreAudio, the built-in Mac audio driver.
Input Device - The device your mic is connected to. You can switch devices here and calibrate a new one with its Calibrate button.
Input Channel - Match this to the physical input your mic uses on the interface (e.g. Input 1).
Output Device - Built-in speakers, headphones, or your interface - anything CoreAudio can see.
Output Channels - Which channels of the output device to play through.
Sample Rate - 44.1 kHz or 48 kHz is ideal.
Buffer Size - Smaller = lower latency (less delay between input and output) but higher CPU load. If you hear crackles or degraded audio, increase the buffer size. 128 samples is a good starting point.