Using Dubler 2 With Output Arcade 2.0
所要時間4 分 • 24th Feb 2022In this article we’re going to be looking at ways to use Dubler 2 with Output’s Arcade 2.0. You can jump to the end of the article to hear our final beat! For those of you who aren’t familiar with Arcade, it is a loop-based instrument that allows you to play loop kits with MIDI notes. You can choose kits from ever-expanding libraries called product lines and even import your own loops to custom kits as well.
Let’s demonstrate a quick example with a kit from one of the drum product lines ‘Drum Breaks’. The main controls are the white notes on your keyboard - spreading across two octaves - that launch the notes when they’re held down. You can either manually play and record them in or program long sustained MIDI notes in the piano roll to keep the loops playing.
Here’s an example of a couple of loops from this kit:

The black notes don’t contain loops, but instead introduce morph the loops while held down, changing the sound in different ways. Here’s an example of some of the effects:
The majority of kits contain harmonic loops, as opposed to drum loops. Holding down multiple keys at the same time allows you to have multiple loops playing at once, like in this short example that contains three loops:
Each kit also has four main effects dials that can be MIDI mapped for some live automation.
The first version of Arcade wasn’t really compatible with Dubler because when you sing a note you want to hear a sound with a similar pitch and it could get confusing to launch pre-made loops with different notes you sing.
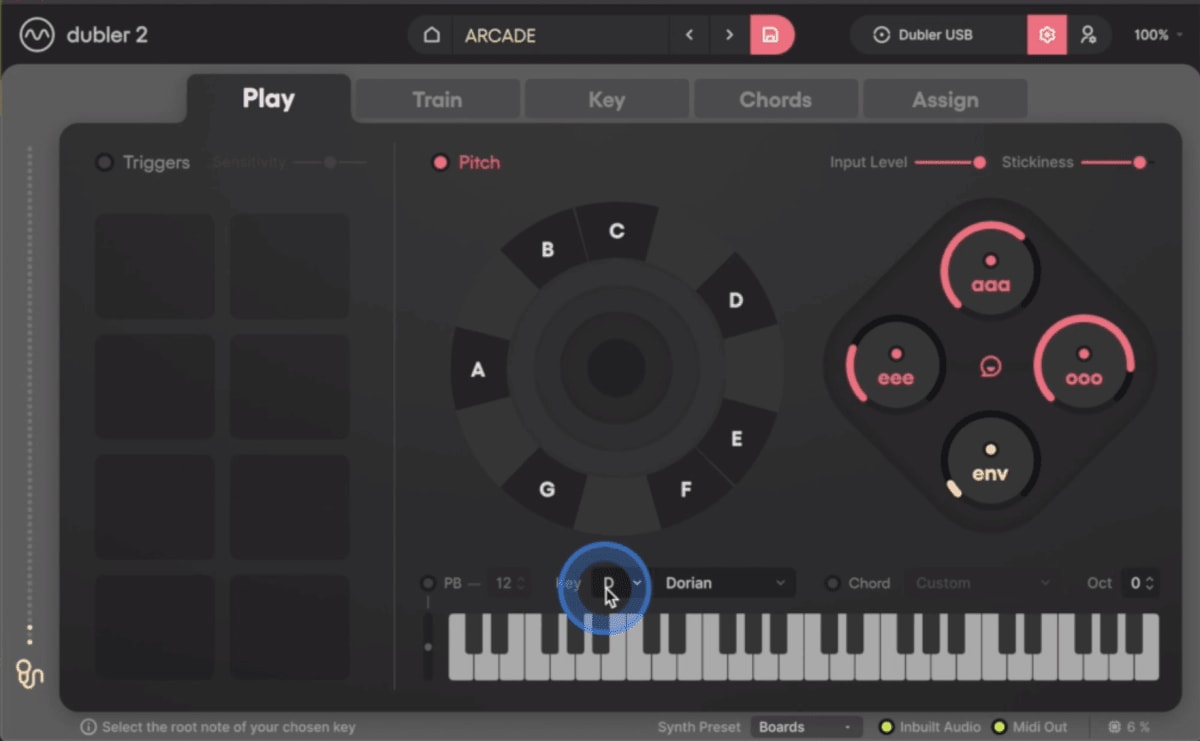
However, in Arcade 2.0 Output introduced note kits that work like normal synth presets. You can see that each line has a note kit category and you can download various presets. Let’s look at this kit from the Poolside Line for example:
The first version of Arcade wasn’t really compatible with Dubler because when you sing a note you want to hear a sound with a similar pitch and it could get confusing to launch pre-made loops with different notes you sing.
However, in Arcade 2.0 Output introduced note kits that work like normal synth presets. You can see that each line has a note kit category and you can download various presets. Let’s look at this kit from the Poolside Line for example:


Using Dubler 2 - with the scale set to the all-white-note D Dorian scale - we can improvise a quick melody:
Now we'll get working on a full track! Before singing in parts via Dubler 2, we’ll get some drums going. Using the Punched Out Kit, from the Drum Sesh Line let’s program in some sustained MIDI notes that launch the different drum loops.


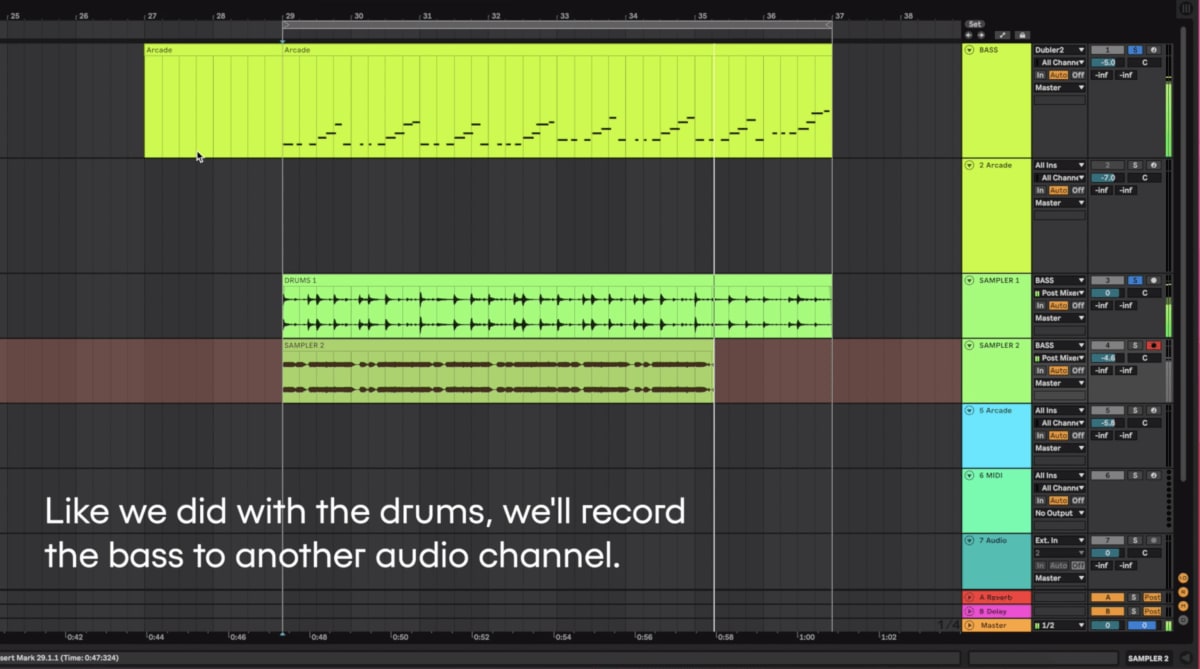
A good workflow for Arcade is finding loops you like and recording them out as Audio onto a different channel. This prevents you from having to open multiple instances of Arcade, which can really do a number on your CPU.
We’ll create a couple of new audio channels in Ableton and set their input to Arcade’s channel. Each DAW has its own way of re-sampling audio from another channel so be sure to check out how to do this in whichever DAW you are using!
We’ll duplicate the MIDI clip over a couple times, record arm our first audio channel, hit record and also tweak Arcade's Dub Echo parameter to introduce some variety.

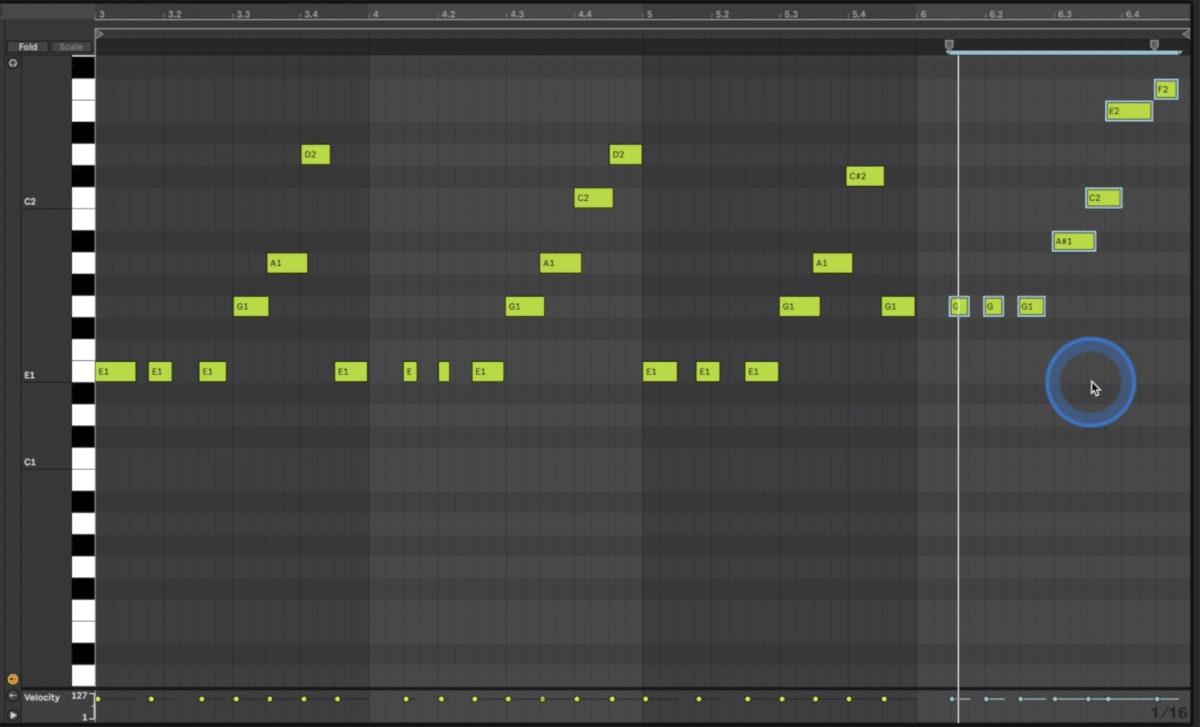
Now we’ll add perform sub bass using Dubler 2 with the Brain Waves line’s Soda Sub kit. Lowering our project BPM from 142 to 106 will make it easier for us to sing a more active part.

After recording, we’ll speed everything back up to 142 BPM, duplicate the MIDI and move some notes around in the second half to get a small chord progression going.
Here's the bass part with our edits:
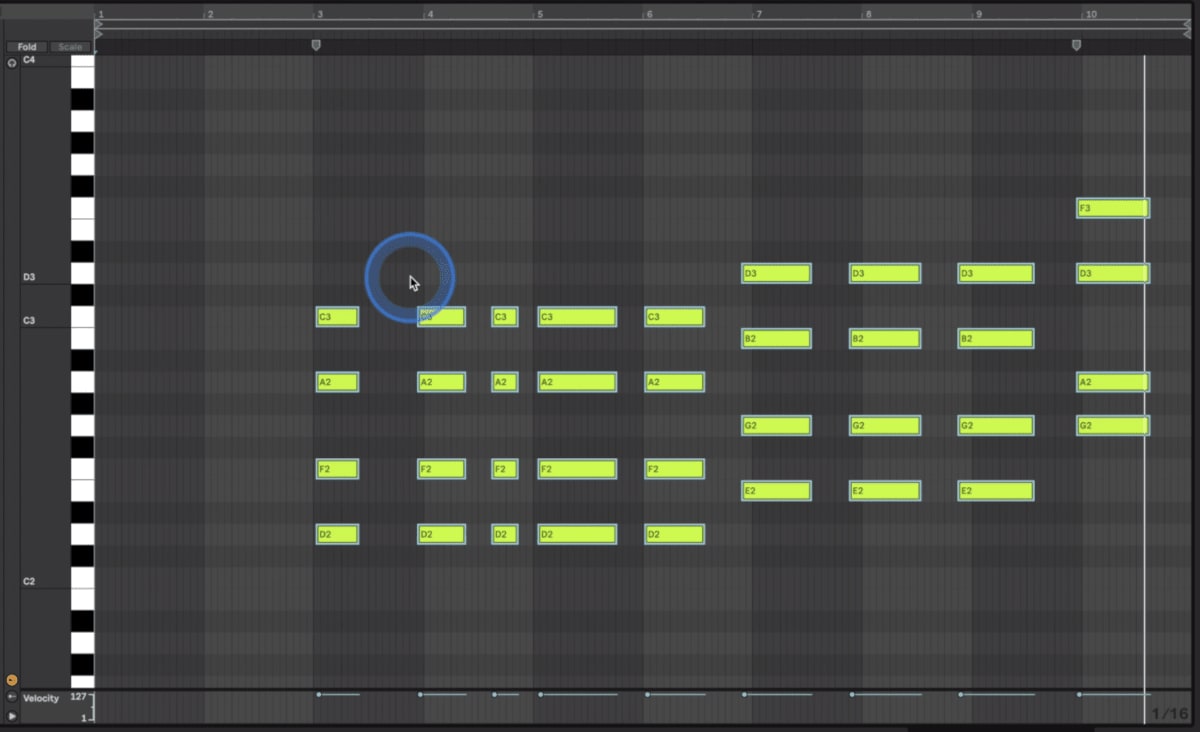
Now we'll use Dubler 2’s Chords Tab to sing chords that work with the bass root notes. For the sound we’ll use the Vibe Pulse kit in the Honey line. This has a great tremolo parameter that we can MIDI map to Dubler 2. We’ll MIDI map it to Dubler 2's ENV knob so that we get the effect when we sing louder or closer to the micrphone.


Our bass progression is going D (x2) - E - G, so we’ll just enable those notes in Dubler 2's pitch wheel. In the Chords Tab we’ll set some voicings for these 3 chords. For D and E minor 7 chords will be fine and we can add variation with the G chord by selecting another voicing. Here's how the chords sound in solo with the live tremolo automation via Dubler 2's ENV control dial:


Here's our performance of the chords with the other elements mixed in as well:
Next it would be great to have a lead sound so we’ll load up the Clear Skies preset from the Poolside Line. This is a nice plucky sound with some nice effects parameters that we can map to the AAA and EEE vowels in Dubler 2. With the delay and chorus levels going up and down we’ll get some variation.


The last step is some vocals. Normally it would be great to record vocals but for the purpose of demonstration we’ll use some Arcade 2 samples from the Jukebox vocals line. We’ve programmed in various loops to come in at separate points via the MIDI piano roll and made sure to have D Minor selected so that all of the vocal parts are in our track’s key.
Here are the vocals in solo:
Here are the vocals in solo:


And here's our final track:

Be sure to send us any examples where you use Dubler 2 together with Arcade 2, we’d love to check them out and re-post on our socials as well!
If you have any questions about this article or about Dubler 2 in general be sure to drop a comment oor get in touch!
If you have any questions about this article or about Dubler 2 in general be sure to drop a comment oor get in touch!