Tempo Trick for Melodies and Basslines
읽는시간 5 분 • 16th Jun 2021We recently released a video about improvising with Dubler at slower tempos and then speeding up what we record to get faster, busier and more complex melodies and basslines.
Jamming over a beat at a slower BPMs can give you more time and space to come up with ideas and perform them more accurately. Most people who improvise over their songs do it at the same tempo out of habit but this can cause you to rush and sing wrong notes, making it harder to come up with that elusive perfect melody!
There’s nothing wrong with slowing things down during the writing process, as this is something that even experienced professional musicians do while practicing and composing.
We’ll first quickly recap warping in Ableton, which allows you to slow down any piece of audio you’re jamming over without re-pitching it or affecting the overall timing. We’ll then use two examples - a synth lead and a synth bass) to demonstrate recording, speeding up and chopping up sections to find loopable melodies. The video has more examples so be sure to check it out below!
Warping in Ableton
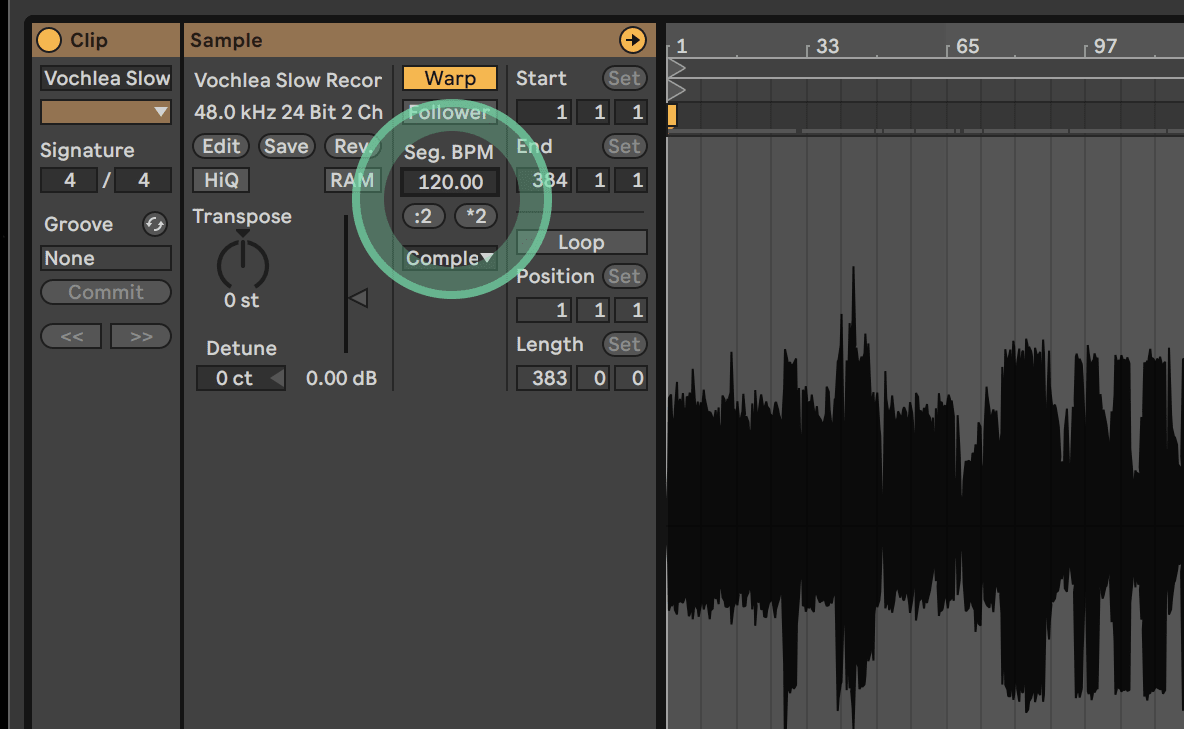
In the video, we use audio drum loops as backing tracks to improvise over. To make sure they slow down correctly as we lower our BPM we need to use Warp. To do this, double click the audio file and enable Warp. Under ‘Seg. BPM’ enter the original BPM of your audio file. The algorithm needs to know the original BPM in order to work.
Then in the dropdown list below select the ‘Complex Pro’ algorithm as this is the most accurate one.

If you have a ready track that you want to improvise over, it’s best to export that as a single audio file and then warp it so that all elements slow down together. Otherwise, you’d have to warp every single element one by one, which can take a while!
Example 1 - Synth Lead
For our first example, we use a 90 BPM drum loop and bring the BPM all the way down to 57!
The instrument we’re using is an Ableton preset called Slicing Filter and we set Dubler to the key of D# minor to make sure every note we sing stays in the scale we’re working with.

Here’s how the recording process sounded:
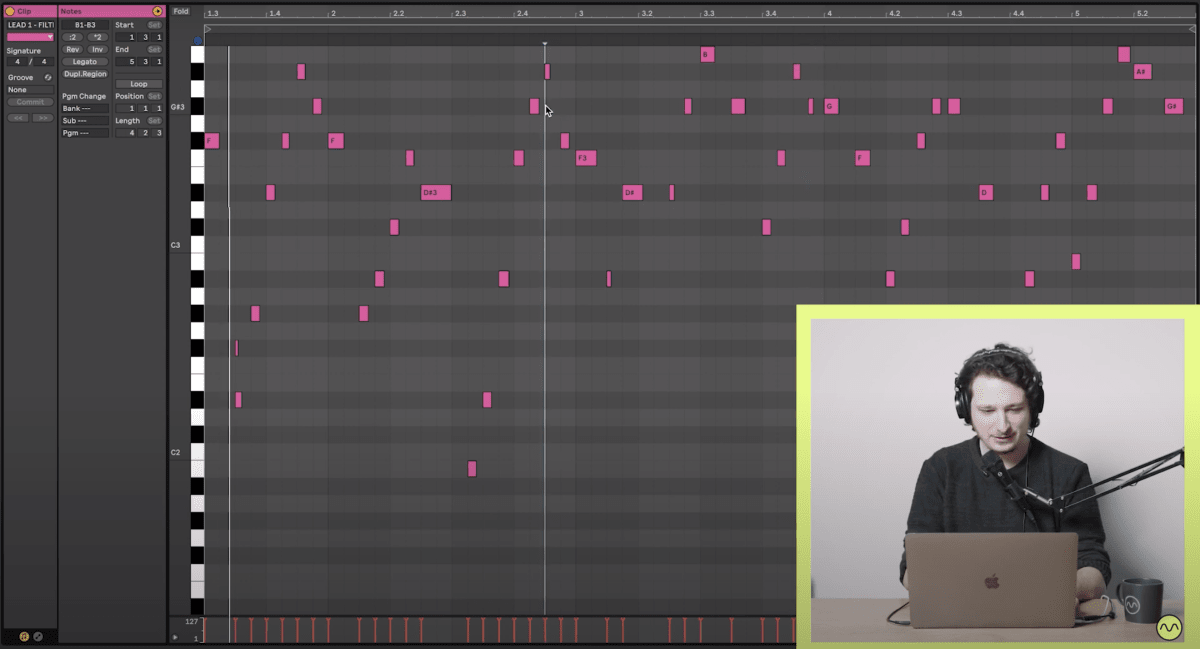
The next step is using quantize (we tend to favor quantizing to a 16th-note grid) to fix up the timing. When you do this some notes may overlap so it's good to clean those up. You can also extend notes, shorten them and even change them to other notes. We added Ableton’s Scale MIDI device afterwards, also setting it to D# minor, to ensure that any notes we change stay in key.

Here’s how it sounds after we quantize, delete the overlapping notes and speed everything up back to 90 BPM:

We can also add effects to make the melody more interesting. In the following audio we automate the Slicing Filter instrument's Filter Freq knob and add Ableton’s Delay effect toward the end to get some ambient echoes going:
Example 2 - Synth Bass
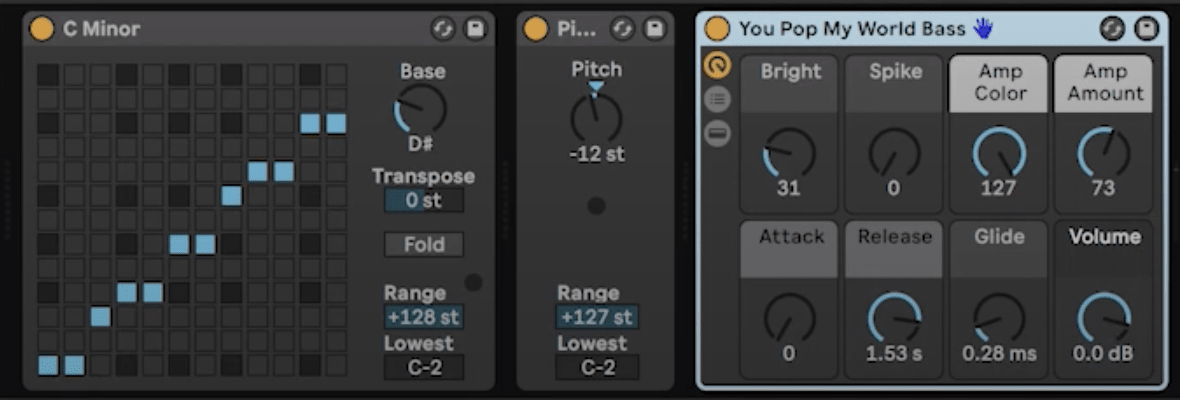
This time we use Ableton’s ‘You Pop My World Bass’ patch and record at 54 BPM. Here’s how the recording process sounded:

And here’s how it sounds quantized, slightly cleaned up and sped up to over double the speed at 110 BPM:
It would be near impossible to think of and sing a bassline with this many active notes at the original tempo of 110!
By moving Ableton’s loop brace around you can find small portions of your recording that sound good as a loop. Finding just two or three of these can be enough to lay the groundwork for an entire song!

Also remember that you can start the loop brace at random points on the grid to change up rhythm. For example, starting the loop at bar 1.3 instead of the very beginning 1. Just make sure that the length of the loop brace itself makes sense (i.e. 1 bar, 2 bars, 4 bars, 8 bars, etc.)
Here are some loops we got from this recording:
As with the previous example, we automated some of the knobs of the Ableton instrument to give the sound more character while testing the loops. It’s always useful to experiment with these as automation is one of the secret weapons for adding life to electronically produced tracks!